


20
10.11 Setting Date and Time
10.12 Group Management
Super administrators can set the date and time of the B060-032-8, which enables the System Log, Active Sessions, and System Information WebPages to
maintain accurate time-sensitive data.
To set the date and time:
From
the
Administration Menu
, choose
Super Adm Con
fi
guration
> Date & Time
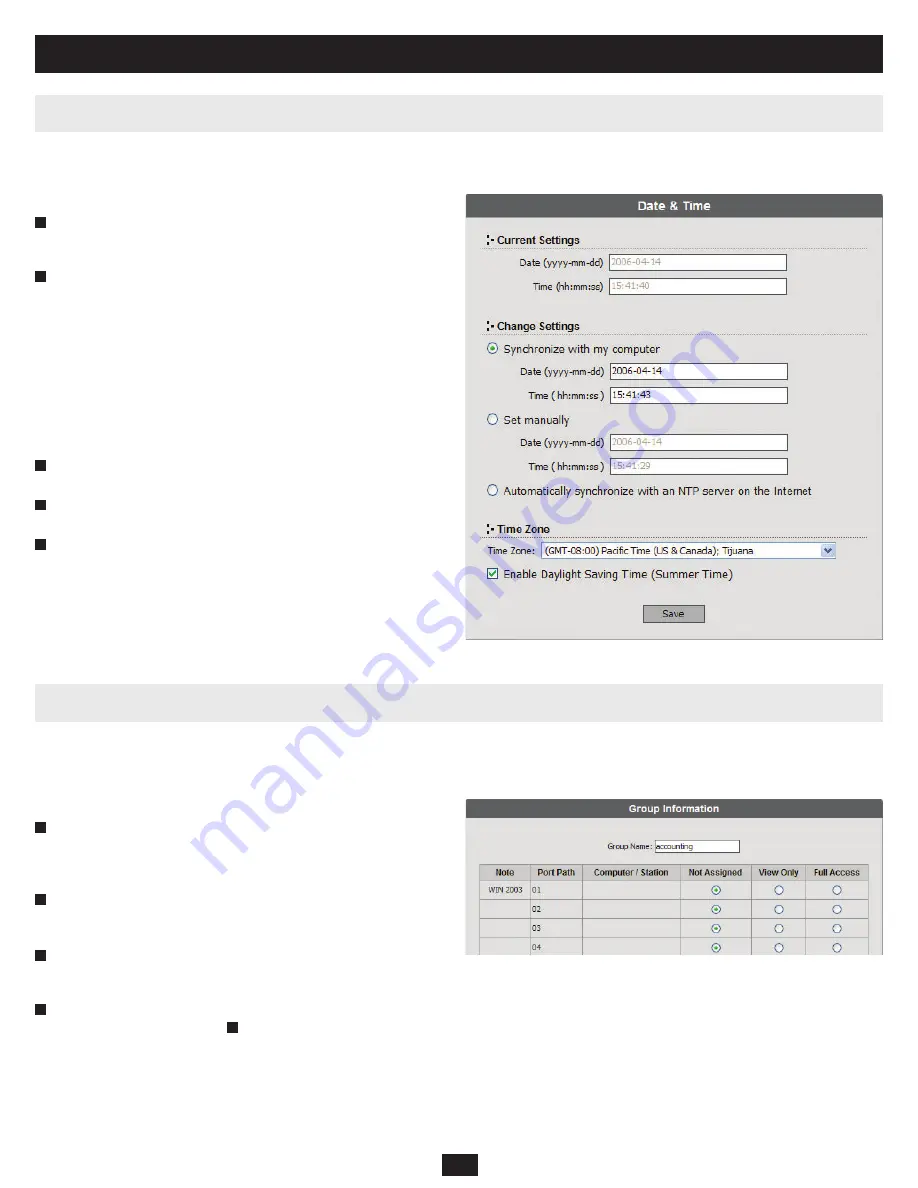
. The
Date & Time Web Page
appears (Figure 9). The
current date and time of the B060-032-8 are shown at the top of the page.
Under
Change Settings
, select one of the following three options to set
the date and time.
(a)
Synchronize with my computer:
Select this option to synchronize
the date and time of the B060-032-8 with that of the computer that
you are using to access it.
(b)
Set manually:
Select this option to manually enter the date and time.
(c)
Automatically synchronize with an NTP server on the Internet:
Select this option to synchronize the date and time of the B060-032-8
with that of a Network Time Protocol (NTP) server on the Internet. To
use this feature you must open UDP port 123 in your
fi
rewall.
From
the
Time Zone
drop-down list, select the time zone in which the
B060-032-8 is located.
Select
Daylight Saving Time (Summer Time)
if it is used in the region
in which the B060-032-8 is located.
Click
Save
. Your settings are saved and the system date and time are
updated.
Super administrators can create, modify, and delete up to 255 additional groups in the B060-032-8. (The default group cannot be modi
fi
ed or deleted.)
Grouping users together simpli
fi
es KVM port management by enabling actions to be performed that affect an entire group of users. (The User Management
Web Page can still be used to change individual user account settings. See “User Management,” page 22)
To add groups:
From
the
Administration
menu, choose
Account Management > Group
Management
. If no groups have been created, the
No Local Groups
Webpage appears. If at least one group has been created already the
Group Management
Webpage appears.
Click
New
(In the No Local Groups Web Page) or
Add
(In the Group
Management Web Page). The Group Information Web Page appears
(Figure 10).
Type a name in the
Group Name
fi
eld. Group names may be up to 15
characters long. Legal characters include: a–z, A–Z, 0–9, space, hyphen,
square brackets, parentheses, and period.
If you want to assign KVM port access rights to the group, follow the
steps below. If not, skip ahead to .
Note: You do not need to assign access rights for a group to any KVM
port that cascades a B060-032-8. However, you must assign access rights
to KVM ports that cascade B007-008 KVM switches. When you assign
access rights to a KVM port that cascades a B007-008 KVM switch, the
access rights apply to all computers/servers connected to it. This also
applies to daisy-chained B060-016-2 and B060-032 switches.
2
3
4
5
1
10. Administrator Utility
Figure 9: Date & Time Web Page
2
1
Figure 10: Group Information Web Page
4
3
6


