TRENDnet TEW-825DAP(V1) Quick Installation Manual Download Page 4

ENGLISH

FRANÇAIS

DEUTSCH

ESP

AÑOL

Р

OR

TUGUÊS

2

2. Initial Access Point Setup

1. Bring the TEW-825DAP to a location of its final installation point.
2. Connect the TEW-825DAP to your router or switch. You may also connect the device directly to 
   a network port on your computer. If you are connecting to a router or switch, make sure your 
   computer is connected to the same network.
3. If you are connecting your TEW-825DAP to a PoE router or switch, the device will power on 
   automatically. If you are connecting to a computer, or a non-PoE router or switch, you will need 
   to use the included power adapter. 
4.  To use the power adapter, plug the power adapter into the TEW-825DAP, then plug the adapter 
   into an electrical outlet. Wait 60 seconds, then confirm that the status LEDs on the front of the 
   unit are illuminated. Your TEW-825DAP access point is now active. The device is pre- 
   configured to automatically connect to your network.
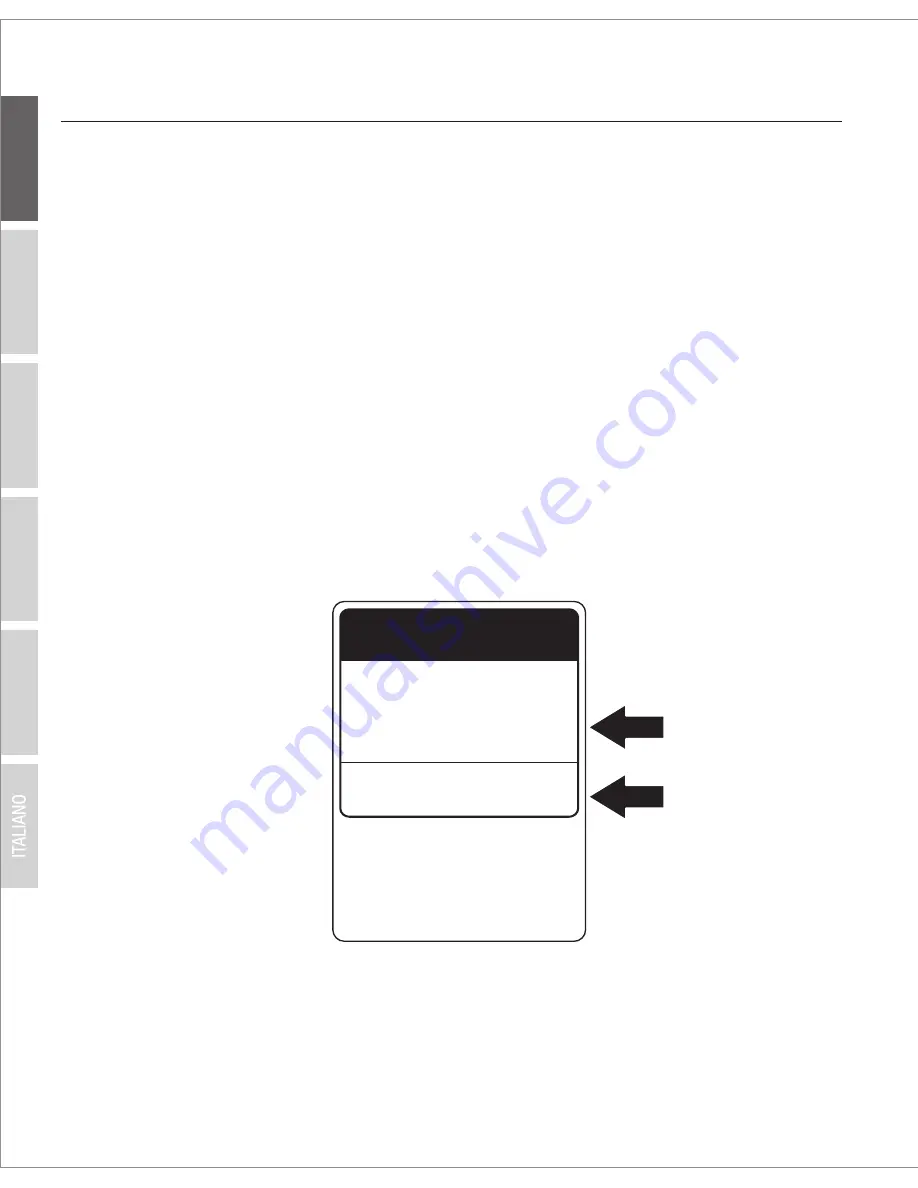
5. For your security, each TEW-825DAP comes pre-encrypted with a unique WiFi Name (SSID) and 
   WiFi Password. You can find your device's SSID and WiFi password on the white labels located 
   on the device. Use this information to connect to the TEW-825DAP access point. If the 
   TEW-825DAP is reset, the SSID and WiFi key will also be reset to the default login credentials 
   located on the white label.

6. No further setup is required, proceed to Section 4 

Mounting the Device

. To change device 

  settings proceed to Section 3 

AP Management Utility

Preset 

Wireless Settings

Wi-Fi Name/SSID

(AC/N)

TRENDnetXXX_5GHz_XXXX

(N/B/G)

TRENDnetXXX_2.4GHz_XXXX

Wi-Fi Password

Management Login

http://tew-825dap

username: 

admin


password: 

admin

XXXXXXXXXXXXX

Summary of Contents for TEW-825DAP(V1)

Page 1: ...TEW 825DAP V1 Quick Installation Guide...

Page 2: ...Table of Content 1 English 1 Before You Start 2 Initial Access Point Setup 3 AP Management Utility 4 Mounting the Device...

Page 3: ...twork cable 1 5m 5 ft CD ROM User s Guide and Configuration Utility Quick Installation Guide Power adapter 12V DC 1 5 A Mounting plate Minimum Requirements Computer with network port and web browser N...

Page 4: ...seconds then confirm that the status LEDs on the front of the unit are illuminated Your TEW 825DAP access point is now active The device is pre configured to automatically connect to your network 5 F...

Page 5: ...based computers Please visit TRENDnet com for complete list of the supported operating systems Mac Users Please refer to the User s Guide to manually configure the access point 3 AP Management Utilit...

Page 6: ...work settings If your network requires a static IP address select the Static radio button and enter your settings If you are not sure leave IP Mode on the default setting DHCP 3 Select your device by...

Page 7: ...first time you are accessing the device or if the unit has been reset the default password is admin The utility will save your settings 7 If you are using both 2 4GHz and 5GHz networks they must be c...

Page 8: ...device 10 This will launch your default web browser and automatically direct it to your TEW 825DAP for advanced settings 11 On the Login screen enter the username and password If this is your first ti...

Page 9: ...The status screen will display information about your TEW 825DAP access point and the unit s wireless networks 14 For detailed information on advanced settings and features please refer to the User s...

Page 10: ...n PoE installation ensure that your mounting location has access to an electrical outlet 3 Drill out the marked screw holes and insert the plastic wall anchors into the screw holes 4 Secure the mounti...

Page 11: ...n Product Name Model Number TEW 825DAP Trade Name TRENDnet EN 300 328 V1 9 1 02 2015 EN 301 893 V1 8 1 03 2015 EN 62311 2008 AC1750 Dual Band PoE Access Point Safety EN 60950 1 2006 A11 2009 A1 2010 A...

Page 12: ...arantiza que sus productos carecen de defectos en el material y la fabricaci n en condiciones de uso y funcionamiento normales Los periodos espec ficos de garant a figuran en cada una de las p ginas d...

Page 13: ...using a mains power supply To disconnect devices from the mains supply remove the device itself or its mains plug from the power outlet The power outlet and all connected network devices should be eas...

Page 14: ...teristicas del adaptador de alimentac n necesario para su funcionamiento El uso de un adaptador distinto al mencionado puede producir da os fisicos y o da os al equipo conectado El adaptador de alimen...

Reviews: