Trend Micro GateLock Getting Started Guide
3
-
2
Opening the Configuration Console
After connecting GateLock to your PC or hub, the next step is to customize
GateLock’s settings. Do the following:
1. Open your Web browser. In the Address field, enter the following IP address:
http://192.168.1.254
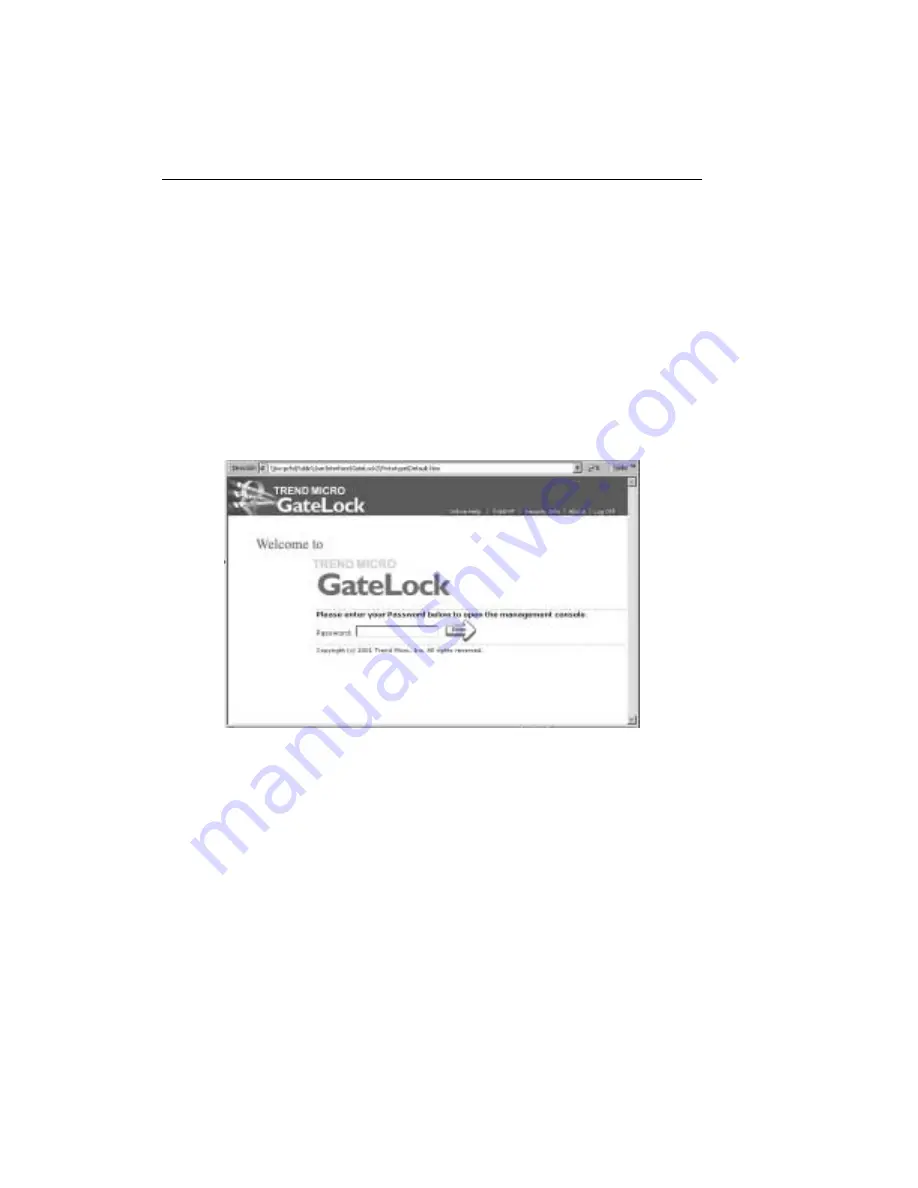
2. Press the <Enter> key. Your Web browser will display the first setup screen, as
shown in Figure 3-1.
F
IGURE
3-1.
GateLock’s Welcome Screen
3. GateLock ships with a blank password, by default. Simply click Enter to open the
configuration console. The Quick Setup screen loads.
4. Note there are 8 main hyperlinks on the sidebar as shown in Figure 3-2. Clicking
these hyperlinks will open GateLock’s main configuration screens. What these 8
main screens are and how use them to configure GateLock’s settings are
discussed in the order of their appearance in the list.
Summary of Contents for GateLock
Page 1: ...Trend Micro GateLock Getting Started Guide...
Page 2: ......
Page 6: ...Trend Micro GateLock Getting Started Guide iv...
Page 16: ...Trend Micro GateLock Getting Started Guide 1 8...
Page 64: ...Trend Micro GateLock Getting Started Guide 4 8...
Page 78: ...Trend Micro GateLock Getting Started Guide A 14...
Page 85: ...ii Trend Micro GateLock Getting Started Guide...


