TRX-4 • 25
ADJUSTING YOUR MODEL
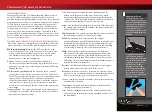
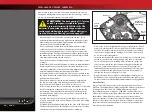
Important:
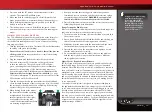
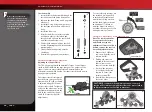
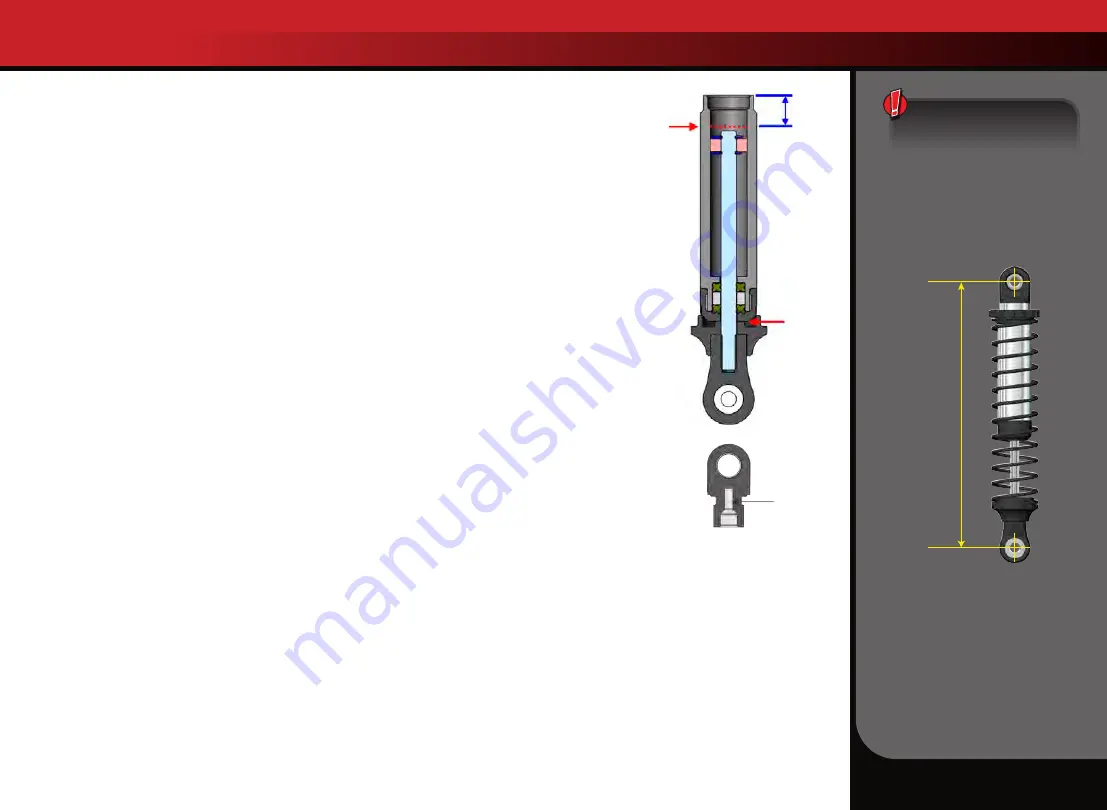
The shocks are
assembled at the factory
with a center-to-center
distance (between the rod
end balls) of 90mm. Any time
the shocks are removed and
disassembled, this distance
should be checked to ensure
proper operation of the
suspension.
90mm
Adjustment procedures for alignment, spring rate, damping, steering,
and ride height are covered here.
SUSPENSION TUNING
Springs
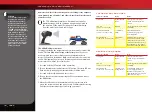
TRX-4’s front springs (0.30 rate, white stripe) and rear springs (0.54 rate,
green stripe) have been carefully selected to provide full suspension
articulation and support for the weight of the vehicle body.
Using different bodies with lighter weight will allow you to use lower
rate springs to increase traction and suspension articulation when
traversing difficult terrain. Lighter springs can be used since the portal
axles use gear reduction to reduce undesirable torque twist.
Ride Height Adjustment
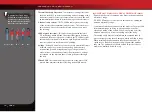
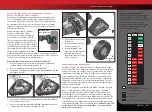
TRX-4’s ride height can be finely tuned by adjusting suspension sag
via the preload adjusters on the shock bodies. Thread the preload
adjuster down the shock body to raise TRX-4’s ride height, or thread
the adjuster up the shock body to lower ride height. The front left
preload adjuster will require more threading to compensate for
the weight of the motor. If threading the preload adjusters to the
maximum ride height position still allows more suspension sag than
you prefer, stiffer springs should be installed.
SHOCK TUNING
Shock Oil
The 4 oil-filled aluminum shocks (dampers) effectively control the
suspension movement. Changing the oil in the shocks can vary the
suspension damping effect. Changing the oil to a higher viscosity oil
will increase damping. Lowering the viscosity of the oil will cause the
suspension damping to be reduced.
Damping should be increased (with higher viscosity oil) if the model is
bottoming easily over jumps or when stiffer springs are installed. Damping
should be decreased (with thinner viscosity oil) if the model is hopping
over small bumps and feels unstable or when softer springs are installed.
The viscosity of shock oil is affected by extremes in operating temperature;
an oil of certain viscosity will become less viscous at higher temperatures
and more viscous at lower temperatures. Operating in regions with cold
temperatures may require lower viscosity oil. From the factory, the shocks
are filled with 20W silicone oil. Only use 100% silicone oil in the shock.
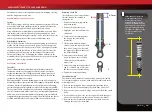
Replacing Shock Oil
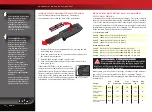
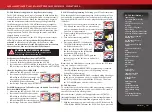
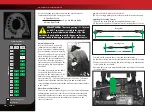
The shocks have to be removed from
the vehicle and disassembled to
change the oil.
1. Remove the lower spring retainer
and shock spring.
2. Remove the upper shock cap.
3. Empty the used shock oil from the
shock body.
4. Compress the shock fully against
the stop on the lower spring
retainer (A).
5. Fill the shock with new silicone
shock oil up to the top of the shaft;
then, add 2-3 drops of oil to reach
the proper level (0.3mm above the
top of the shaft) (B).
6. Slowly move the piston up and
down to remove excess air. Add
oil if needed to maintain the
proper level.
7. Ensure the cavity in the upper shock
cap (C) is dry and free of oil; screw
the shock cap onto the shock body.
8. Tighten the shock cap until snug.
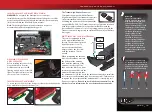
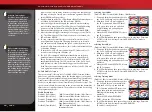
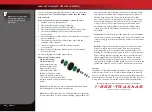
Shock disassembly
The shocks must be removed from the vehicle prior to disassembly.
Use the shock exploded views included with the model to aid in the
assembly process.
1. Remove the spring and lower spring retainer from the shock.
2. Remove the shock cap and empty the shock body of shock oil.
3. Remove the lower cap, the X-rings, and spacer from the shock
body.
4. Use needlenose pliers or side cutters to grip the shock shaft just
above the rod end. Remove the rod end from the shock shaft.
5. Remove the shock shaft with piston from the shock body out
through the top of the shock body.
A
B
6.7mm
C
Summary of Contents for 82034-4
Page 1: ...MODEL 82034 4 owner s manual EQUIPPED WITH ...
Page 31: ...TRX 4 31 ...

