

SDSTX3110-12x-LRT-B Quick Start Guide
33687 Rev. A
https://www.transition.com
Page
2
of
2
Wiring
Warning
: Perform the Connections before performing the Wiring. Do not disconnect modules or wires unless power is
switched off or the area is known to be non-hazardous. The devices may only be connected to the supply voltage shown on the
type plate. See the full
User Guide
for more information.
Grounding
: Grounding and wire routing help limit the effects of noise due to electromagnetic interference (EMI). Run the ground
connection from the ground pin on the power module to the grounding surface prior to connecting devices.
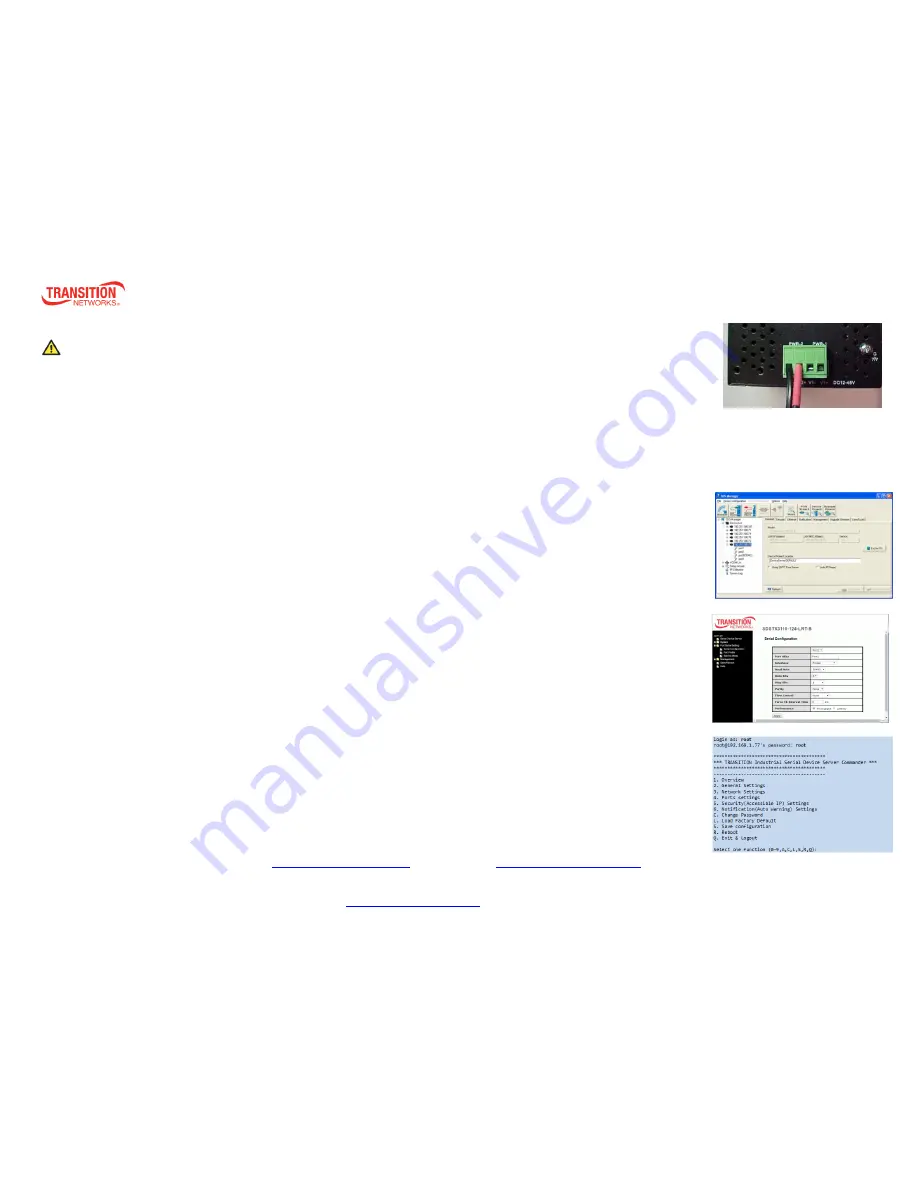
Redundant Power Inputs
: The device has two sets of DC power inputs on the 4-pin terminal block on top of the device.
1.
Insert the Terminal Block connector into
the keyed receptacle on the SDS.
2.
Insert the negative/positive wires into the V- and V+ terminals, respectively.
3.
Use a small flat-blade screwdriver to tighten the
wire-clamp screws on the front of the terminal block connector.
Configuration via SDS-Manager
The SDS-Manager supports device discovery, device configuration, group setup, group firmware update, and monitoring.
It lets you easily install and configure network devices. The factory defaults are IP address:
192.168.1.77
, Subnet Mask:
255.255.255.0, Default Gateway:
192.168.1.254
, User Name:
root
, and Password:
root
. To install SDS-Manager:
1.
Select the folder for the SDS-Manager and click
Start
to run the setup program. The destination directory screen displays.
2.
Click
Start
to install in the default directory (
C:\Program Files\SDS-Manager
), or select another location and click
Start
.
3.
Check either the
Launch SDS-Manager Now
checkbox or the
Launch SDS-Manager Later
checkbox.
4.
See the
SDS User Guide
for SDS Manager functions (Configuration, Monitor, Setup Wizard, IP Collection, and System Log).
Configuration via Web Browser
The SDS can be managed via a built-in webserver running Internet Explorer v 5.0 or above or other web browsers such as
Chrome. This allows simple, remote device monitoring and configuration, such as firmware upgrades. To manage your SDS
via a Web browser:
1.
Launch a Web browser.
2.
Type the IP address of the device and press Enter.
3.
At the login screen, type the default
username
root
and the default password
root
.
4.
Press Enter or click
OK
; the System Information page displays. The left side of
the page provides links to configurable settings.
5.
Click on a link to display its configuration page.
Configuration via SSH Console
You can use an SSH tool such as PuTTY to access the SSH console of the device. The PuTTY settings are Serial line to
connect to:
COM1
, Speed (baud):
9600
, Data bits:
8
, Stop bits:
1
, Parity:
None
, Flow control:
XON/XOFF
.
Default User Name:
root.
Default Password:
root
.
Transition Networks * 10900 Red Circle Drive * Minnetonka, MN 55343, U.S.A * Telephone: 952-941-7600 * Toll free:
800-526-9267 * * Fax: 952-941-2322 * Web:
https://www.transition.com/ *
Tech support:
*


