Installation - Controls
SRV-SVX04C-EN
13
c. Press
ENTER
again to edit the password.
d. Once the last character has been located press
ENTER
. Do not press any arrow.
e.
OK
will display a dotted box. Press
ENTER
to accept,
and the screen will return to make the selection without
security restriction.
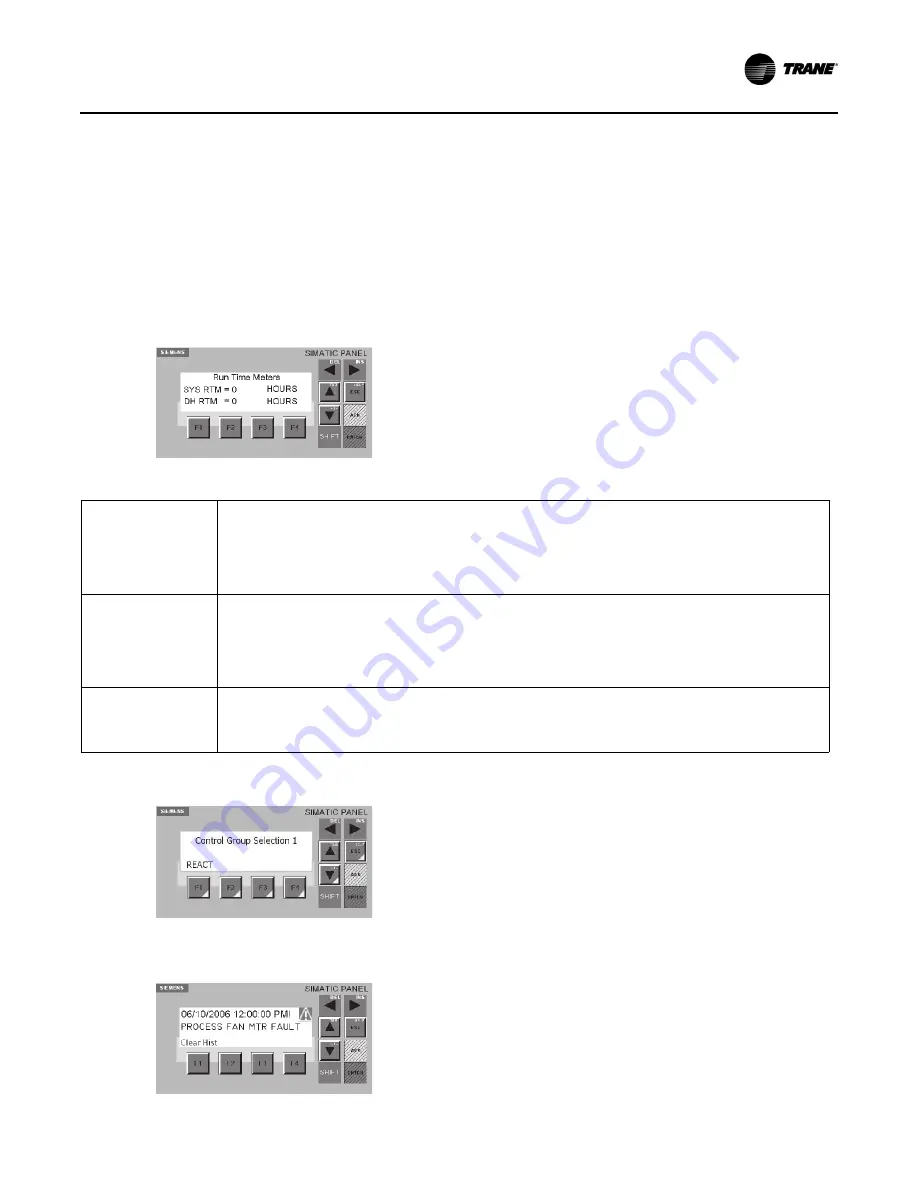
4. Run Time Meter
a. Press the
Down Arrow
once to navigate to this screen
Figure 8.
Runtime meter
b. The Run Time Meter screen displays the amount of
time in hours the equipment has been operating. There
is an indication for DH displaying the amount of time
dehumidification has been requested and operating.
These values, shown in hours, may vary dependent on
the configuration of the equipment.
5. Control Group Selection 1*
a. Press
F1 (PID)
to navigate to this screen (
).
b. The OP73 Display may prompt the operator for
Username and Password
).
Enter
this to
proceed. See section 834 for information regarding
Username and Password. The Control Group Selection
1 screen displays the various system loops available on
the equipment.
Table 7.
System loops
Alarms
1.
Press
F2 (ALM)
to navigate to this screen (
2.
The Alarm screen displays the
Faults and Warnings
the system encountered during operation. The triangle with exclamation
point will indicate to the operator when an alarm condition exists.
3.
Press the
ACK
button to clear the current alarm message without clearing the history.
Note:
The Alarm Screen displays and records information on triggered alarms. Each time an alarm is triggered, it is added to the Alarm History
list
, and the last alarm is displayed.
F4 Reset
1.
The operator must press the
F4
button to reset a fault in the PLC. This will clear all system faults and enable the equipment to
be restarted by cycling the selector switch.
2.
The selector switch may also be used as the system reset by turning it to the
OFF
position and return it to the
AUTO
or
MANUAL
position.
3.
Press the
acknowledge button (ACK)
to clear the message and alarm symbol indication.
4.
The system screen will display
READY
after a fault has been reset.
F1 CLEAR History
1.
The alarm history (see
) can be viewed by pressing the
Down Arrow
first and both
Up and Down Arrows
to scroll the
alarms stored.
2.
To clear the alarm history, press
F1
.
3.
Enter the
Username and Password
to clear the history.
Figure 9.
Alarm
Figure 10. Alarm history list
Summary of Contents for SRV-SVX04C-EN
Page 14: ...14 SRV SVX04C EN Fan Curve Figure 11 Fan curve...
Page 16: ...16 SRV SVX04C EN Wiring Diagrams Figure 12 Figure 13...
Page 17: ...Figure 14 Figure 15 Wiring Diagrams SRV SVX04C EN 17...
Page 18: ...Figure 16 Figure 17 Wiring Diagrams 18 SRV SVX04C EN...
Page 19: ...Figure 18 Figure 19 Wiring Diagrams SRV SVX04C EN 19...
Page 20: ...Figure 20 Figure 21 Wiring Diagrams 20 SRV SVX04C EN...
Page 21: ...Notes SRV SVX04C EN 21...
Page 22: ...Notes 22 SRV SVX04C EN...
Page 23: ...Notes SRV SVX04C EN 23...


