


Page 2
PREMISE Digital Surveillance Camera
Page 11
PREMISE Digital Surveillance Camera
OFF / IR AIM / ON
IR Aim -
When IR Aim is ON and the PIR sensor detects motion, the red LED on the front of the camera
will come on for 1 second and then shut off.
MENU BUTTON
The Menu Button is used to access Camera Setup. When in Camera Setup mode, the LEFT and RIGHT
buttons navigate through the menu options. The Menu Button is also used to wake-up the camera
and turn on the display when the camera is in power saving (or sleep) mode.
OK, UP/DOWN and LEFT/RIGHT BUTTONS
The OK button selects the item to be changed. The UP/DOWN and LEFT/RIGHT buttons are used to
step through the menu options. Pressing the OK button again, selects the option indicated on the
display. From the Main Screen, the OK button can be used to manually take a picture.
BATTERY COMPARTMENT
The camera is powered by eight (8) AA alkaline or lithium batteries. Push the battery compartment
release button to eject the battery tray. Install batteries as indicated on the engravings on the battery
tray, taking care to note the correct polarity.
NOTE:
It is recommended to use lithium batteries for best performance. (Do not mix battery types.)
See Important Battery Information section on the back page of this manual.
SD CARD SLOT
Accepts up to a 32GB SD Card for photo and video storage.
NOTE:
An SD Card must be installed for the camera to operate (sold separately).
USB PORT
Download still pictures and video onto your computer by connecting a USB cable (not included)
to the USB port.
EXTERNAL POWER PORT
Accepts the Moultrie PowerPanel, Moultrie AC Adapter or Moultrie Battery Box accessories
(sold separately) only. Refer to
www.moultriefeeders.com
for more information.
NOTE:
The use of any other power source will void your warranty and possibly harm your camera.
CAMERA OVERVIEW (cont.)
I
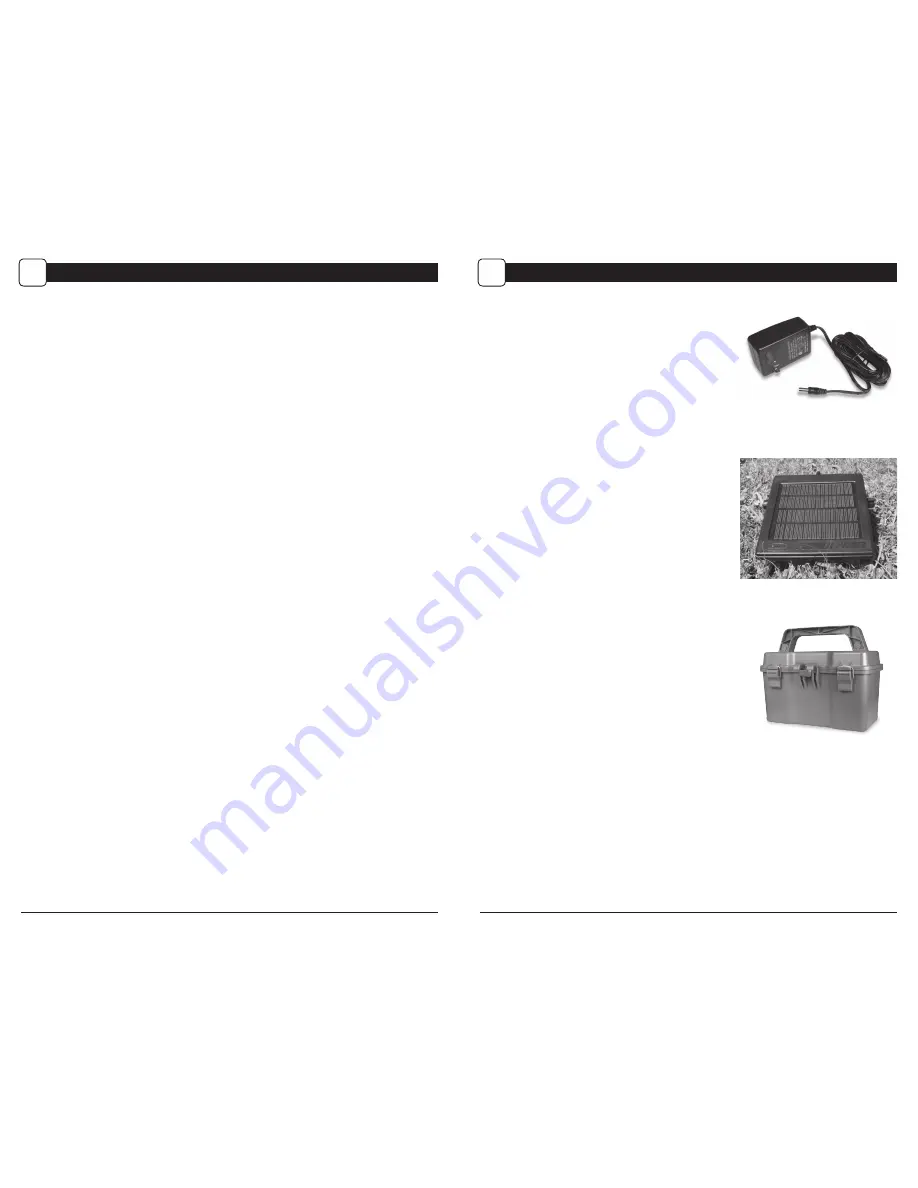
Using the Moultrie AC Adapter
Keep your Moultrie camera running in the field with
the constant power of an AC adapter. Plug into a
standard 110VAC electrical outlet and then connect
to the External Power Port on your Moultrie camera.
Note:
Leave internal batteries in the camera during
use. In the event of power loss to the outlet into which
the AC adapter is plugged, the internal batteries will
keep your camera running.
Using the Moultrie Camera Power Panel
Place near the sturdy, permanent structure where
the camera is mounted. Place for best exposure to
sun. To attach to a tripod, secure the power panel
to the tripod angled upward for best exposure.
Plug the Power Panel into the External Power Port.
This will extend the life of your camera in the field.
Note:
Leave internal batteries in the camera
during use. The Camera Power Panel needs
4 hours of sunlight to fully power the camera.
Using the Moultrie Battery Box
Extend the field life of your Moultrie camera with a
long-lasting, rechargeable external power source.
Place near the sturdy, permanent structure where
the camera is mounted. Plug the Battery Box into
the External Power Port. This will extend the life of
your camera in the field.
MOULTRIE ACCESSORIES
VII


