13
Chapter 2 Using the Printer
Operation of the Control Panel
You can control the basic paper feeding operation of the printer with the
button on the control panel. The LED indicators help you understand the
printer’s status.
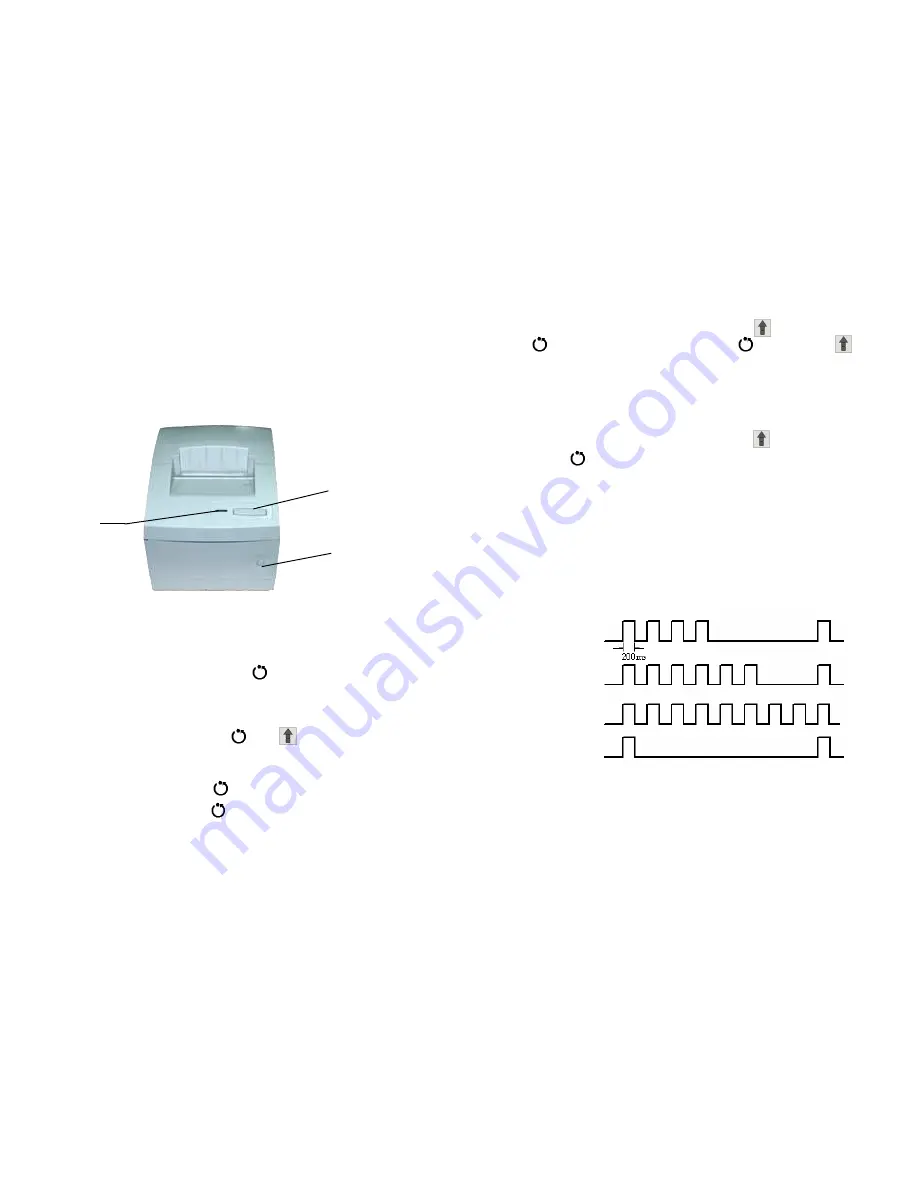
Figure 2-1 Indicators and Button
On/Off Switch
The Power switch on the front marked [ ] is used to turn the printer
on or off.
Buttons
There are two push buttons marked [ ]and [ ]. These two buttons
can be set to enabled or disabled by the printing commands.
l
Power On / Off
When in power off mode, press
[ ]
: printer is power up, LED on
When in power on mode, press [ ] : printer is power off, LED off.
l
Self-test mode
Loading the paper properly.
Feed buttons
Power switch
Indicator
14
In power off mode, while holding down the [ ] button and press
[ ] to turn on the power. Then release [ ] first and then [ ], Self-
test begins automatically. The Self-test will check the condition of printer.
If the printer prints out the Self-test receipt correctly, it means the printer is
working normally. The Self-test will print out the firmware version,
interface setting, and 96 ANK characters.
l
Hexadecimal printing
Open the upper cover. Hold down the [ ] button while and press
[ ] to turn on the power, the printer will go into hexadecimal printing
mode. In this mode, printer will print out all received data in
hexadecimal format regardless of it is a command code or ASCII code.
Indicators
There are two indicators on the panel of POS58
Ⅲ
, the Red one is the
Power indicator and the Green one is status indicator. While Green indicator
is on, this means the printer is in ON-LINE mode; otherwise in OFF-LINE
mode. Green indicator flashing stands for warning signal as described below:
Figure 2-2 Errors shown by flashing of indicator
Paper out
Upper cover
is opened
Print-head
overheated
Auto-cutter
error


