background image

5

Pair with Tapo Accessories

There are 2 methods to pair and connect the Tapo accessories (sensors, buttons, switches, thermostat and more) to your Tapo Hub. Before you start, 

make sure your Tapo hub has been set up and is online.

Note: There are 3 kinds of connection states of the hub, including Light, Moderate, and Dense. For optimal performance, avoid connecting more devices when the connection is Dense.

Method 1: Use Tapo App

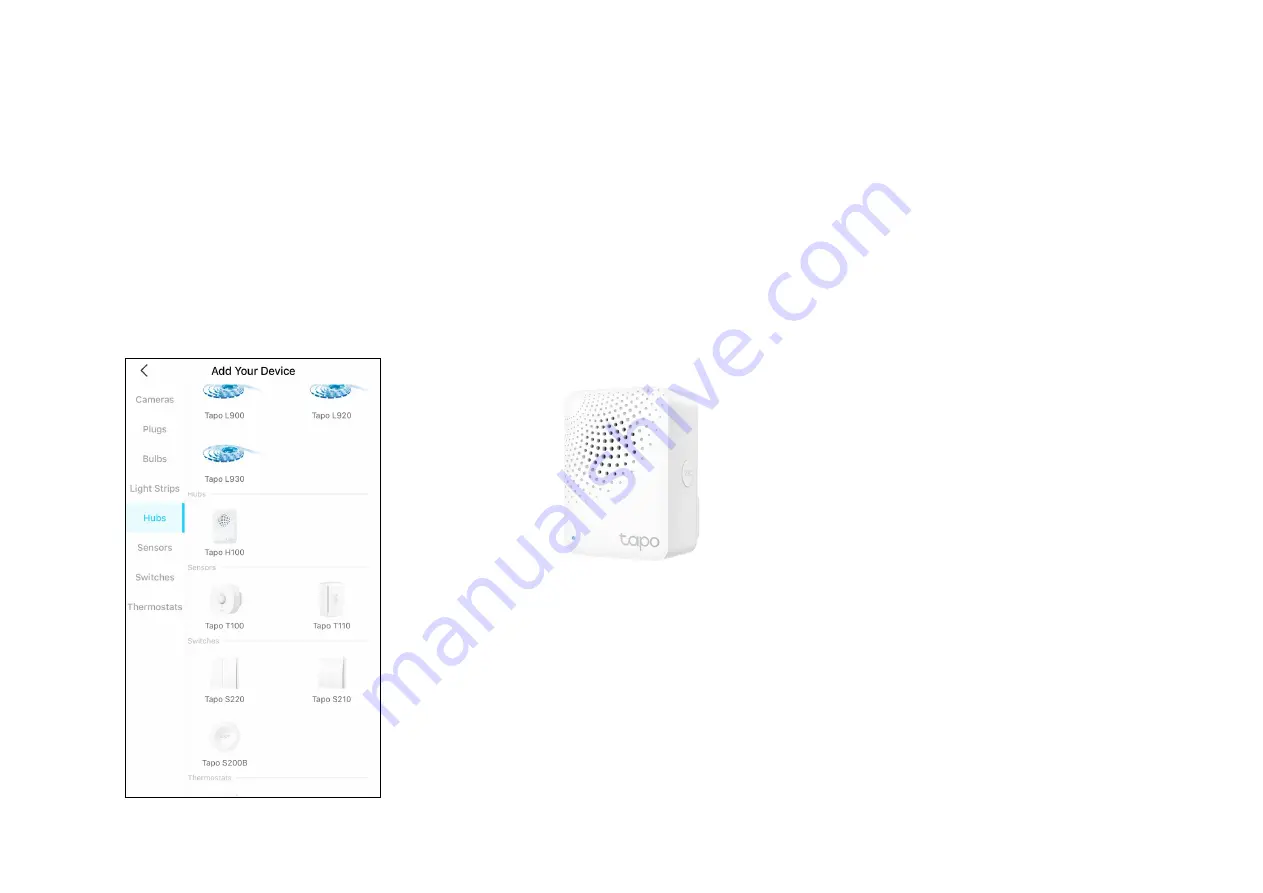
Open the Tapo app and tap + on the top 

right. Select the Tapo accessory you want 

to connect to the hub and follow the app 

instructions to complete pairing.

Method 2: Use Hub's SYNC Button

1. Refer to the user manual for how to put your 

Tapo accessory in pairing mode.

2. Single press the SYNC button on your hub 

for 1 second to enter pairing mode and the 

LED should blink blue.

3. After pairing complete, you will find your 

Tapo accessory shown in the home page of 

the Tapo app. Refresh the home page if you 

couldn't find it.

Summary of Contents for Tapo H100

Page 1: ...User Guide Tapo Smart IoT HUB Tapo H100 2021 TP Link 1910013073 REV1 0 0...

Page 2: ...Contents About This Guide 1 Introduction 2 Appearance 3 Set Up Your Tapo Hub 4 Pair with Tapo Accessories 5 Device Control 6 Set Protection Mode 7 Authentication 10...

Page 3: ...al Tapo experience Conventions In this guide the following convention is used Convention Description Blue Key information appears in teal including management page text such as menus items buttons and...

Page 4: ...larm Protect your home security by coordinating with Tapo smart sensors motion sensor window door sensor and more Smart Doorbell Easily build your smart doorbell system by installing the Tapo smart bu...

Page 5: ...e when ringing Press and hold for 5 seconds Only reset Wi Fi settings and keep other settings Press and hold for 10 seconds Restore your hub to factory default settings Speaker Status LED Solid blue S...

Page 6: ...the Tapo app from the App Store or Google Play or by scanning the QR code below OR Step 2 Log In Open the app and log in with your TP Link ID If you don t have an account create one first Step 3 Add Y...

Page 7: ...s when the connection is Dense Method 1 Use Tapo App Open the Tapo app and tap on the top right Select the Tapo accessory you want to connect to the hub and follow the app instructions to complete pai...

Page 8: ...ap on the device to control and manage Home Page You can view the brief status of your Tapo Hub anytime anywhere and tap the card to enter the status page Device Status Page You can tap the mode to en...

Page 9: ...home Set all outdoor sensors and door window sensors as trigger devices to arm your home then you could move freely in your home without triggering your indoor sensors Away Mode Use this mode when you...

Page 10: ...n you are at home Alarm will be triggered when the selected sensors detect events Alarm Sound Select the sound your hub will alarm when selected sensors detect events Alarm Volume Set the volume your...

Page 11: ...are set go to the hub status page and tap the icon on the top to activate or deactivate the mode If you don t activate any mode the Protection Mode will be off Set Protection Mode Before setting prote...

Page 12: ...lled and used in accordance with the instructions may cause harmful interference to radio communications However there is no guarantee that interference will not occur in a particular installation If...

Page 13: ...re limits set forth for an uncontrolled environment This device and its antenna must not be co located or operating in conjunction with any other antenna or transmitter To comply with FCC RF exposure...

Page 14: ...and EU 2015 863 The original EU declaration of conformity may be found at https www tapo com en support ce RF Exposure Information This device meets the EU requirements 2014 53 EU Article 3 1a on the...

Page 15: ...e doit pas produire de brouillage 2 L appareil doit accepter tout brouillage radio lectrique subi meme si le brouillage est susceptible d en compromettre le fonctionnement Radiation Exposure Statement...

Page 16: ...diphenyl ethers PBDE PCB 1 0 1 wt 0 01 wt Note 1 Exceeding 0 1 wt and exceeding 0 01 wt indicate that the percentage content of the restricted substance exceeds the reference percentage value of prese...

Page 17: ...actual room conditions such as unheated warehouses or garages For indoor use only Do not overload power outlets This can result in the risk of fire or electric shock Completely insert the product into...

Page 18: ...external RF radio frequency energy Do not use this product in health care facilities Hospitals or health care facilities may be using equipment that could be sensitive to external RF energy Do not use...

Page 19: ...erator s manual Fuse Caution risk of electric shock Class II equipment with functional earthing Class II equipment RECYCLING This product bears the selective sorting symbol for Waste electrical and el...

Reviews: