


6
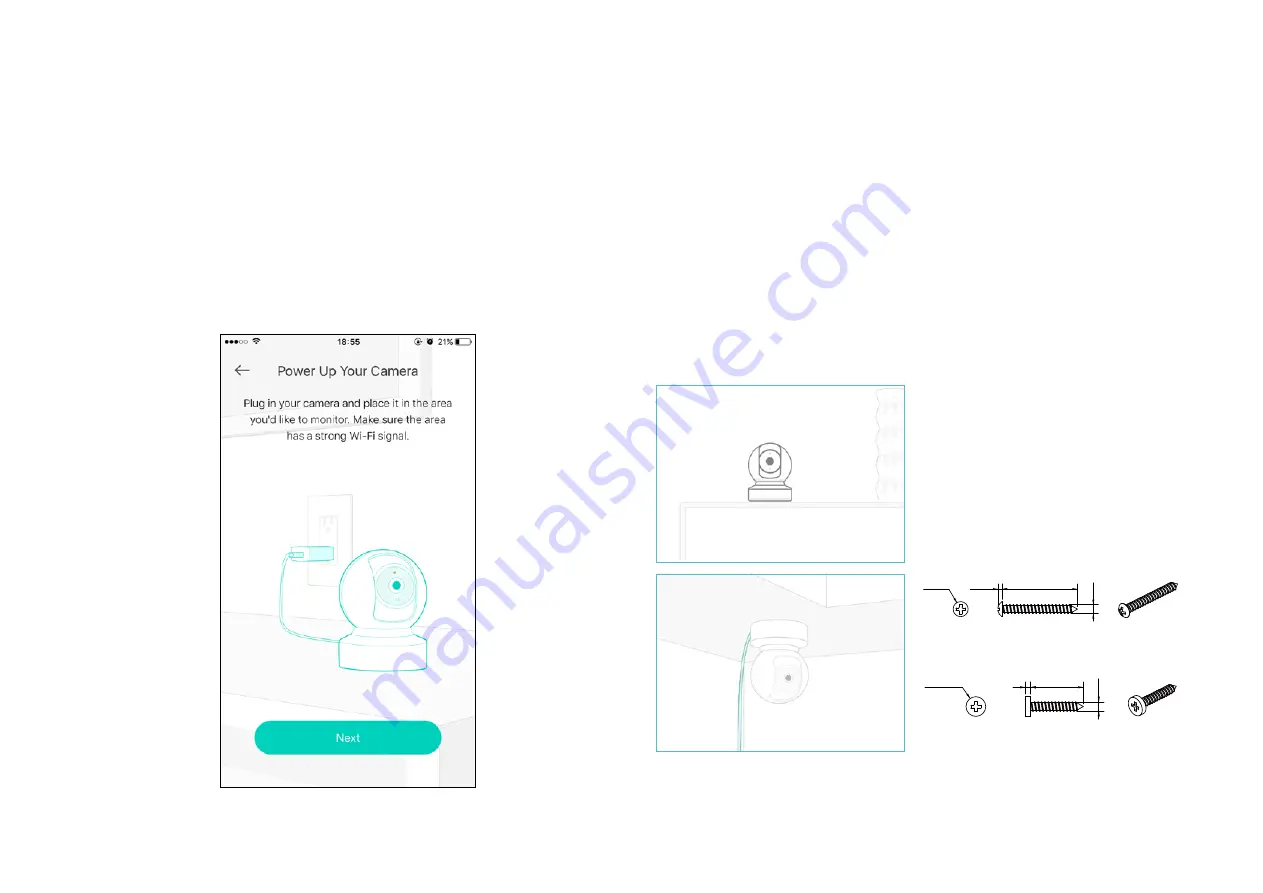
Step 4. Configure Camera
Follow app instructions to configure your camera and add it to your
home network.
Step 5. Place Camera
Place your camera on a flat surface, or install it on a wall or ceiling with
the provided indicator label and mounting screws.
• For soft surface: Directly screw the screws in.
• For cement wall: Drill two
φ
6mm holes with the help of indicator label, insert the plastic
expansion tubes into holes and screw the mounting screws into the expansion tubes.
n 7.5
2
20
3.5
UNIT: mm
n 6
30
1.8
3.5
UNIT: mm
Note: Your camera might use one of
the following two types of screws
.
Summary of Contents for kasa KC410S
Page 1: ...User Guide Kasa Spot Pan Tilt 24 7 Recording KC410S 2021 TP Link1910012918 REV1 0 0...
Page 19: ...17 Manage Device Settings 3 Edit device name...
Page 27: ...25 Manage Device Settings 11 Choose whether to rotate the video...
Page 37: ...35 6 The Smart Action is created successfully and displayed in the Smart Actions list...


