How to Upgrade the Firmware of Wireless Controller
Notice
:
After you downloaded the firmware from TP-LINK website, please use decompression software
such as WinZIP or WinRAR to extract the firmware file to a folder;
It’s recommended to upgrade the firmware via Ethernet cable connection but not wireless
connection;
Do NOT turn off the power or unplug the Ethernet cable during upgrade process;
It is recommended to back up the current settings so you can restore the settings manually after
the upgrade.
Preparation:
1.
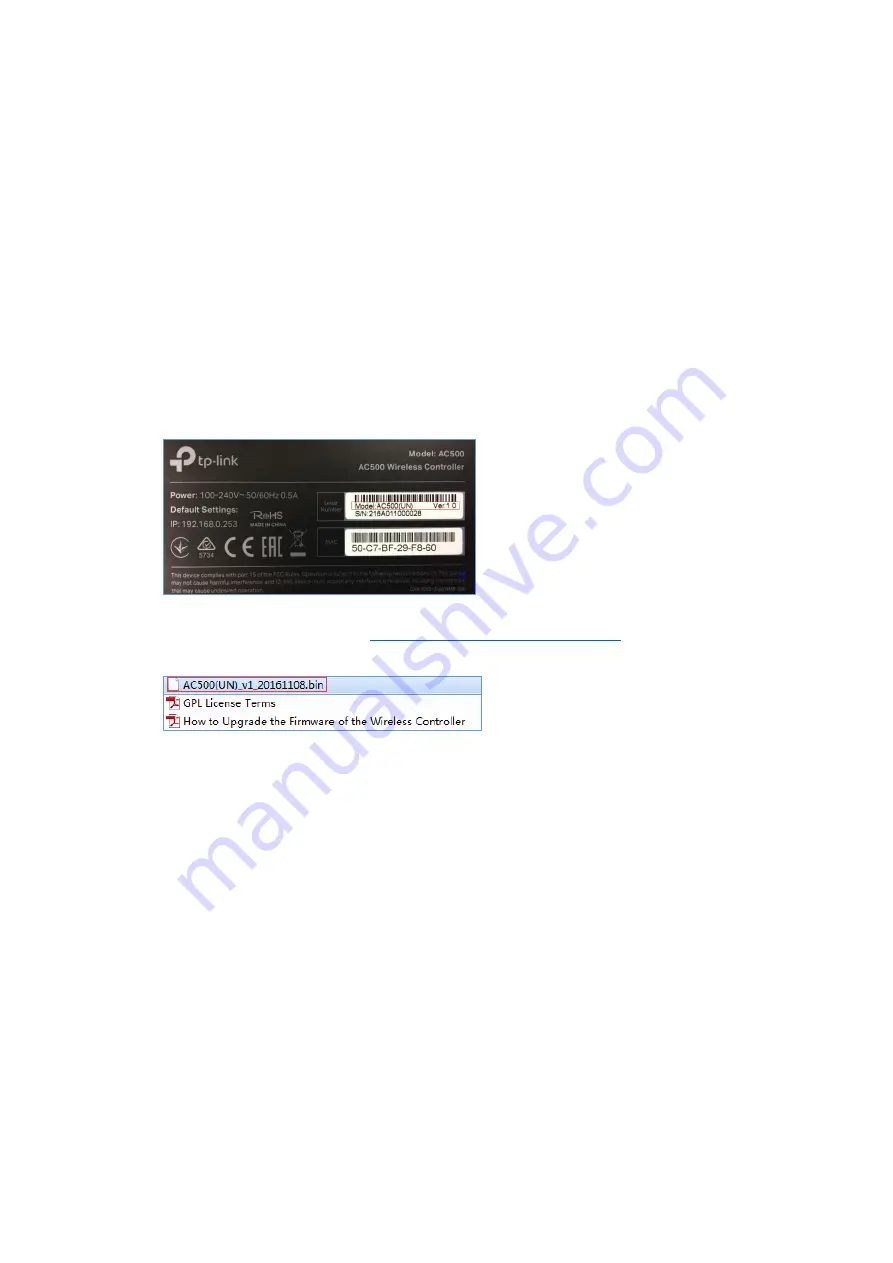
Verify the model number and hardware version of your devices from the label back on the devices
to make sure you are using the correct firmware.
2.
Find and Download the correct firmware according to the model number and hardware version
from the TP-LINK official website
http://www.tp-link.com/en/support.html
. And then extract the
bin file.
Upgrade the Firmware:
Step 1
Login to the Web Page of the Wireless Controller.
Note
: the default management IP address of the AC controller is 192.168.0.253, and it will ask you to
set up the Username and Password the first time when you login to the Web Page. If you do not know
how to login to the Web Page of the AC controller, please refer to the Installation Guide of the Wireless
Controller for help. You can get the Installation Guide from the CD in the package or download it from
the TP-LINK official website.
Step 2
Then please go to
System Tools
–
Administration
–
Firmware Upgrade
page as shown in the
picture below:


