Celica (RHD) - 26
Celica
TNS 500
09-99
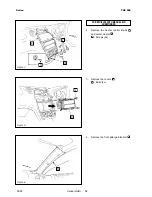
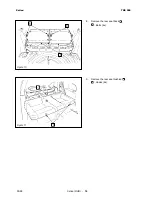
3.
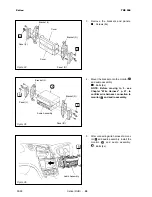
Remove the brackets and panels.
: Screws (8x)
4
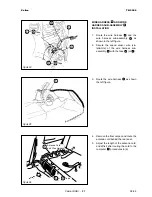
4.
Mount the bracket onto the monitor
and audio assembly.
: Bolts (8x)
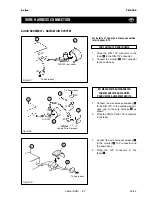
NOTE: Before moving to 5, see
Chapter “Wire Harness” p. 27, to
confirm wire harness connection to
monitor
and audio assembly.
1
5
1
Figure 34
Figure 35
Cover
Cover
Audio Assembly
Bracket (R)
Bracket (R)
Bracket (L)
Bracket (L)
Panel (L)
Panel (L)
Panel (R)
Panel (R)
4
5
4
5
1
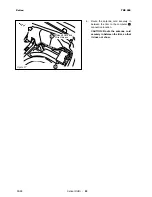
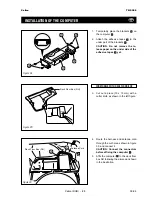
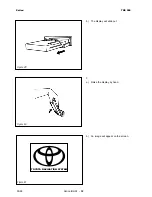
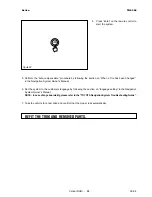
5.
After connecting wire harness to moni-
tor
and audio assembly, install the
monitor
and audio assembly.
: Bolts (4x)
5
1
1
Figure 36
Audio Assembly
5

