


T.O.V.A. 9 INSTALLATION GUIDE PAGE 4
Step 5: Administer a T.O.V.A. test
We strongly recommend you administer a test to yourself or a colleague prior to using the T.O.V.A. in your work.
Here's how to administer a T.O.V.A. test:
Run the T.O.V.A.
Select 'New Subject', fill in the subject information, and click 'Save'.
Select the subject you just created and select 'New Session'. Enter in the appropriate session information.
Select 'Launch'.
Select 'Calibrate display' to calibrate your monitor. Follow the on-screen instructions that explain how to hold the
microswitch against your monitor and press the button.
Select 'Test instructions'.
Select 'Practice test'. Listen for the end-of-test tones to let you know the practice test is over.
Select 'T.O.V.A. test'. Listen for the end-of-test tones to let you know the test is over.
Select 'Save test results' to download the test you've just given. This will cost one test credit, but the USB device
comes with five free test credits for this reason.
Select 'View report'.
1
2
3
4
5
6
7
8
9
10
Windows:
Double-click the T.O.V.A. 9 icon on your desktop.
Mac:
In the applications folder, open the TOVA folder and double-click the TOVA application.
EAV Setup:
The session administration dialog will immediately appear.
PTE Setup:
Your computer will restart and automatically enter the PTE.
PTE Setup:
Select 'Done', and your system will restart into your regular operating system.
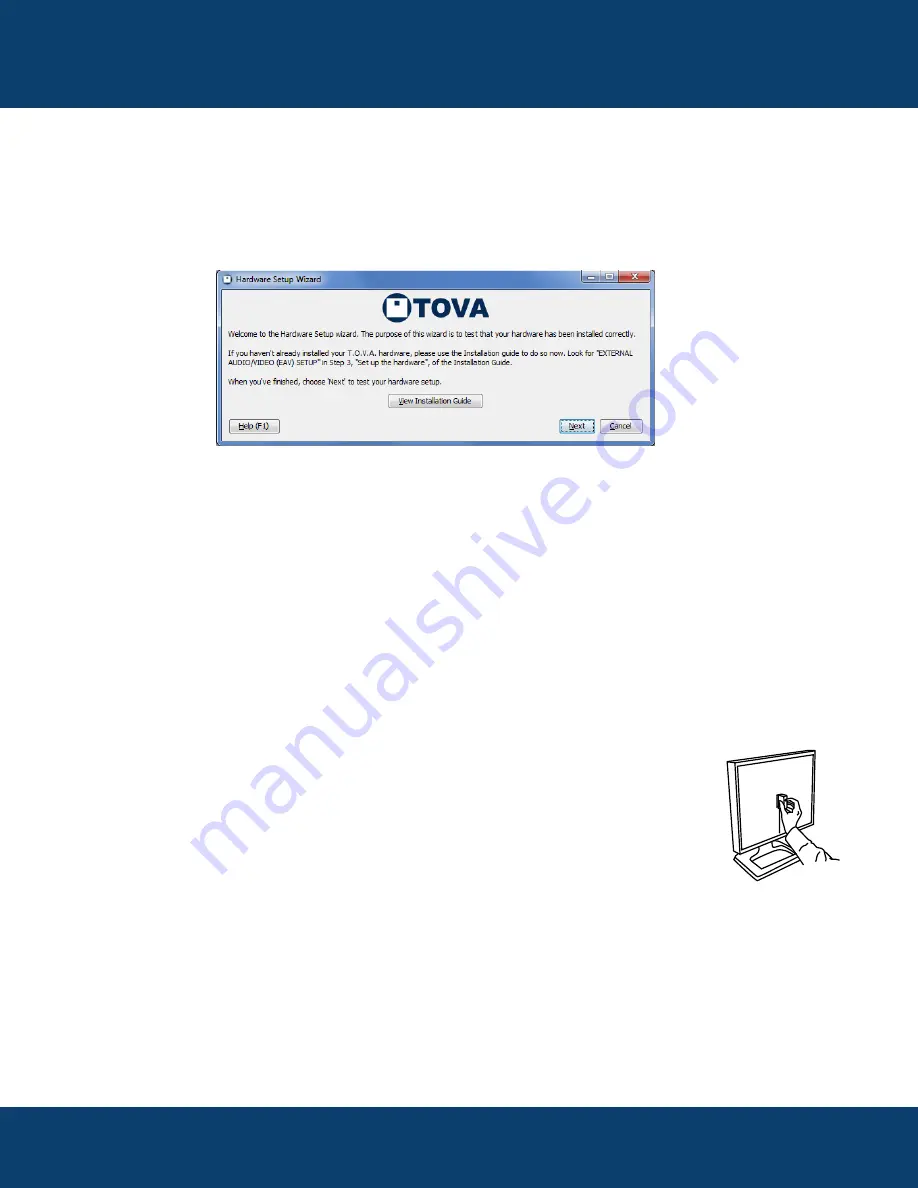
Step 4: Test the T.O.V.A. hardware
Once you have connected your T.O.V.A. hardware, you should be on the first page of the Hardware Setup wizard. Click 'Next' and
follow the instructions to test the connections.
(Mac users: Insert CD and hold down the 'C' key while restarting.)
Thank you for using the T.O.V.A.!
L4R1


