


33
Operations
32
■
Changing picture mode
The projected image mode can be selected.
Press the remote control’s PICTURE button.
Pressing the button switches Bright/Standard/True color in turn.
Note
• [
Picture mode
] of the Image adjustment menu has the same
function
p.38
.
■
Changing screen size
The screen size for the projected image can be changed.
Press the remote control’s SCREEN SIZE button.
Pressing the button switches Full/Thru/Wide in turn.
Notes
• Thru display is available for computer-input images.
• [
Screen size
] of the
Display setting
menu has the same function
p.40
.
• If you use this function on commercial video software, broadcast
or cable-broadcasting except for the purpose of your private
viewing and listening, it may infringe the copyright protected by
the copyright laws.
■
Freezing the image (Freeze)
The image being projected can be frozen. This function is to be used
to pause a video during a presentation, etc.
Press the remote control’s FREEZE button.
The picture pauses. (The Freeze function is released when
pressing the
FREEZE
button again.)
Notes
• The
icon will appear while freeze is in effect.
• Other operation will also release the freeze.
• Even if an image is frozen on the projector, the pictures are
running on the video or other equipment.
• If you use this function on video software sold on the market,
broadcast or broadcast on cable except for the purpose of your
private viewing and listening, it may infringe the copyright
protected by the copyright laws.
Remote
Control
Remote
Control
Remote
Control
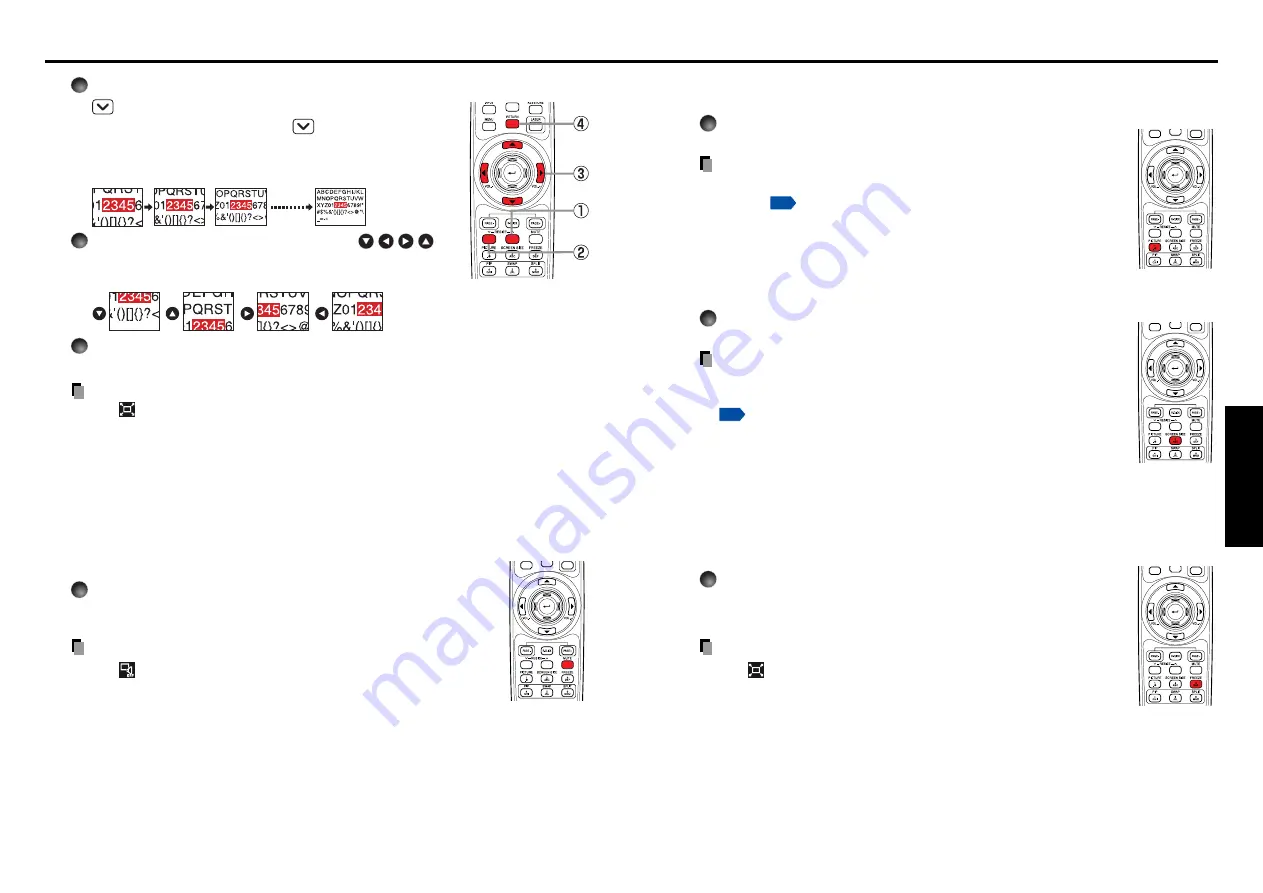
2
To zoom out, press the remote control’s RESIZE
button.
Each time you press the RESIZE
button, zoom ratio is
down. You can keep pressing.
(However, the image cannot be smaller than the original
size.)
3
To move the area to zoom in, use the
buttons.
You can keep pressing.
4
To reset the zoom, press the RETURN button.
The image is reset to the original size.
Notes
• The
icon appears while resizing.
• Operating a function other than Mute will release resizing.
• As zooming is processed digitally, the image quality is degraded in larger zoom
ratio.
• During resizing or moving the zooming area, the image may be distorted.
■
Cutting off the picture and sound temporarily (Mute)
When you want to project the images of another projector, overhead
projector, etc. temporarily, this projector’s images and sound can be
turned off.
Press the remote control’s MUTE button.
The picture and sound are cut off. (The Mute function is released
when pressing the
MUTE
button again.)
Notes
• The
icon will appear while mute is in effect.
• Operating any other functions will also cancel the muting.
Remote
Control
Remote
Control
Using handy features (Continued)
Summary of Contents for TDP-T250U
Page 31: ......


