CTX28 Installation
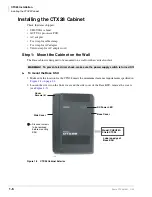
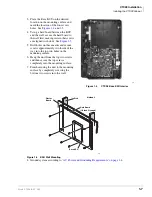
Installing the CTX28 Cabinet
1-8
Strata CTX28 I&M 3/05
PCB Installation
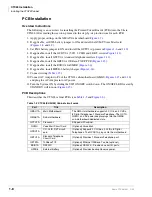
Overview Instructions
The following is an overview for installing the Printed Circuit Boards (PCBs) into the Strata
CTX28. After reading this section, proceed to the step-by-step instructions for each PCB.
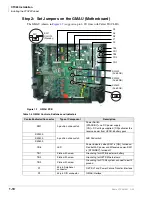
1. Apply proper settings on the GMAU1A (motherboard
).
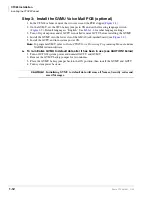
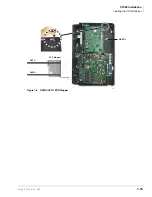
2. If applicable, set SW6 battery jumper to ON and install the GVMU Voice Mail card
and
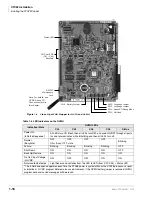
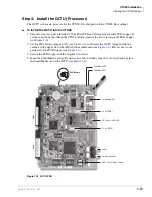
3. Set P601 battery jumper to ON and install the GCTU1A (processor
and
).
4. If applicable, install the GCDU1A (3 CO, 3 CLID and 8 DKT circuits
).
5. If applicable, install GSTU1A (standard telephone interface
6. If applicable, install the GETS1A 100Base-TX I/F PCB (
).
7. If applicable, install the BSIS1A for SMDR (
).
8. If applicable, install HPFB-6 battery/charger (
).
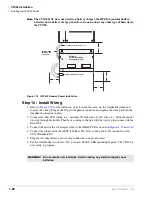
9. Connect wiring (
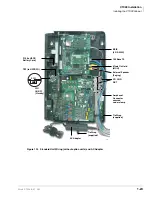
10.Connect AC Adaptor to P2 of the CTX28 sub-motherboard (GMAS,
and
and plug the AC Adaptor into AC power.
11. Turn the System ON by sliding the SW1 ON/OFF switch down. The ON/OFF LED located by
STANDBY will turn on (
PCB Descriptions
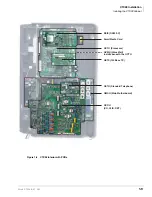
This describes the CTX28 cabinet PCBs (see
Table 1-3 CTX28 (CHSU28) Cabinet circuit cards
Part
Title
Description
GMAU1A
Main Motherboard
The GMAU motherboard supports 3 CO lines, 3 CLIDs,
8 Digital Telephones, 1 Standard Telephone. The GCTU,
GVMU, and AC power adaptor plugs into the GMAS
sub-motherboard dedicated slots.
GMAS1A
Sub-motherboard
GCTU1A
Processor
Shipped with cabinet.
GVMU
Voice Mail Circuit Card
(Optional) Voice Mail.
GCDU1A
CO, CLID, DKT circuit
card
(Optional) Supports 3 CO lines, 3 CLIDs, 8 Digital
Telephones. The GCDU1A plugs onto the motherboard.
GSTU1A
Standard Telephone
Circuit Card
(Optional) Provides 1 Standard Telephone port.
GETS1A
100BaseT I/F
(Optional) Ethernet 100Base T cable.(optional)
BSIS1A
RS232C
(Optional) RS232-C. Provides 4 serial I/O ports.
HPFB6
External Battery
(Optional) Provides backup Reserve power.


