


67
Recording
Pla
ybac
k
Intr
oduction
Editing
Librar
y
Netw
ork Na
vi
Function setup
Other
s
Resuming playback from the location last
stopped at (Resume Play)
You can resume playback from the location where you
stopped at.
If you press PLAY button after stopping playback, the
playback resumes from the location you have stopped.
If you stop playback by pressing STOP button twice,
the resume playback feature will be cancelled.
Notes
• Resume feature cannot function when:
– you select a disc menu language (
page 176) or change
the parental lock setting (
page 177).
– you play a PBC-featured VIDEO CD.
– you open the disc tray.
• There may be a difference in the location where playback
resumes depending on the disc.
• While the recorder retains a location in memory, initial setting
changes may function only after the memory is cleared.
Selecting the sound
If a disc contains several languages, you can select a
preferred language from them to hear.
1) During playback, press AUDIO.
Each time you press the button, output sound
changes.
Selecting Subtitles
You can display subtitles on the TV screen and select
a subtitle language from those included on the disc.
1) Press SUBTITLE during playback.
The current subtitle setting appears.
e.g.
2) Press to select “Status,” then press ADJUST
to select “On.”
Skip to step 3 if “On” is already displayed.
3) Press to select “Subtitle,” then press ADJUST to
select a language.
The subtitles of recorded languages appear.
•
To turn the subtitles on or off
At step 2, select “Off” by pressing ADJUST button.
Notes
• Some DVD video discs are set to display subtitles
automatically.
• Depending on the scene, subtitles may not appear
immediately after you set the subtitle function to on.
• Some DVD video discs will allow you to change subtitle
languages and turn subtitles on or off only via the disc
menu.
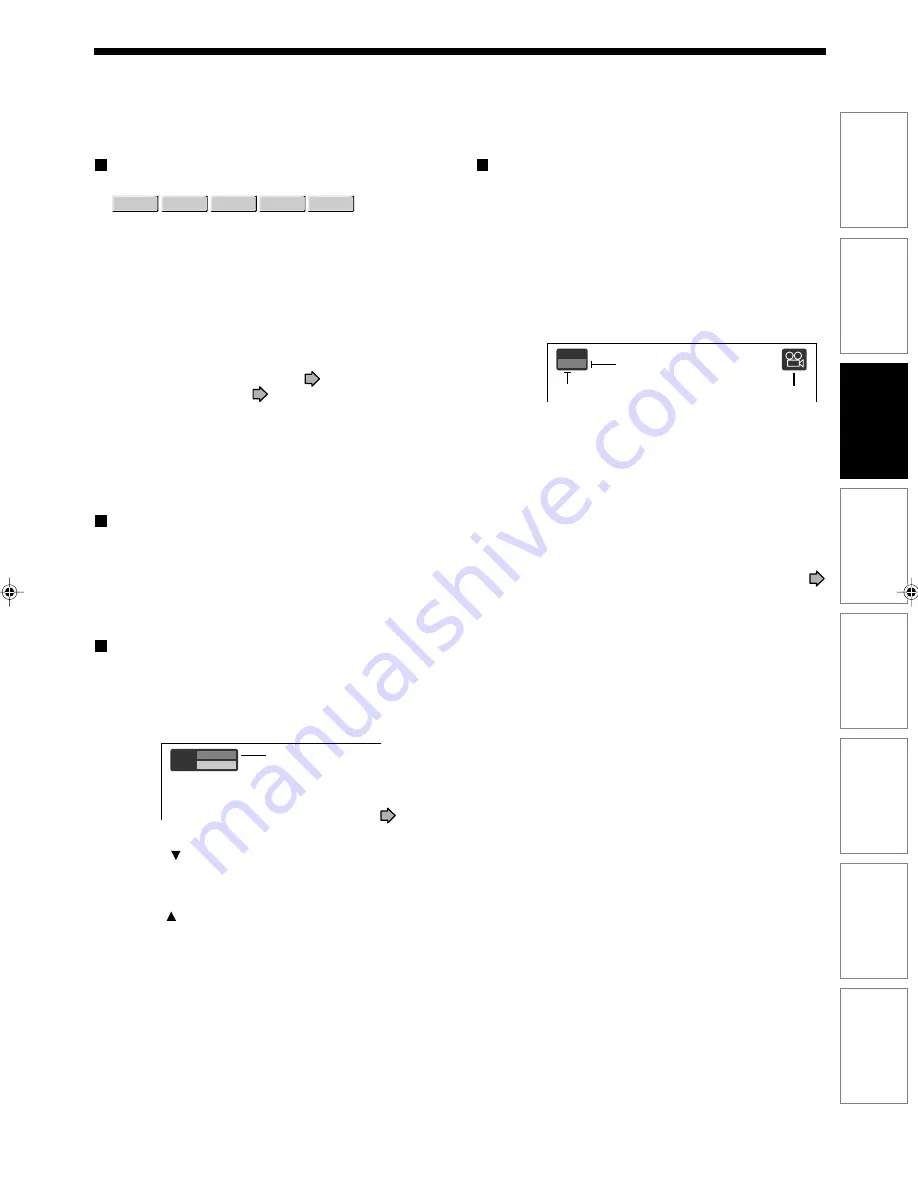
Selecting the camera angle
If the scene was recorded with multiple angles, you
can easily change the camera angle of the scene you
are watching.
1) Press ANGLE while playing a scene recorded with
multiple angles.
While playing a scene recorded with multiple
angles, the angle icon appears on the TV screen
and on the front panel. Press ANGLE button while
the angle icon is displayed.
e.g.
2) Press ADJUST while the angle number is
displayed on the TV screen.
You can also select the camera angle by pressing
ANGLE button several times.
•
The angle icon disappears after about 3 seconds
if no further selections are made.
•
To turn off the angle icon
Set “On screen display” in the setup menu to “Off” (
page 181).
Most of the on-screen display including the angle icon
will not appear.
While the angle icon is flashing on the front panel
display, you can change the camera angle.
Notes
•
You can also change the camera angle during still
playback. The camera angle changes to the new setting
when you resume normal playback.
•
If you pause a picture immediately after changing a camera
angle, the resumed playback picture may not display the
new camera angle.
•
Depending on a disc, the camera angle may not change
even though the angle number changes.
DVD-VIDEO
VCD
CD
DVD-R
DVD-RW
Setting number and language
The language code appears
instead of the language name.
Refer to the list of languages and
their abbreviations. (
page
195)
Subtitle
Status
1 – –
Off
Angle
1
/
6
Angle icon
Total number of angles
Current selection
RD-XS55SU_Ope_E_p066-071
06.3.20, 4:16 PM
67
Summary of Contents for RD-XS55KU
Page 58: ......
Page 82: ......
Page 130: ......
Page 140: ......
Page 197: ...197 Others Function setup Library Editing Playback Recording Introduction Network Navi Memo ...
Page 198: ...198 Memo ...
Page 199: ...199 Others Function setup Library Editing Playback Recording Introduction Network Navi Memo ...


