


21
SETTING UP YOUR TV
Engl
ish
ATV Manual Tuning
The television can be tuned-in manually using
ATV Manual
Tuning
. For e
x
ample, you might use the feature if the television
cannot be connected to a media recorder/decoder with a SCART
lead or when you want to tune-in a station on another
System
.
Use
C
and
c
t
o move across the screen and select any of the
ATV Manual Tuning options
.
Then use
B
or
b
to adjust the
settings
.
1
Position
The number to be pressed on the remote control to tune
the channel.
2
System
Specific to certain areas.
3
Colour System
Factory set to Auto, should only be changed if problems
are experienced, i.e. NTSC input from external source.
4
Skip
Set Skip to On (
8
) or Off (
(
) for the selected channel.
See page 22.
5
Signal Class
The channel classification.
6
Channel
The channel number on which a station is being
broadcast.
7
Search
Search up and down for a signal.
8
Manual Fine Tuning
Only used if interference/weak signal is experienced. See
page 78.
9
Station
Station identification. Use the
B
b
and
C
c
buttons to
enter up to seven characters.
To allocate a position on the television for a decoder and
media recorder: turn the decoder on, insert a pre-recorded
film in the media recorder, press PLAY and manually tune.
a
In the
System Setup
menu, press
b
to select
ATV
Manual Tuning
and press
OK
.
b
Use
B
or
b
to select the desired position. We suggest
Pos. 0
for a media recorder.
c
Press
OK
to select. If the channel chosen for the media
recorder is set to skip, Skip should be removed before
storing.
d
Press
c
to select
System
and press
B
or
b
to change
if required.
e
Then press
c
to select
Search
.
f
Press
B
or
b
to begin the search. The search symbol
will flash.
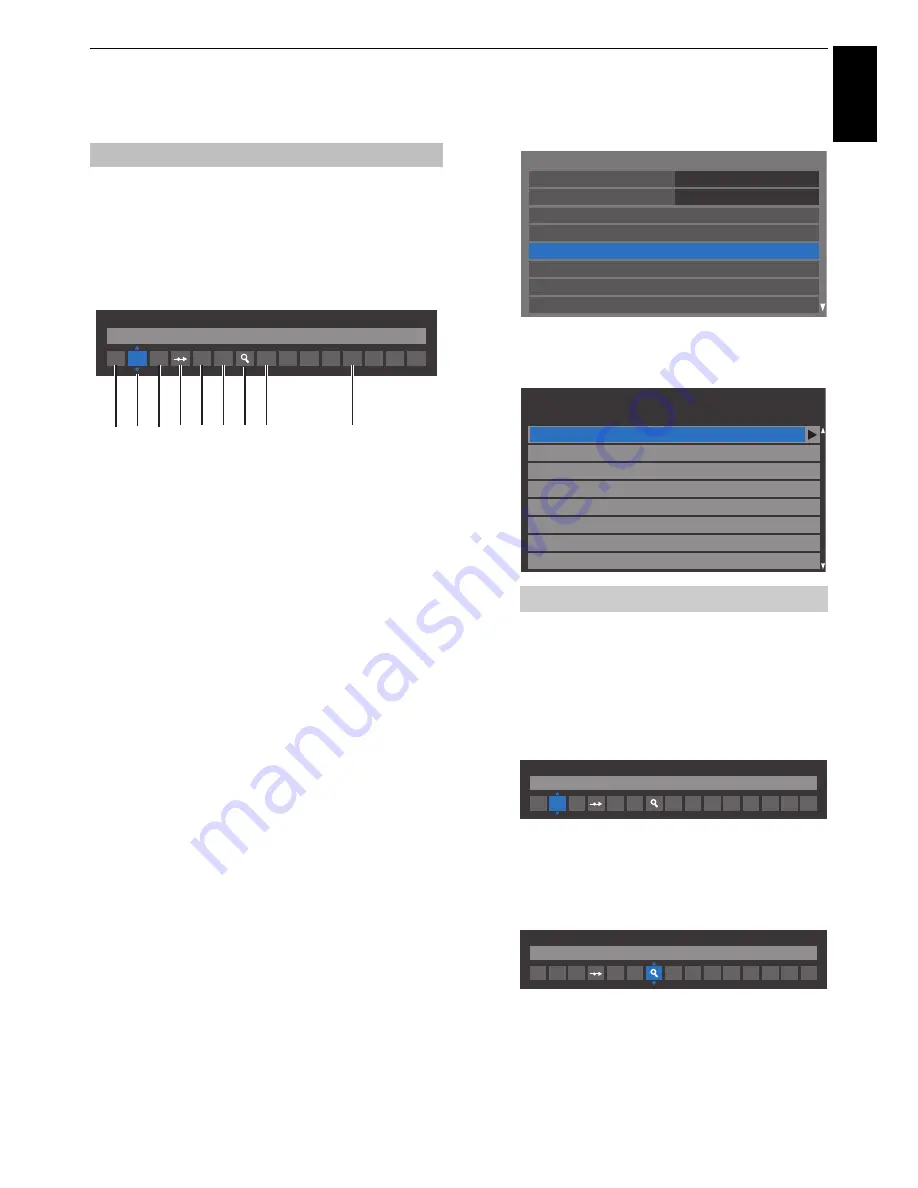
Tuning
ATV Manual Tuning
System
I
A
1
C
2
0
C
V
R
1 2 3 4
6
5
7 8
9
Different
Channel
numbers may be displayed.
System Setup
Menu Language
English
Country
Ant/Cable In
ATV Manual Tuning
DTV Manual Tuning
Quick Setup
DTV Settings
Auto Tuning
Germany
Pos.
Channel
Station
ATV Manual Tuning
1
2
3
4
6
7
8
C2
C7
S10
S40
C22
5
C25
C28
C30
ATV Manual Tuning
System
I
A
1
C
2
0
ATV Manual Tuning
Search
I
A
1
C
2
0


