Installing the Printer on Mac OS X 10.2.4 to Mac OS X 10.4.x 133
Installing the Printer on Mac OS X 10.2.4 to Mac OS X 10.4.x
Install and configure the printer by the following steps:
P.133 “Installing the Macintosh PPD File”
P.149 “Configuring the Printer on Mac OS X 10.2.4 to Mac OS X 10.3.x”
P.158 “Configuring the installable options”
Installing the Macintosh PPD File
This equipment supports printing from Mac OS X 10.2.4 to Mac OS X 10.4.x.
Installing the PPD file to Mac OS X
The following describes an installation on Mac OS 10.4.x. The procedure is the same when Mac
OS X 10.2.4 to 10.3.x is used.
1
Insert the Client Utilities CD-ROM into the CD-ROM drive and open
your language folder in the “MacPPD:OSX” folder.
2
Copy the GZIP file (TOSHIBA_e-ST450_453Srs.dmg.gz or
TOSHIBA_e-ST280_283Srs.dmg.gz) to the desktop.
3
Double-click the GZIP file on the desktop.
y
The Disk Image file (TOSHIBA_e-ST450_453Srs.dmg or TOSHIBA_e-
ST280_283Srs.dmg) is extracted on the desktop.
y
If the installer window does appear, go to step 5.
4
Double-click the Disk Image file (TOSHIBA_e-ST450_453Srs.dmg or
TOSHIBA_e-ST280_283Srs.dmg).
y
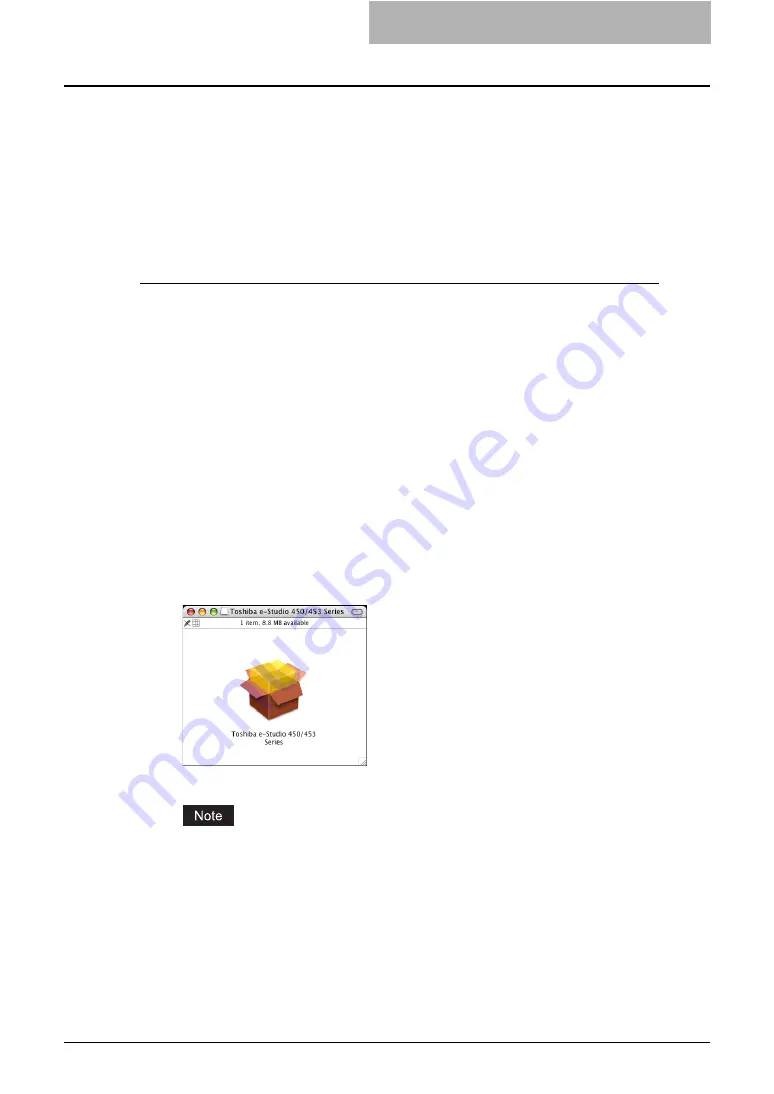
The installer window appears.
5
Double-click the icon in the installer window.
y
The welcome message is displayed.
When you install the PPD file to Mac OS 10.2.4 to 10.2.8, the Authenticate dialog box
appears. In that case, enter the name and password and click [OK].
Summary of Contents for e-studio202L
Page 1: ...MULTIFUNCTIONAL DIGITAL SYSTEMS Printing Guide ...
Page 2: ......
Page 10: ......
Page 14: ...12 INDEX 349 ...
Page 20: ......
Page 200: ......
Page 332: ......
Page 354: ......


