HDD REMOVAL
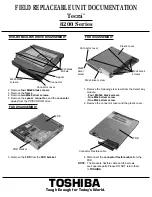
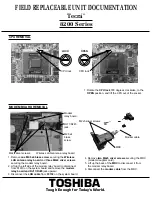
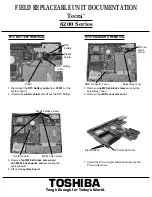
5. Remove
four M3x4 flat head brass screws
securing
the HDD to the bracket and lift the drive out of the
bracket
.
6. Unplug the
HDD connector
from the drive.
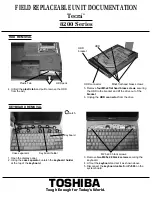
KEYBOARD REMOVAL
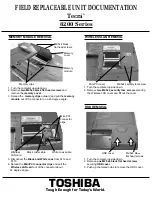
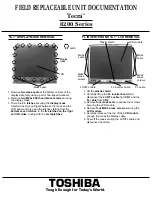
1. Open the display panel.
2. Using the
case separator,
unlatch the
keyboard holder
at the top of the
keyboard
.
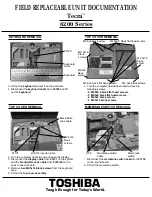
M3x4 flat head brass screws
3. Remove
two
M2.5x2.8 black screws
securing the
keyboard.
4. Lift out the
keyboard
and set it as shown above.
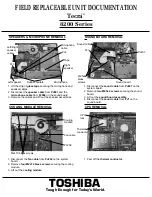
5. Disconnect the
keyboard cable
from
PJ580
on the
system board.
HDD connector
TOSHIBA
Tough Enough for Today’s World.
FIELD REPLACEABLE UNIT DOCUMENTATION
Tecra
TM
8200 Series
4. Unfold the
plastic tab
and pull to remove the HDD
from the bay.
Plastic Tab
HDD pack
Keyboard holder
Keyboard
Latch
Case separator
M2.5x2.8 black screws
HDD
HDD
bracket


