Operation
The display computer controls the spray application
rate for varying vehicle speeds. You set the target
volume per unit area to spray, and the display
computer automatically maintains the flow within the
proper range of the vehicle speed and continually
displays the actual volume of material per area
sprayed. The display computer also monitors the
area sprayed, the speed of the vehicle, and the total
volume of material sprayed.
There are 2 methods of using the display; using the
WAAS signal and using the RTK signal. WAAS is
using only a GPS signal to use the system and RTK
uses both a GPS signal and a cellular signal. The
RTK signal allows more detail and capabilities with
the console.
Note:
Ensure that the sprayer is calibrated correctly
before starting to spray.
Understanding the Different
Display Modes
•
Easy Mode—This mode is for general sparaying
that all operators can use.
•
Standard Mode—This mode is for a supervisor or
superintendent to use. It is password protected
and uses extra features for setting up the display.
The standard mode information is in video format.
Please refer to the videos on the USB drive
that came with the display.
•
Expert Mode—This mode is for the distributor
to use. It is password protected and allows the
distributor to help with customer service.
Starting the Display
1.
Connect the display to a power supply.
Ensure that associated devices, such as the
GPS (Global Positioning System) and ECU
(Electronic Control Unit), are connected.
2.
Start the machine and wait a few seconds for
the console to start.
Note:
The green button turns the display power
on and off. Turning off the display computer
does not affect the data stored in the computer.
Note:
The red button
resets
the display and
may lose unsaved data. Reset the display only if
the display freezes or cannot be turned off in the
normal way.
Do not reset the display unless
there is a problem.
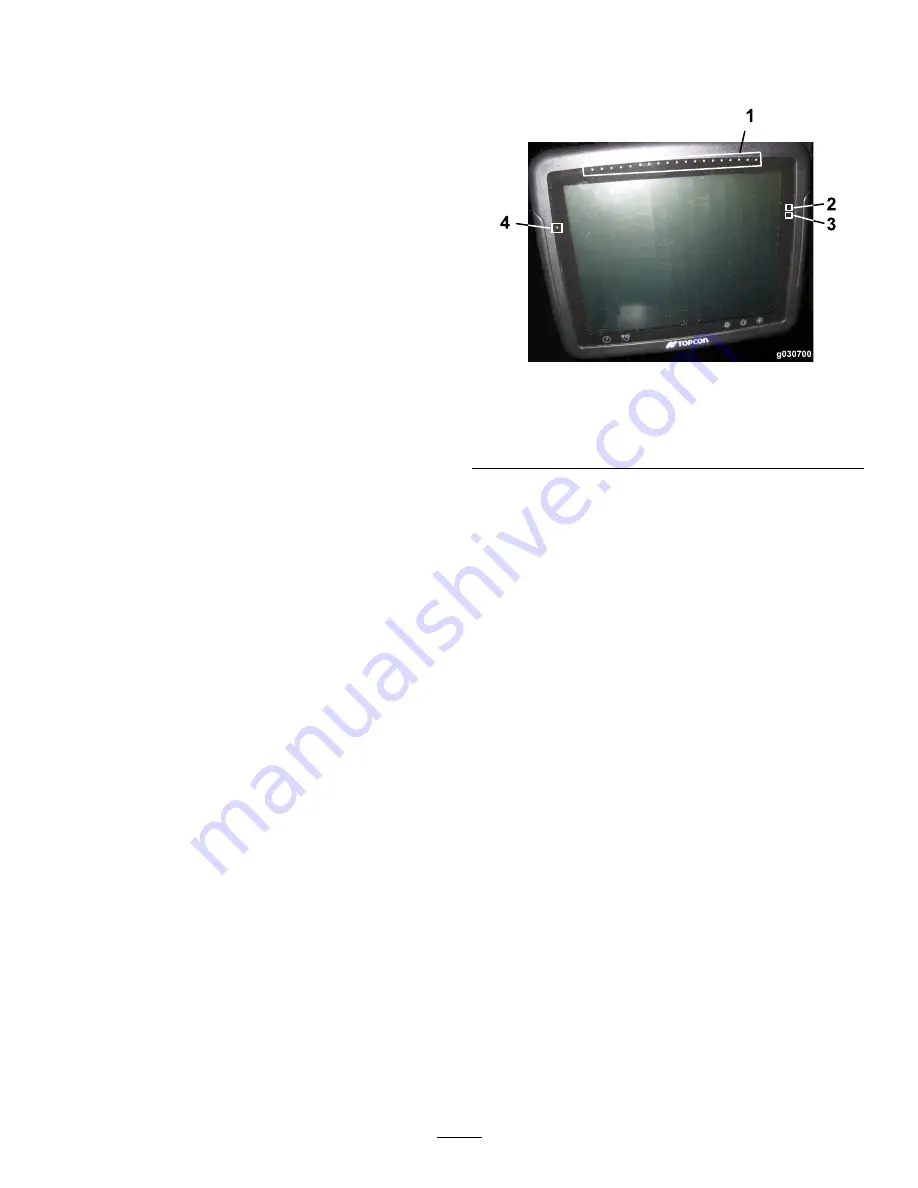
Understanding the LED
Lights
g030700
Figure 6
1.
LED light bar
3.
Console battery-status
LED
2.
Light sensor
4.
Supply-status LED
•
LED light bar—as the console powers up, the
lightbar will show red, green, and then blue.
•
Light sensor—helps determine the display
brightness in
AUTO
mode.
•
Console battery-status LED—the following is a
general guide to the meaning of battery status
LED colors.
– LED is green—the console battery is fully
charged.
– LED is yellow—the console battery is partly
charged.
– LED is red—the console battery is discharged.
– LED is blue and flashing—the console battery
is charging.
•
Supply status LED—the following is a general
guide to the meaning of power supply status LED
colors.
– LED is green—good supply.
– LED is yellow—low supply.
– LED is red—very low supply or off.
6
Summary of Contents for Multi Pro 5800 41623
Page 18: ...Notes...
Page 19: ...Notes...


