Toro 22188TE Operator'S Manual Download Page 1

Form No. 3364-341 Rev B

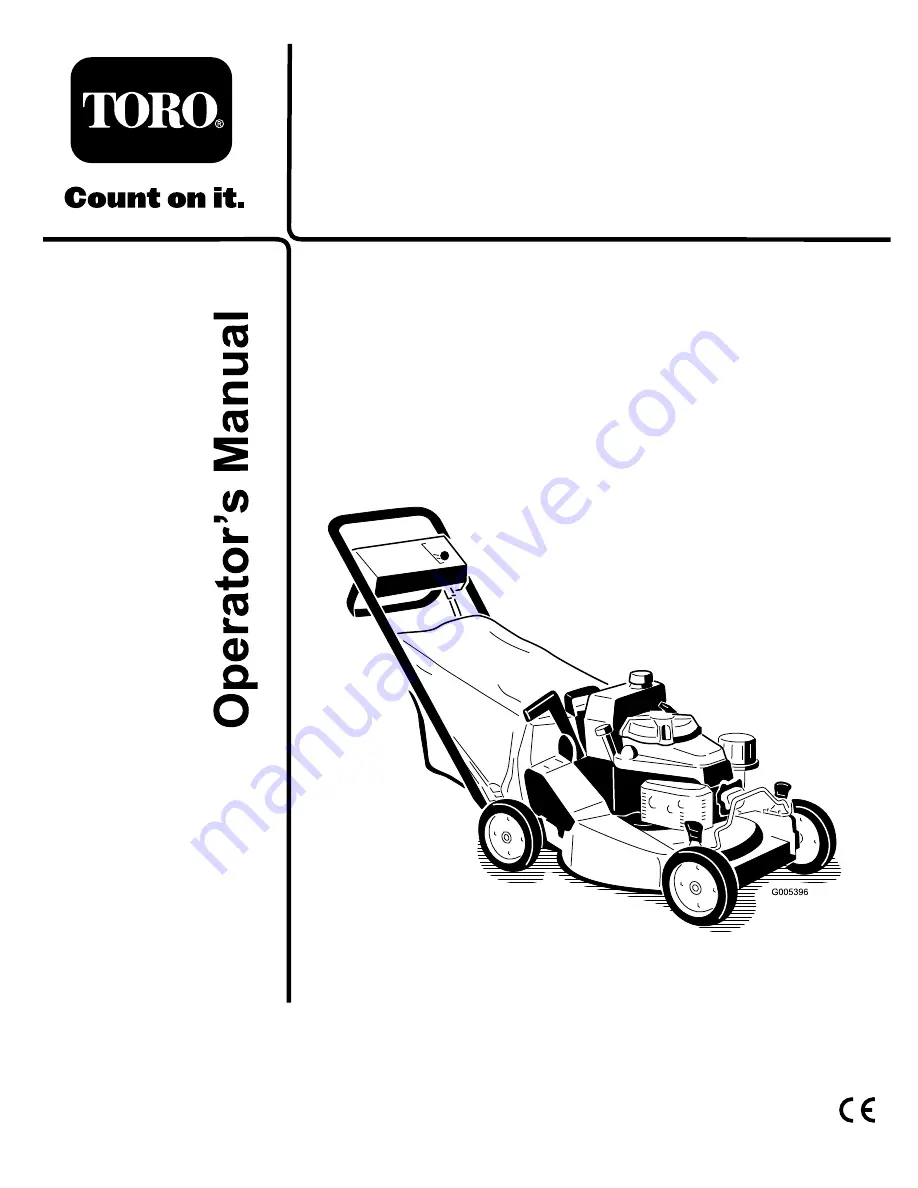
21in Heavy-Duty Recycler

®

/Rear

Bagger Lawn Mower

Model No. 22188TE—Serial No. 310000001 and Up

To register your product or download an

Operator's Manual

or

Parts Catalog

at no charge, go to www.Toro.com.

Original Instructions (EN)

Summary of Contents for 22188TE

Page 1: ...21in Heavy Duty Recycler Rear Bagger Lawn Mower Model No 22188TE Serial No 310000001 and Up To register your product or download an Operator s Manual or Parts Catalog at no charge go to www Toro com O...

Page 2: ...ional information contact an Authorized Service Dealer or Toro Customer Service and have the model and serial numbers of your product ready Figure 1 identifies the location of the model and serial num...

Page 3: ...ing the Grass Bag 17 Operating Tips 18 Maintenance 20 Recommended Maintenance Schedule s 20 Lubrication 21 Lubricating the Pivot Arms 21 Lubricating the Gear Case 21 Engine Maintenance 21 Servicing th...

Page 4: ...ove the cap of the fuel tank or ad gasoline while the engine is running or when the engine is hot If gasoline is spilled do not attempt to start the engine but move the mower away from the area of spi...

Page 5: ...equipment is in safe working condition Do not use pressure cleaning equipment on machine Never store the equipment with gasoline in the tank and inside a building where fumes can reach an open flame o...

Page 6: ...or information on greasing the traction drive every 25 operating hours and greasing the transmission every 100 operating hours 98 2006 1 Fast 4 Engine stop 7 Move the bail up to engage the cutting bla...

Page 7: ...the engine and remove the spark plug wire before performing any maintenance on the machine 4 Cutting dismemberment hazard of hand or foot stay away from moving parts 5 Warning stop the engine before l...

Page 8: ...talling the Handle Parts needed for this procedure 1 Handle 2 Bolt 5 16 x 1 1 4 inches 4 Washer 2 Thin locknut 5 16 inch 2 Bolt 5 16 x 1 1 2 inches 2 Locknut 5 16 inch 1 Bag support rod 2 Cap locknut...

Page 9: ...through the rope guide on the handle Figure 4 Figure 4 1 Starter rope 2 Rope guide Note To make the rope easier to install squeeze the control bar on the handle 3 Installing the Fuel Tank and the Fuel...

Page 10: ...Figure 7 Hold the discharge door handle to prevent the spring loaded door from closing while you insert the plug Figure 7 1 Discharge door handle 2 Plug rotated clockwise 2 Since the plug is slightly...

Page 11: ...e Engine Oil Level for oil specifications and instructions Product Overview Figure 9 1 Handle 6 Air filter 2 Throttle control lever 7 Cutting height lever 3 Grass bag 8 Spark plug 4 Fuel tank 9 Oil fi...

Page 12: ...use ensure that the oil level is between the Add and Full marks on the dipstick Figure 12 Figure 12 1 Dipstick 3 Add 2 Full Note When the crankcase is empty pour about 3 4 of the crankcase capacity o...

Page 13: ...ine fumes Store gasoline in an approved fuel container and keep it out of the reach of children Never buy more than a 30 day supply of gasoline DANGER When fueling under certain circumstances a static...

Page 14: ...from the spark plug if you do not use the lawn mower or if you leave it unattended Operating the Blade and the Self Propel Drive 1 Have the blade control bar in the A position Figure 15 Figure 15 2 Sl...

Page 15: ...ore each use to ensure that the blade brake clutch system is operating properly Normal Test Service Interval Before each use or daily 1 Stop the engine and wait for all moving parts to stop 2 Move the...

Page 16: ...h Repeat steps 2 through 4 above but do not raise the blade control bar as high as in step 3 5 Immediately push the lawn mower over the newspaper ball 6 Stop the engine and wait for all moving parts t...

Page 17: ...ight 1 Pull the wheel height adjustment lever toward the wheel Figure 21 and move it to the desired setting Figure 21 1 Wheel height adjustment lever 2 Release the wheel height adjustment lever and se...

Page 18: ...nd throw Keep everyone especially children and pets away from the area of operation Avoid striking trees walls curbs or other solid objects Never deliberately mow over any object If the lawn mower str...

Page 19: ...aise the cutting height on your lawn mower Cut the grass more frequently Overlap cutting swaths instead of cutting a full swath with each pass Set the cutting height on the front wheels one notch lowe...

Page 20: ...in dusty conditions Check the fuel hose and replace it if necessary Clean the blade brake clutch shield Every 100 hours Lubricate the gear case Clean the air cooling fins Change the engine oil and oil...

Page 21: ...rvice Interval Every 25 hours Clean the foam pre cleaner more frequently in dusty conditions Every 300 hours Replace the paper air filter more frequently in dusty conditions Every 100 hours Important...

Page 22: ...l line on the dipstick with fresh oil Refer to the Filling the Crankcase with Oil 11 Wipe up any spilled oil Changing the Oil Filter Service Interval Every 100 hours 1 Run the engine to warm the oil W...

Page 23: ...ervice Interval Every 50 hours Check the fuel hose and replace it if necessary Every 100 hours Clean the fuel filter Yearly or before storage Empty the fuel tank The fuel filter screen element is loca...

Page 24: ...el spacer and the locknut mounting the wheel to the pivot arm Figure 32 Figure 32 1 Locknuts 6 Plastic cover rear wheels only 2 Wheel spacer 7 Lug 3 Bearing hub assembly 8 Bearing 2 4 Bearing spacer 9...

Page 25: ...rew until the brake cable conduit slides Figure 33 Figure 33 1 Spring 3 Cable clamp screw and washer 2 Cable conduit 4 Pull the cable to the remove slack but do not put tension on the spring Tighten t...

Page 26: ...or wear Figure 35B and Figure 35C replace the blade refer to Removing the Blade Figure 35 1 Sail 3 Wear 2 Flat part of the blade 4 Slot formed Note For the best performance install a new blade before...

Page 27: ...perator or bystanders Do not operate the lawn mower without the accelerator 2 Return the lawn mower to its upright position 3 Connect the wire to the spark plug Cleaning Cleaning under the Lawn Mower...

Page 28: ...ly in the discharge tunnel The grass bag is locked in place The optional side discharge chute is locked in place The discharge tunnel door is locked in place Cleaning the Blade Brake Clutch Shield Ser...

Page 29: ...storing it in any enclosure Empty the fuel tank when mowing the last time before storing the lawn mower 1 Run the lawn mower until the engine stops from running out of fuel 2 Prime the engine and star...

Page 30: ...ith paint available from an Authorized Service Dealer Removing the Lawn Mower from Storage 1 Check and tighten all fasteners 2 Remove the spark plug and spin the engine rapidly using the starter to bl...

Page 31: ...d or the gap is incorrect 2 Check the spark plug and adjust the gap if necessary Replace the spark plug if it is pitted fouled or cracked 3 The throttle lever is not in the Fast position 3 Move the th...

Page 32: ...Notes 32...

Page 33: ...Notes 33...

Page 34: ...Notes 34...

Page 35: ...8 Ibea S P A Italy 39 0331 853611 Irriamc Portugal 351 21 238 8260 Irrigation Products Int l Pvt Ltd India 86 22 83960789 Jean Heybroek b v Netherlands 31 30 639 4611 Lely U K Limited United Kingdom 4...

Page 36: ...of the product If for any reason it is impossible for you to contact your seller you may contact any Toro Authorized Distributor to arrange service 2 Bring the product and your proof of purchase sale...

Reviews: