background image

Navigating in the InfoCenter

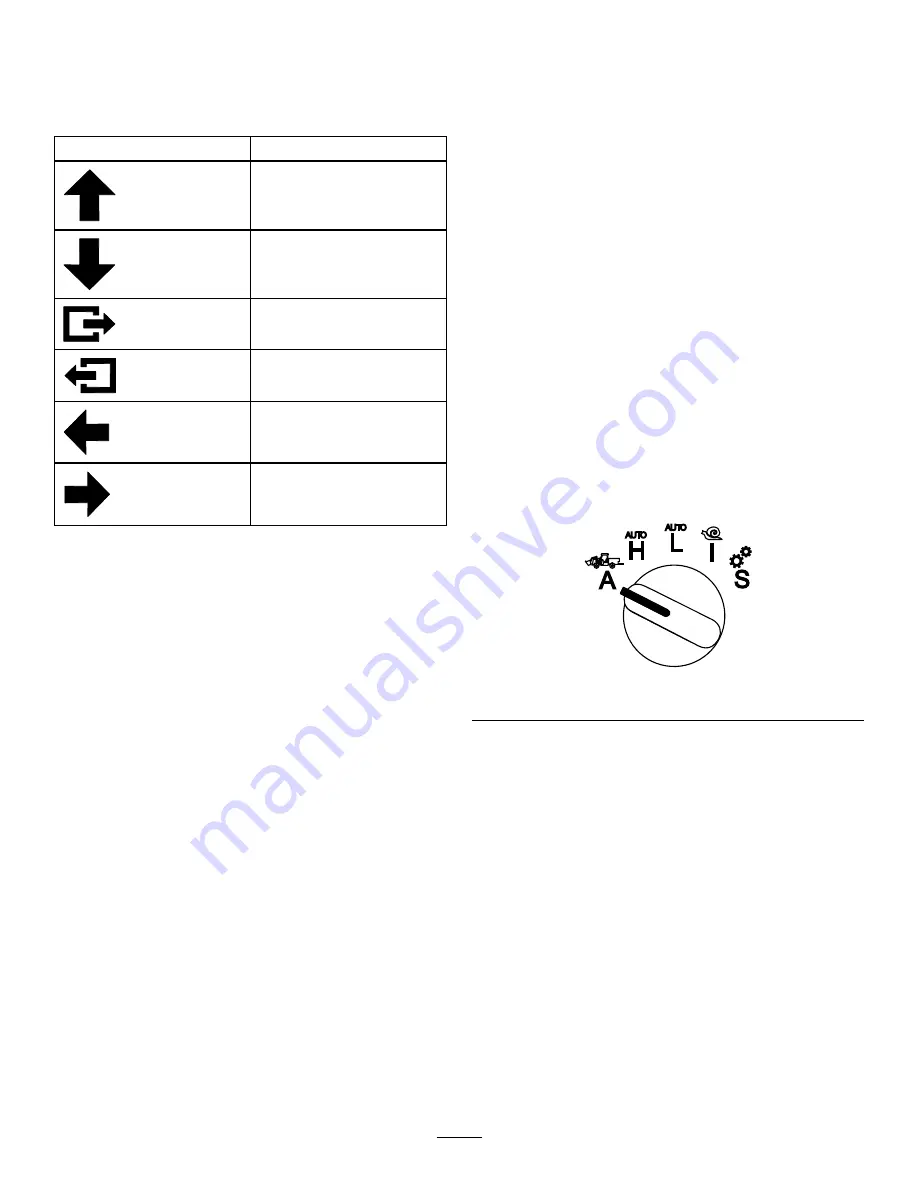
Use the following icons to navigate through screens
in the InfoCenter. These are used with the buttons on
the bottom of the InfoCenter display.

Icon

Scroll up

Scroll down

Next screen

Previous screen

Move the screen curser left

Move the screen curser right

Using the Operation-Mode
Selector

Note:

The machine must come to a stop before you

can change the modes.

Use the mode selector to change the machine
operation status or to set up attachments. The modes
are as follows:

Attachment Mode

Use Attachment Mode to select the specific type of
attachment or when attachments are installed and
being moved to the work site. To access Attachment
Mode, turn the operation-mode selector to the

A

position (

Figure 10

).

Note:

Changing attachments mounted to the

Outcross may require the input of a pin number.

Note:

Driving the machine in Attachment Mode

operates the same as driving in Low Automotive
Mode when the PTO switch is in the

OFF AND DISABLED

position and the auxiliary hydraulic lever is in the
N

EUTRAL

position.

g250707

Figure 10

High Automotive Mode

Use High Automotive Mode to drive the machine
similar to a passenger vehicle with an automatic
transmission. This mode provides the capacity for
higher speed but lower power to the ground. Use this
mode to efficiently transport yourself, a passenger,
and a light payload.

To access High Automotive Mode, turn the
operation-mode selector to the

H

position (

Figure 11

).

6


Summary of Contents for 07511AA

Page 1: ...tion 4 Symbols Glossary 4 Navigating in the InfoCenter 6 Using the Operation Mode Selector 6 Accessing the Protected Menus 8 Setting the InfoCenter Units and Language 8 Setting the Service Due Indicator 9 Audible Alarms 9 Changing the InfoCenter Display Brightness Contrast 10 Setting Up Parameters 10 Product Overview Controls InfoCenter Startup Screen When you start the machine the startup screen ...

Page 2: ... Universal advisory code use for reference to the advisory 2 Cause identifies the reason the machine took the action 5 Instructions to suppress the advisory 3 Remedy action to be taken by the operator to resolve the issue Status Display This display allows you to view the fuel level coolant temperature hydraulic fluid temperature battery voltage engine speed the 3 point maximum height for transpor...

Page 3: ...um work position for the current active attachment 6 3 point hitch lowered g249940 Figure 6 1 Battery voltage 2 Engine speed g249941 Figure 7 1 Engine coolant temperature 2 Hydraulic fluid temperature g249942 Figure 8 Machine hours and Fuel gauge 1 Machine hours 2 Fuel gauge g249943 Figure 9 Alert Example 1 Machine hours 3 Fault code 5 characters long 2 Fuel level alert 4 Number of active faults 3...

Page 4: ...ise control Select Change Attachment mode Delete Scroll up Scroll down InfoCenter Icon Description cont d Edit the attachment Hydraulic circuit 1 Hydraulic circuit 2 More options above More options below Maintenance Service menu Increase value Decrease value Next screen Previous screen Engine oil pressure PTO enabled PTO engaged Exhaust filter regeneration is inhibited Exhaust filter regeneration ...

Page 5: ...equires service Save Hour meter Forward Auto high mode Auto low mode Reverse Neutral Glow plugs are active Move the screen curser left Move the screen curser right Hydraulic fluid temperature Differential lock InfoCenter Icon Description cont d Stop safely as soon as possible Fuel level Cancel Enter Symbols are often combined to form sentences An example is shown below The machine hours indicate t...

Page 6: ...eing moved to the work site To access Attachment Mode turn the operation mode selector to the A position Figure 10 Note Changing attachments mounted to the Outcross may require the input of a pin number Note Driving the machine in Attachment Mode operates the same as driving in Low Automotive Mode when the PTO switch is in the OFF AND DISABLED position and the auxiliary hydraulic lever is in the N...

Page 7: ...lector to the I position Figure 13 g250709 Figure 13 To aid in the connection of attachments locate and use the tethered remote to direct the machine forward or reverse and to lift and lower the 3 point hitch You can also engage the PTO Setup Mode Use Setup Mode to access machine settings service details and basic machine information You can also add or adjust the operational parameters of an atta...

Page 8: ...Toro distributor 1 In the Setup mode press any button to access the pop up menu bar at the bottom of the screen Figure 15 g249814 Figure 15 1 PIN number screen 2 Press buttons as shown in Figure 16 to enter your PIN code g250129 Figure 16 3 When you complete entering the PIN select the enter icon Figure 17 g250130 Figure 17 Note Entering the PIN allows access to configure the machine until you tur...

Page 9: ...he PIN number Figure 15 and select the RETURN icon 4 Scroll down select the SCHEDULE option from the display menu and select the next screen icon 5 Scroll down to the service procedure performed i e oil filter or grease points and select the next screen icon 6 Select the hour interval and select the change icon to reset the hours for that procedure 7 Select the save icon Audible Alarms The machine...

Page 10: ...able or disable Using the Attachment Parameters This machine is unique in that each attachment is set up before use and stored in the machine computer The attachment parameters set the limits for each attachment used with this machine Note Ensure that the parking brake is engaged when the operator is out of the seat when using a stationary attachment The following are characteristics of parameters...

Page 11: ...lude a 3 point fertilizer spreader in which you need to slow the PTO speed to reduce spreader throwing distance or to slow the machine to maintain safe machine operation You can set the minimum speed alarm to remind the operator to maintain speed as soon as it is safe to do so Note With the proper parameter settings you can set the maximum operating speed and set the warning buzzer for the minimum...

Page 12: ... 8 mm 3 16 inch narrower than the parameter setting If the supervisor sets this range to 0 the operator cannot change the spacing in any direction Using the Status Display to Record the Three Point Positions Note Ensure that the PTO drive shafts do not bottom out and cause damaged to the machine or the attachment See the attachment manual for the proper setup for the drive line angles and drive li...

Page 13: ...n increments of 1 If the PTO is off lowering the attachment below this position is possible You cannot engage the PTO below the minimum work position Setting this position prevents damaging the attachments that depend on the height off the ground An example is a debris blower Drop Speed This controls the 3 point lower rate It is adjustable from 10 to 100 in 10 increments This helps prevent damage ...

Page 14: ...then Raise Time This is the amount of time in seconds the 3 point dwells before lifting the attachment to the turnaround position This allows the attachment to stop before raising above the maximum 3 point PTO height It is adjustable from 0 to 25 seconds in 0 1 increments This prevents damage to the PTO shaft the machine or the attachment Attachment Minimum Engine Speed This is the minimum engine ...

Page 15: ...lus or minus icons and select the next screen icon 24 Set the PTO shaft speed by using the plus or minus icons and select the next screen icon 25 Set the lifted PTO shaft speed by using the plus or minus icons and select the next screen icon 26 Scroll down and select the STANDARD rate out of the following options and select the next screen icon A LOW B MEDIUM C STANDARD 27 Set the delay lower time...

Page 16: ...select the next screen icon 17 Set the 3 point maximum work position and select the next screen icon 18 Set the 3 point minimum work position and select the next screen icon 19 Set the drop speed and select the next screen icon 20 Set the raise speed select the next screen icon 21 Set the PTO shaft speed and select the next screen icon 22 Set the PTO engagement speed to STANDARD from the following...

Reviews: