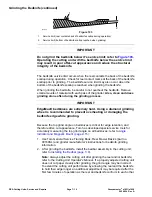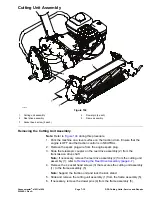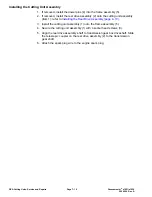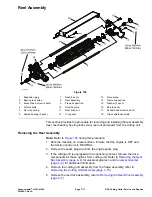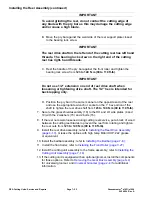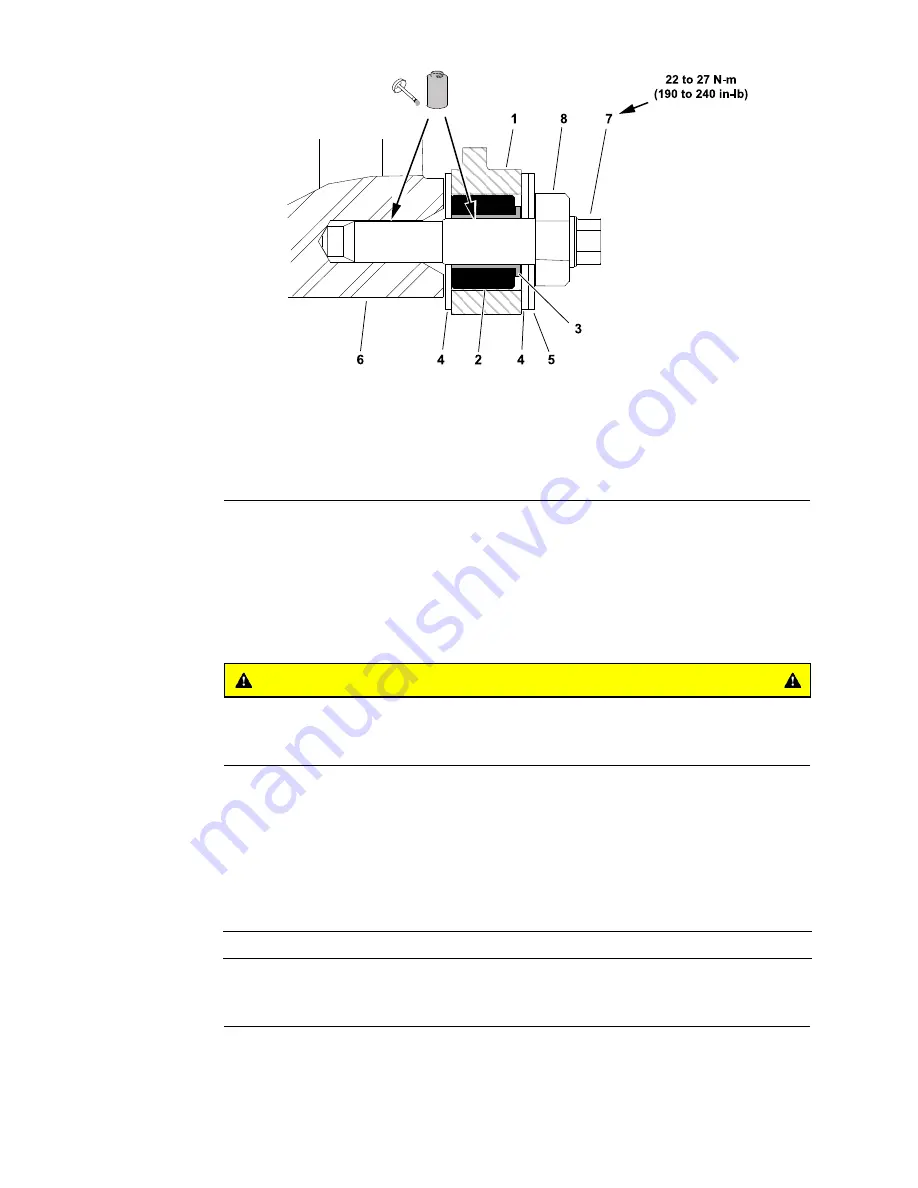
Installing the Bedbar
g226763
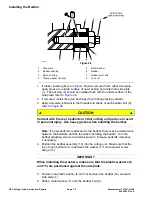
Figure 98
1.
Side plate
5.
Metal washer
2.
Rubber bushing
6.
Bedbar
3.
Nylon bushing
7.
Bedbar pivot bolt
4.
Plastic washer (2 each)
8.
Lock nut
1. If rubber bushing (item 4 in
) was removed from either side plate,
apply grease to outside surface of new bushing and install into side plate
(1). The bushing (4) should be installed flush with the inside surface of the
side plate; refer to
.
2. If removed, install the nylon bushings (5) with flange facing outward.
3. Apply anti-seize lubricant to the threads and shank of each bedbar bolt (8);
refer to
CAUTION
Contact with the reel, bedknife or other cutting unit parts can result
in personal injury. Use heavy gloves when handling the bedbar.
Note:
If a new bedknife is attached to the bedbar, there may be interference
between the bedknife and the reel when installing the bedbar. Turn the
bedbar adjusting screws counterclockwise to increase bedknife clearance
if necessary.
4. Position the bedbar assembly (16) into the cutting unit. Make sure that the
top of each bedbar arm is between the washer (17) and adjuster screw
flange (12).
IMPORTANT
When installing the washers, make sure that the plastic washers (6
and 15) are positioned against the side plate.
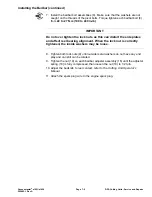
5. Position one plastic washer (6 and 15) between the bedbar (16) and each
side plate (1).
6. Slide a metal washer (7) onto the bedbar bolt (8).
DPA Cutting Units: Service and Repairs
Page 7–8
Greensmaster
®
e1021/e1026
20246SL Rev A
Summary of Contents for 04831
Page 4: ...NOTES NOTES Page 4 Greensmaster e1021 e1026 20246SL Rev A ...
Page 6: ...g340650 Figure 1 Model 04831 shown Preface Page 6 Greensmaster e1021 e1026 20246SL Rev A ...
Page 14: ...Safety Safety and Instructional Decals Page 1 6 Greensmaster e1021 e1026 20246SL Rev A ...
Page 136: ...Electrical System Service and Repairs Page 5 56 Greensmaster e1021 e1026 20246SL Rev A ...
Page 216: ......


