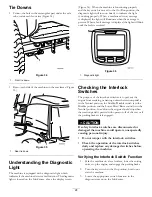
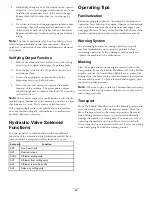
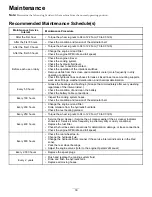

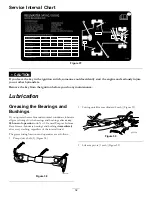


Engine Maintenance
Servicing the Air Cleaner
Check the air cleaner body for damage which could cause an
air leak. Replace if damaged. Check the whole intake system
for leaks, damage or loose hose clamps.
Service the air cleaner filter only when the service indicator
(Figure 46) requires it. Changing the air filter before it is
necessary only increases the chance of dirt entering the engine
when the filter is removed.
Important:
Be sure the cover is seated correctly and
seals with the air cleaner body.
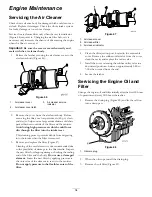
1.
Release the latches securing the air cleaner cover to the
air cleaner body (Figure 46).
g021217
3
1
2
Figure 46
1.
Air cleaner cover
3.
Air cleaner service
indicator
2.
Air cleaner cover latch
2.
Remove the cover from the air cleaner body. Before
removing the filter, use low pressure air (40 psi, clean
and dry) to help remove large accumulations of debris
packed between outside of the filter and the canister.
Avoid using high pressure air which could force
dirt through the filter into the intake tract.
This cleaning process prevents debris from migrating
into the intake when the filter is removed.
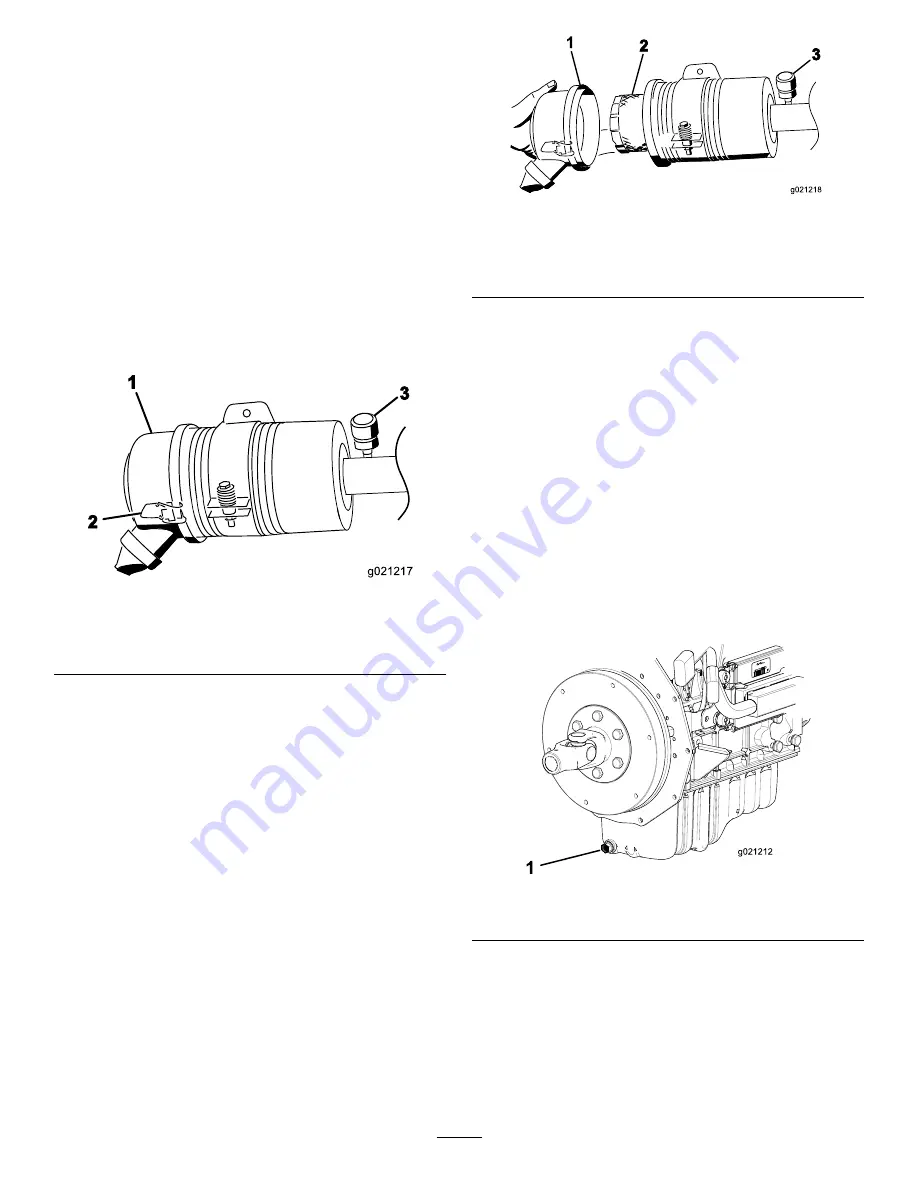
3.
Remove and replace the filter (Figure 47).
Cleaning of the used element is not recommended due
to the possibility of damage to the filter media. Inspect
the new filter for shipping damage, checking the sealing
end of the filter and the body.
Do not use a damaged
element.
Insert the new filter by applying pressure to
the outer rim of the element to seat it in the canister.
Do not apply pressure to the flexible center of the
filter.
3
2
1
g021218
Figure 47
1.
Air cleaner cover
2.
Air cleaner filter
3.
Air cleaner indicator
4.
Clean the dirt ejection port located in the removable
cover. Remove the rubber outlet valve from the cover,
clean the cavity and replace the outlet valve.
5.
Install the cover orienting the rubber outlet valve in a
downward position—between approximately 5:00 to
7:00 when viewed from the end.
6.
Secure the latches.
Servicing the Engine Oil and
Filter
Change the engine oil and filter initially after the first 50 hours
of operation and every 200 hours thereafter.
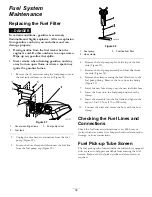
1.
Remove the drain plug (Figure 48) and let the oil flow
into a drain pan.
g021212
1
Figure 48
1.
Oil drain plug
2.
When the oil stops, install the drain plug.
3.
Remove the oil filter (Figure 49).
34
Summary of Contents for 03673
Page 46: ...Notes 46 ...
Page 47: ...Notes 47 ...


