


4.1 Searching broadcasting services
27
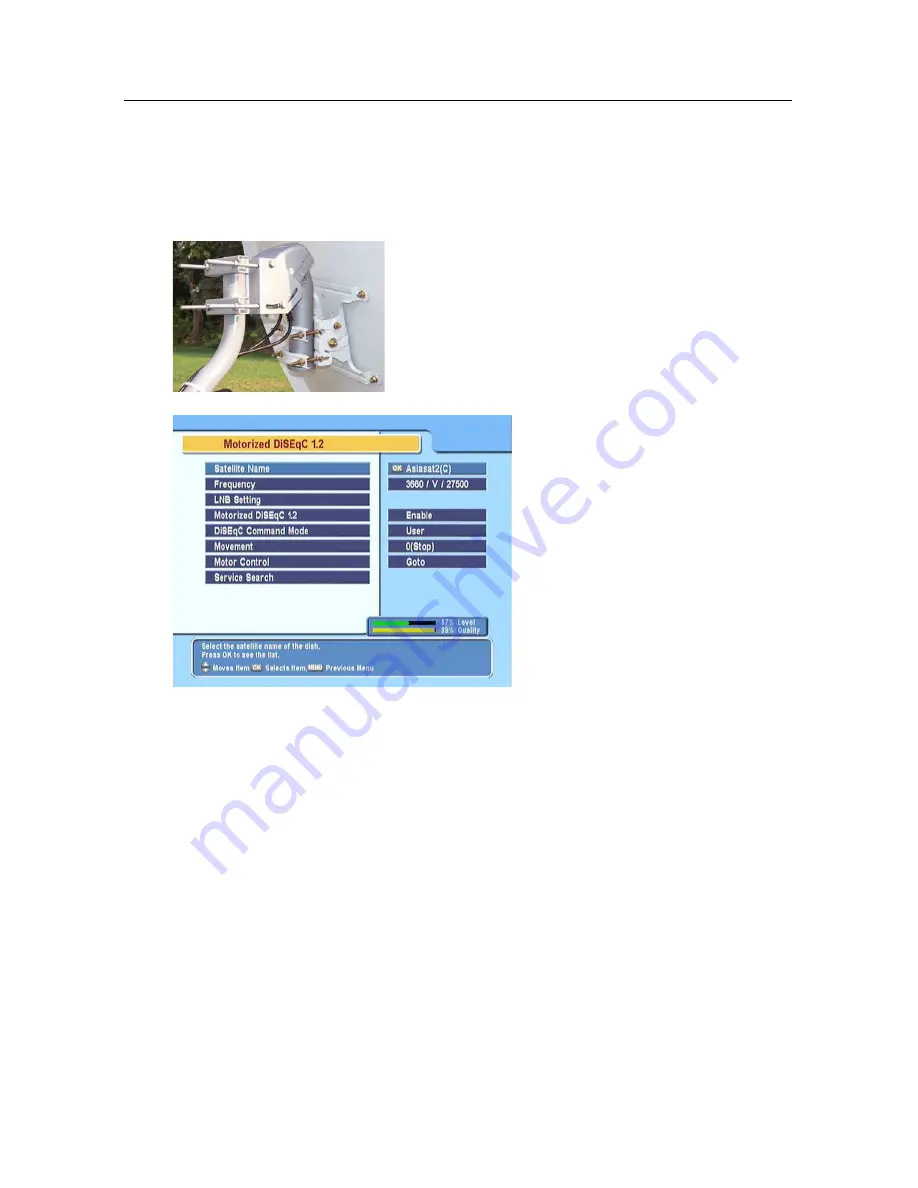
4.1.2
Configuring DiSEqC 1.2 settings
Your motorized antenna will turn toward your desired satellites
horizontally by DiSEqC 1.2.
When you switch to an service, if the service is
provided by a satellite other than current one,
it will take longer time than usual because the
antenna has to turn to its position.
To use the DiSEqC 1.2 protocol,
select the
Installation
>
Motor-
ized DiSEqC 1.2
menu.
You
should see a screen like the left
figure.
At first you have to set the
Mo-
torized DiSEqC 1.2
option to
En-
able
.
To get the correct position of your desired satellite, perform the
following steps:
1. Choose your desired satellite at the
Satellite Name
op-
tion.
2. Set the
DiSEqC Command Mode
option to
User
.
3. Set the
Motor Control
option to
Goto
. Then the antenna
will turn toward your selected satellite by the position
data that the digital receiver has.
4. If the receiving quality, which is displayed at the bottom
right of the screen, is not good, tune the antenna finely
with the
Movement
option. If you set it to
2(E)
, the an-
tenna will move to the east by two degrees. At this time
Summary of Contents for TF 5050 CI
Page 1: ...TOPFIELD TF 5050 CI HDMI User Guide Digital Satellite Receiver Common Interface...
Page 2: ......
Page 63: ......