background image

www.topvehicletech.com

The information provided in this document is subject to change without notice due to changes and/or 

improvements to the product/s. 

V1.0522

GRKRT01

RENAULT TRAFIC

2014-2017

INSTALLATION MANUAL

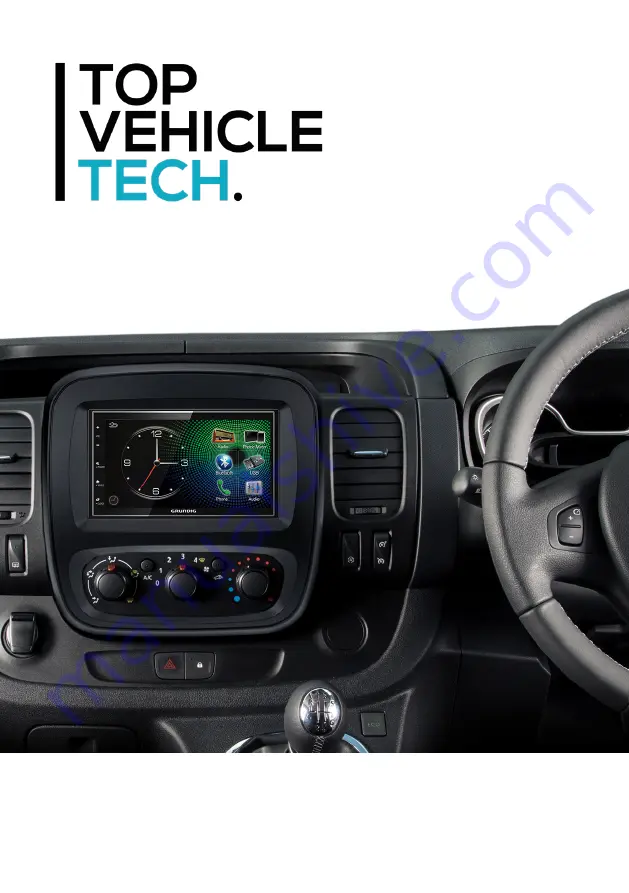
This dash image is a visual representation for display purposes only.

Summary of Contents for GRKRT01

Page 1: ...rovided in this document is subject to change without notice due to changes and or improvements to the product s V1 0522 GRKRT01 RENAULT TRAFIC 2014 2017 INSTALLATION MANUAL This dash image is a visual representation for display purposes only ...

Page 2: ...harness and interface will retain the steering wheel controls and phone button functionality if vehicle is equipped The interface supplied features an OEM specific connector CUSTOMER SUPPORT Installations should be carried out by or under the guidance of an experienced installer If you do encounter any problems during the installation of this product then please contact our dedicated customer serv...

Page 3: ... measure whether the brackets need moving forward backward 3 With the bracketry aligned and the Stereo Installation process complete you can then install the stereo into the dashboard using the pre existing screws and place the new fascia over top to complete the installation 1 Use a panel removal tool to remove the main fascia panel from around the main head unit 2 Remove the 2x screws that hold ...

Page 4: ...witches For more information see overleaf 4 Attach the antenna adapter to the vehicles pre existing connection and the back of new stereo 2 Take the steering wheel control interface and attach the 14 way steering wheel harness connector to the relevant side STEREO INSTALLATION 3 Make a cut within the orange and purple loops on the back of the patch lead connector Then proceed to attach Key 1 to th...

Page 5: ... of steering wheel controls you are able to alter Dipswitch 1 and or 2 to re adjust signals to the stalk controls Please note when changing these dipswitches the interface will need a CAN power cycle before the change takes effect so it is recommended that you disconnect the interface whilst doing this process SETTING THE DIPSWITCHES STYLE A STYLE B STYLE A 1 Volume 2 Volume 3 Mute DIP 1 ON Pick U...

Page 6: ...c Connectors 20 32 Pin Connect to relevant connectors from vehicle Stereo Connection Patch Lead Connector 12 Pin Connect to Interface Box Note Must be connected first before power connection is made to the interface Main Wiring Loom Connector 14 Pin Connect to Interface Box Interface Box ...

Page 7: ...7 www topvehicletech com NOTES ...

Page 8: ...this manual or any other product then please visit the www topvehicletech com website This manual is considered correct at the time of printing but is subject to change For the latest manuals updates refer to our website Copyright 2022 by TopVehicleTech All rights reserved No part of this publication may be reproduced distributed or transmitted in any form or by any means including photocopying re...

Reviews: