9
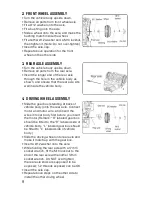
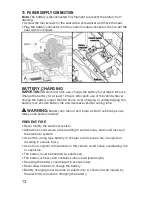
2. FRONT WHEEL ASSEMBLY
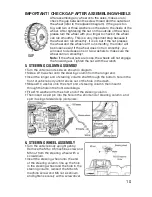
3. REAR AXLE ASSEMBLY
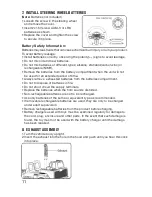
4. DRIVING WHEEL ASSEMBLY
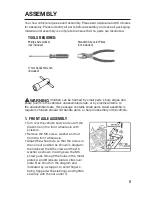
• Turn the vehicle body upside down.
• Remove all parts from front wheel axle.
• Fit a Ø12 washer onto the axle.
• Fit a bushing onto the axle.
• Slide a wheel onto the axle, and make the
bushing match inside the wheel.
• Fit another Ø12 washer and a M10 locknut,
then tighten it. (Note: Do not over-tighten)
• Insert the axle cap.
• Repeat above operation for the front
wheel on the other side.
• Turn the vehicle body upside down.
• Remove all parts from the rear axle.
• Insert the longer end of the rear axle
through the hole in the vehicle body as
shown, and ensure that the rear axle sits
well inside the vehicle body.
• Slide the gear box (standing at back of
vehicle body) onto the rear axle. Connect
motor and motor wire, and insert the
wires into car body first before you insert
the motor (Remark: “R” labeled gear box
should be fitted to the “R” labeled side of
vehicle body, “L” labeled gear box should
be fitted to “L” labeled side of vehicle
body.)
• Slide the driving wheel onto rear axle and
make it match up with the gear box.
• Insert a Ø12 washer onto the axle.
• While holding the rear axle with a 17mm
socket wrench, fit the M10 locknut to the
end of the rear axle with another 17mm
socket wrench. DO NOT over tighten;
the rear axle ends are supposed to be
exposed; 1-2 threads exposed can be OK.
• Insert the axle cap.
• Repeat above steps on the other side to
install the other driving wheel.


