background image

3

2

User’s Manual

User’s Manual

SAFETY WARNING

Warning

Please read the following recommended instructions carefully to avoid the risk of your physical Injury
before the product is operated.

Safety Instructions and Precautions

- Do not cover the receiver and keep clear space around the receiver for sufficient air circulation.

- Check the receiver

's

operation voltage 90~250V, 50Hz~60Hz, Max 30W Keep liquid away from the

receiver.

- The receiver shall not be exposed to dripping or splashing and no objects that filled with liquid shall

not be placed on the receiver.

- Unplug the receiver from the wall outlet before cleaning.
- Use a soft cloth and a mild solution of washing-up liquid to clean the casing.

- Do not block the receiver's ventilation slots which are provided for ventilation and protection from

overheating.

- Please maintain the receiver in a free airflow.
- Do not allow the receiver to be exposed to hot, cold or humid condition.

- Do not use any cable and attachment that are not recommended as these may damage your equip-

ment.

- Please unplug the receiver from the wall outlet and disconnect the cable between the receiver and the

antenna when you will not use it for long time.

- Do not remove the cover to reduce the risk of electric shock.
- Do not attempt to service the receiver yourself.
- Refer all serving to qualified service personnel.
- The manual's contents may be updated without notice.

NOTE: To disconnect the apparatus from the mains, the plug must be pulled out from the mains sock-

et, therefore the mains plug shall be readily operable.

User’s

Manual

User’s

Manual

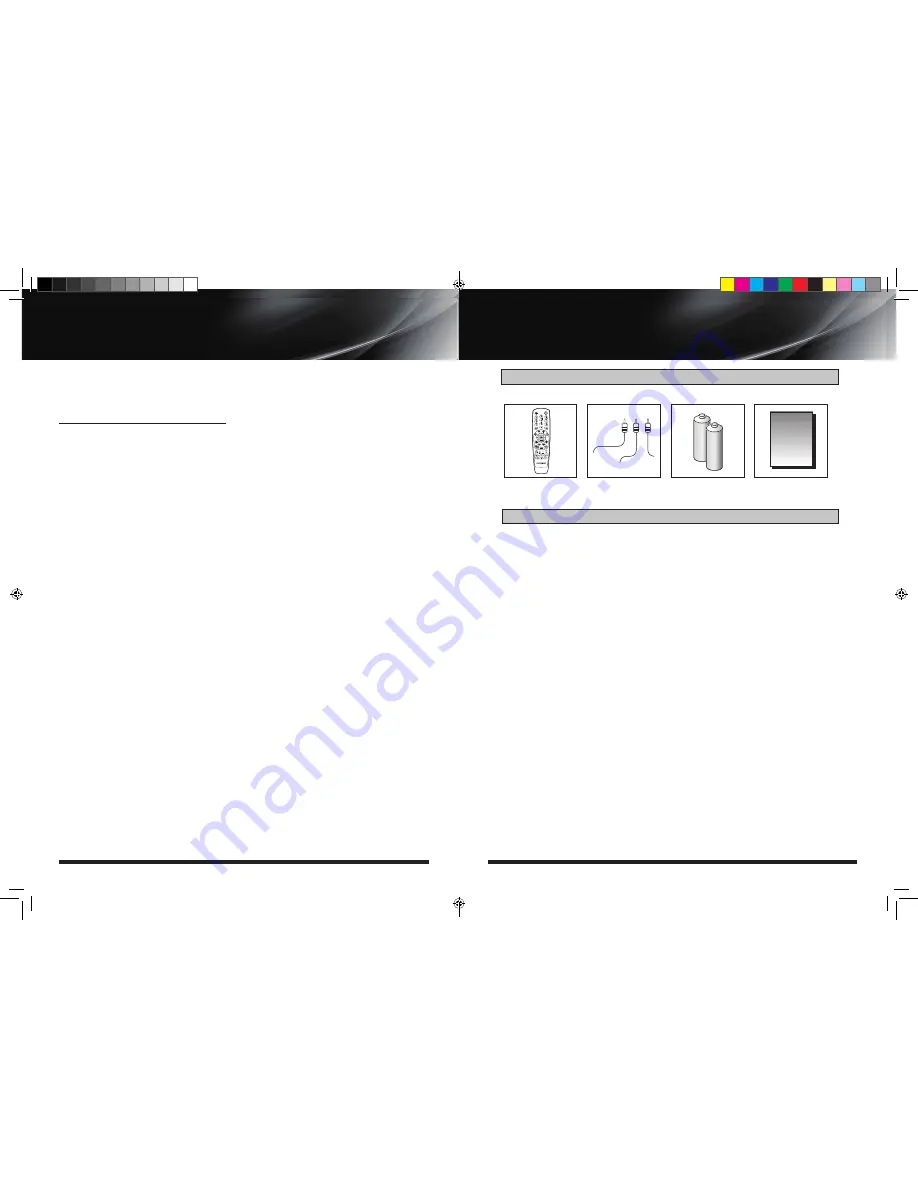
Please ensure that the following items are included with the receiver in your packing.

Remote Control

Unit

User's Manual

Batteries 2EA

(for RCU)

GENERAL INFORMATION

Package Contents & Features

User’s

Manual

Package Contents

Features

User’s

Manual

RCA Cable

Supports MPEG-2, MPEG-4, H.264 and fully DVB compliant

DiSEqC 1.0, 1.1, 1.2 and USALS

Aspect ratio adjustment 4:3 (16/9 crop), 4:3 (16/9 letterbox), 16:9 (4/3 pillar box)

User friendly OSD and operation

Total 8,000 Channels Programmable

Multi-language audio support

Multi-language menu text support

Favorite channel selections

Parental Guide and rating control

EPG(Provider Electronic Program Guide) for On Screen Channel Information

On-Screen Display with 65,536 Color

Blind scan(Power Scan) & Powerful EPG

Zoom Function in Pause

Selectable output for 1080p, 1080i, 720p, 480p and 480i format

Multiple Video Outputs: HDMI

USB 2.0 Host (Access to HDD, USB memory, Others etc) : 2 Port

Upgrade Software & Update Channel Database through USB 2.0 Port and RS232 Phone jack

MP3 File Play by USB 2.0

PVR Ready via USB

Recorded file play on PC

Reservation Recoding by EPG function

(2012 10 24) manual_TOCOMSAT duo LITE.indd   2-3

2012-10-24   �� 7:44:58

Summary of Contents for duo LITE

Page 1: ... 2012 10 24 manual_TOCOMSAT duo LITE indd 20 1 2012 10 24 7 44 57 ...

Page 2: ...Rear Panel Remote Control Unit RCU Installing Equipment Channel List Guide Menu Guide Main Page I CHANNEL MANAGER II INSTALLATION III OPTIONS IV UTILITY Troubleshooting TABLE OF CONTENTS Table of Contents 1 2 3 3 4 5 6 8 9 11 11 11 13 16 18 19 2012 10 24 manual_TOCOMSAT duo LITE indd 2 1 2012 10 24 7 44 57 ...

Page 3: ...receiver yourself Refer all serving to qualified service personnel The manual s contents may be updated without notice NOTE To disconnect the apparatus from the mains the plug must be pulled out from the mains sock et therefore the mains plug shall be readily operable User s Manual User s Manual Please ensure that the following items are included with the receiver in your packing Remote Control Un...

Page 4: ...NECT TO SATELLITE ANTENNA CABLE 3 RS 232 CONNECT TO PERSONAL COMPUTER FOR SOFTWARE UPGRADE CONNECT AUDIO AND VIDEO TO TV BY PHONE JACK CABLE 4 A V 5 ETHERNET CONNECT TO LAN CABLE RJ 45 6 HDMI CONNECT TO THE TV USING AN HDMI CABLE 7 USB PORT INSERT A USB DRIVE FOR SOFTWARE UPGRADE OR PVR 8 POWER ADPATOR 12V DC 1 5A NOTE The rear panel of the product is subject to change without notice 1 4 2 3 6 8 5...

Page 5: ...st 13 V FORMAT Switch to HD Type 14 RECALL Select the previously viewed channel 15 FAV Toggle the selected favorite mode 16 MEMU Display the main menu on screen 17 INFO Display the program information box on the screen and edit the name of favorite channel list 18 EXIT Return to the previous menu or normal viewing mode from a menu 19 AUDIO Change the audio languages 20 EPG Display the TV or Radio ...

Page 6: ...on your TV Connecting the receiver to TV with HDMI cable CHANNEL LIST GUIDE Channel List Guide 1 Normal Live Mode a When you select one channel information bar appears automatically on the screen for few seconds This bar provides you the current channel information b Press INFO button to see the information during normal live mode 2 Detail Channel List a Press OK on the normal live mode to go to t...

Page 7: ... channel This chapter explains how to organize channels according to your preference 1 Select Channel Manager in the Main Page with and press OK 2 TV Channel Manager Page displays on the screen 3 Select the mode that you want to use 4 To see the channel that you choose go to the channel and then press RED button 5 Press EXIT to return to the previous menu or press MENU to go to the current live ch...

Page 8: ...automatically selected 5 Press EXIT to return to the previous menu or press MENU to go to the current live channel 6 Message Box displays on the screen 7 Select OK on the Message Box and then press OK to delete the marked channels MENU GUIDE II Installation II INSTALLATION This section may help you to set up antenna and scan satellite or transponder etc Select Installations in Main Page using and ...

Page 9: ...OK Message box displays on the screen Store Sat position Stores the current position of the motor for the selected satellite Goto Sat Position Moves the motor to the stored posi tion of the selected satellite Goto 0 Goes to the center of the motor Reset Position Resets all stored position of the motor MENU GUIDE II Installation f Satellite Position Input directly the position using NUMBER KEY on t...

Page 10: ...e displays on the screen 3 Move the cursor using and press OK when you select the value that you want Input Hour directly using number keys on the RCU 4 Press EXIT to return to the previous menu or press MENU to go to the current live channel III 4 Parental Lock Setup 1 Select Parental Lock Setup in Options using and press OK 2 Parental Lock Page displays on the screen 3 You can lock and unlock Pa...

Page 11: ...n to the previous menu or press MENU to go to the current live channel MENU GUIDE IV Utility IV UTILITY TROUBLESHOOTING Troubleshooting Before contacting your local service center please read the tips below carefully If the problem persists after completing the following procedure please contact your local retrailer for further instructions 1 Nothing appears on the Front Panel or No power supply C...

Reviews: