8. Adjusting Temperature Setting
• To prevent possible injury, always relieve pressure from trap before
opening to adjust the temperature setting.
• Always wear heat-insulated gloves and eye protection when handling pro-
ducts exposed to high temperatures. Failure to do so may result in burns.
CAUTION
The temperature setting can be easily adjusted.
7. Operational Check
A visual inspection can be carried out to aid in determining the necessity for immediate
maintenance or repair, if the trap is open to atmosphere. If the trap does not discharge to
atmosphere, use diagnostic equipment such as a stethoscope, thermometer, TLV Pocket
TrapMan or TrapMan (within its pressure and temperature measurement range).
(When conducting a visual inspection, flash steam is sometimes mistaken for steam leakage. For
this reason, the use of a steam trap diagnostic instrument such as TLV TrapMan is highly
recommended.)
Normal:
Condensate is being discharged from the discharge outlet. (The surface temperature
of the trap should be about 10 to 20 °C (20 to 40 °F) lower than the set temperature.)
Blocked: No condensate is discharged and the surface temperature of the trap is low.
Blowing: Live steam continually flows from the outlet and there is a continuous hissing sound
of flow. The surface temperature of the trap is higher than the set temperature.
Instructions for Adjusting Temperature Setting
1. First close the external valve from which the steam and condensate flow to the trap (the
“inlet isolation valve”), followed by then closing the external valve to which the condensate
flows from the trap (the “outlet isolation valve”). Wait until the pressure between the inlet
isolation valve and the trap equals atmospheric pressure (when the trap body temperature
cools to room temperature). Do not remove the cap nut unless the trap is isolated from and
is not subjected to steam pressure.
2. Hold the cover with one wrench and use another wrench to slowly loosen and remove the
cap nut. Remove cap nut slowly to allow any residual pressurized steam to leak from the
trap interior through the threads of the adjustment screw and the cover.
3. Hold the adjusting screw in place with a flat-head screwdriver and remove the locknut
slowly in case of any additional steam leakage.
4. Use a flat-head screwdriver to turn the adjusting screw to adjust temperature. To raise the
temperature setting, turn the adjusting screw counterclockwise. To lower the temperature
setting, turn the adjusting screw clockwise. Refer to the set temperature adjustment chart
for the number of turns required from the "0" position to reach the desired temperature.
5. After completing the adjustment, replace the locknut. Hold the adjusting screw in place with
a flat-head screwdriver and tighten the locknut securely.
6. Replace the cap nut and tighten it to the proper torque (see page 10).
7. First fully open the outlet isolation valve, followed by then slowly opening the inlet isolation
valve – carefully checking for any steam leaks that might occur. In the event steam leaks are
detected, immediately close the inlet isolation valve, then the outlet isolation valve, and
repair the source of leakage.
8. Check the temperature setting by observing an inline temperature sensor or by measuring
the temperature at the wrench flat on the trap’s inlet side at least 30 minutes after supplying
steam with the new setting. The trap set temperature will be approximately 10 to 20 °C (20
to 40 °F) higher than the surface reading. If the resultant temperature is not as desired,
repeat procedure from step “1” above.
Caution
Plate
Connector
Flange
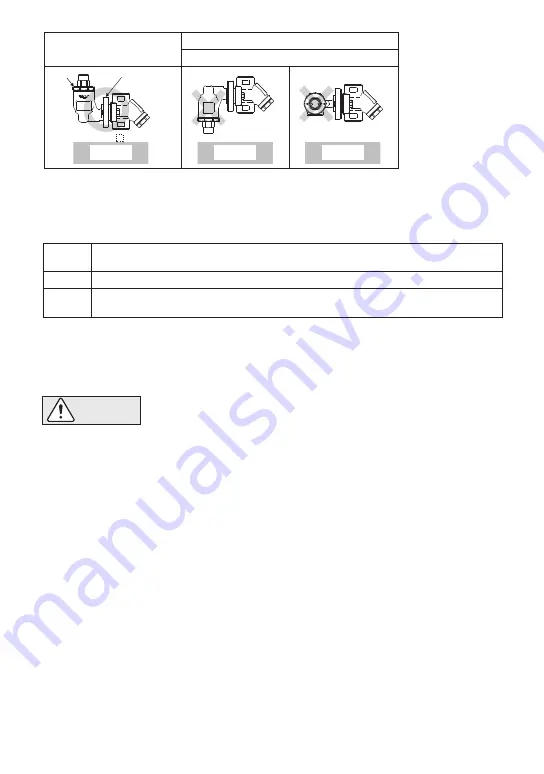
Installation Examples: Vertical Piping
Correct
Incorrect
Caution plate is not facing upwards.
Ground
Ground
Ground
̶ 6 ̶


