1. Unplug the saw.
2. Remove the blade guard.
3. Remove the table insert. (See Fig27)
4. After loosening the lock knob, turn the elevating
handle to raise the blade to its highest position.
Use both wrenches to loosen the arbor nut. (See
Fig28)
5. Remove the nut, outer flange and blade. (See
Fig28) Replace with new blade(Be sure that the
teeth are facing the front side of the saw); Ensure
the arrow on the blade is in line with the motor
direction.
6. Replace the outer flange and nut and tighten
securely. - Be sure both blade flanges are in
contact with the blade.
7. Replace the table insert and blade guard.
MAINTENANCE
WARNING
:
Ensure the machine is discon nected
from the main supply BEFORE any maintenance
tasks or adjustments are carried out. Your Bench
Table Saw requires very little maintenance.
Carrying out those tasks specified below, will not
only ensure the maximum safety of operation,
but will also prolong the life of your machine.
AFTER EACH USE:
Sawdust must be removed from the
machine.
Remove the side cover by undoing the securing
screws, and use a vacuum cleaner to ensure all
dust is removed, before replacing the cover.
All plastic components can be wiped clean with
a soft dry cloth.
RIVING KNIFE:
The riving knife is an important component and
must always be in place and directly in line with
the saw blade. It prevents the work from chattering
as it passes through the blade.
If necessary, remove the table Insert, then slacken
the two securing screws and adjust accordingly.
Ensuring the clearance between the saw blade
and riving knife is between 2 and 5mm maximum.
Inspect at regular intervals to ensure the gap is
correctly maintained, and adjust as required.
It may also be necessary to remove the Riving
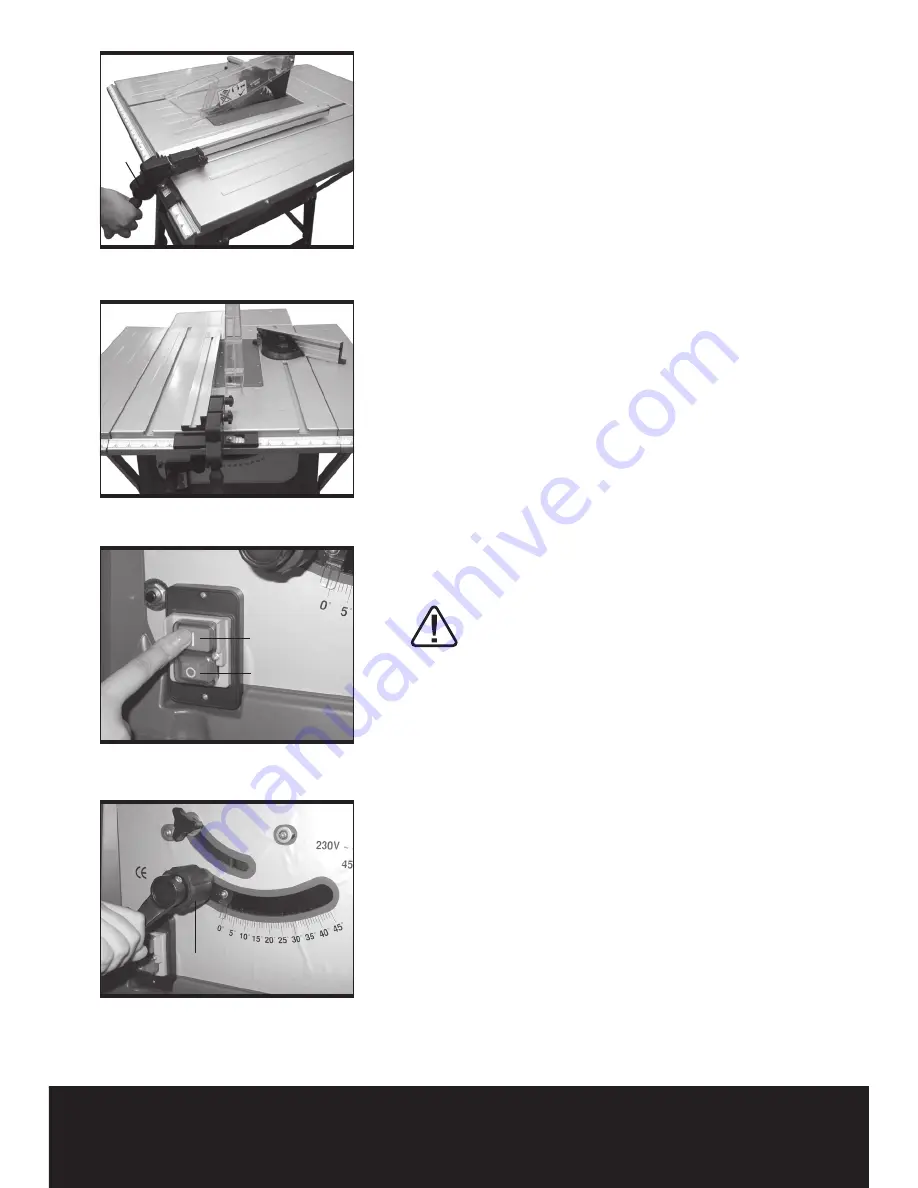
Fig 15B
Fig 15A
Locking
handle
Fig 16
On
Off
Indicator
Fig 17
Elevating & lowering handle


