12
OPERATING INSTRUCTIONS
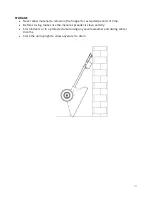
1.
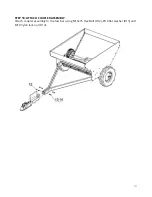
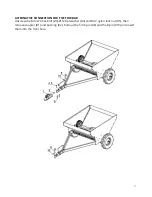
Attach the manure spreader to the vehicle using either the 2” ball coupler or the clevis
hitch.
2.
Rotate the agitator so that the rubber wheels are resting on the manure spreader drum.
3.
Fill the manure spreader with manure.
4.
Drive the manure spreader to the desired spreading location.
5.
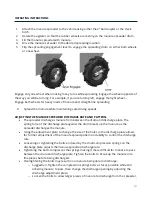
Flip the spreading engagement lever to engage the spreading drum on either both wheels
or one wheel.
Engage only one wheel when making many turns while spreading. Engage the wheel opposite of
the way you will be turning. For example, if you are turning left, engage the right wheel.
–
Engage both wheels for heavy loads of manure and straight-line spreading.
6.
Spread the manure while maintaining safe driving speeds.
ADJUSTING THE MANURE SPREADER DISCHARGE RATE AND PATTERN.
•
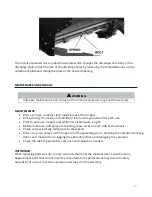
The spreader discharges manure from between the drum and discharge plate. The
spring force of the discharge plate against the drum breaks up the manure as the
spreader discharges the manure.
•
Using the adjustment plate to change the size of the holes in the discharge plate allows
for further adjustment of the manure spread pattern and ability to control the discharge
rate.
•
Loosening or tightening the bolts enclosed by the small compression springs on the
discharge plate adjusts the manure spreader discharge rate.
•
Tightening the bolts compresses the springs making it more difficult for manure to pass
between the drum and discharge plate. Tighten the bolts to break up the manure into
fine pieces before being discharged.
•
Overtightening the bolts may result in no manure being able to discharge.
o
Suggestion: Tighten the compression springs bolts as far as possible while still
allowing manure to pass, then change the discharge opening by adjusting the
discharge adjustment plate.
o
Loosen the bolts to allow larger pieces of manure to discharge from the spreader.
Summary of Contents for 191396
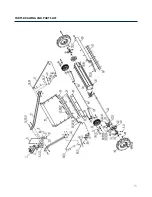
Page 15: ...15 PARTS DRAWING AND PARTS LIST...
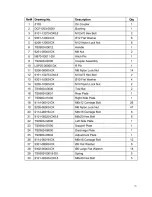
Page 16: ...16...


