


8
4.3.2
Heart rate
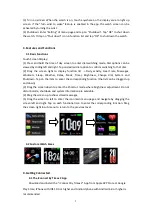
(1) Heart rate measurement: The watch will measure the user's heart rate under the heart
rate measurement interface. After the test is completed, the vibration will display the result.
(2) Heart rate measurement: slide to the left on the main interface and click the heart rate
static icon to switch to the heart rate measurement interface. Once the interface is entered,
the measurement will start. "- -" is shown on screen when the watch starts the measurement.
The measurement can take up to 40 seconds. If no value is displayed, please return to menu
and re-enter the heart rate measurement interface and try again.
.
4.3.3
Sleep
(1) The watch will display the user's sleep time of the previous night. The default sleep
measuring period is from 21:30 of current day to 12:00 of next day.
(2) Drag the TOD (time of day) screen to the right side. Tap on the Sleep icon to enter the
sleep interface. “Monitoring……” on the screen indicating the watch is still measuring the
sleeping time. Once the watch detects valid activity after sleep, the sleeping time counting
will stop and the measured sleep time of the previous night will be displayed on the screen.
4.3.4
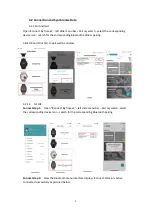
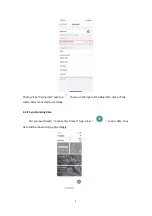
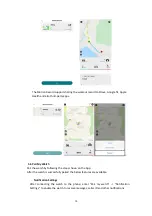
Message
After pairing the watch to the phone, notifications from your phone will be sent to your
watch. It is necessary to switch on the message sending feature in the App in advance in the
“Notification Settings” page
.
4.3.5
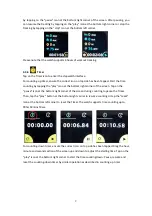
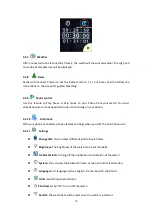
Workouts
In workouts mode: Tap on the icon to enter Workouts sub-menu which includes Walking,
Running, Climbing, Riding, Basketball, Elliptical, Yoga.
After entering the Workouts, choose a desired workout mode. The workout tracking will start
automatically once tapping on the desired workout mode. You can always pause the tracking


