14
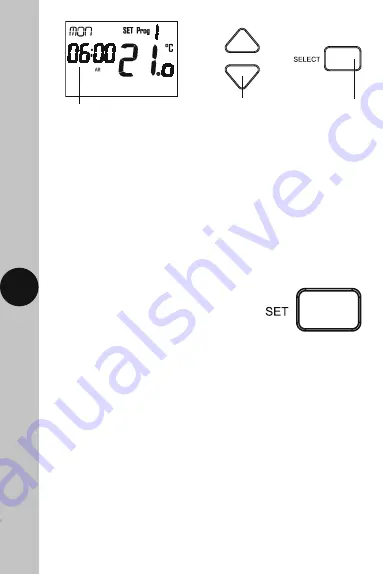
10.4 The minutes will flash, use the Up/Down arrow button to choose
the minutes and press the Select button once to confirm.
10.5 The temperature will flash, use the Up/Down arrows to choose
the temperature (the temperature increments are in 0.5° steps)
and press the Select button once to confirm.
10.6 The Prog 2 (period 2) hour will flash. Follow steps ‘10.3’ to ‘10.5’ for
Prog 2 (period 2) through to Prog 6 (period 6)
Use the Up/Down arrow
buttons to change the hour
The hour will flash
Use the Select
button to confirm
10.7 Press the Set button once to change the day of the week (e.g. Tue).
Use the Up/Down Arrows to choose the day of the week, and press
the Select button once to confirm.
10.8 Follow steps ‘10.3’ to ‘10.7’ until you have programmed
each day of the week that you require.
10.9 Press the Set button three times
to exit the programme entry mode.
Note:
• If no button is pressed, it will time out after 60 seconds and return to the
main screen showing day, time and output status.
• The display light will also time out after 15 seconds after the last button
is pressed
• All 6 Start time/temperature periods will need to be programmed,
unwanted Start time/temperature periods need to be entered
as the same temperature
• Unwanted days need to be entered as the same temperature (10 °C).
• The Set button can be pressed three times at any stage to exit the
programme entry mode.
Copy Function
Note:
The copy function can only be used after you have programmed
at least one day.


