Video Setup Guide
View our Video setup Guide for a fast
and easy setup for your camera.
Please ensure the subtitles are
switched on in YouTube.
Visit -
https://youtu.be/jctmRNn9UYQ
or on our website visit the Support
section, product downloads and
select the HSIP2 HD Wireless
Surveillance Camera.
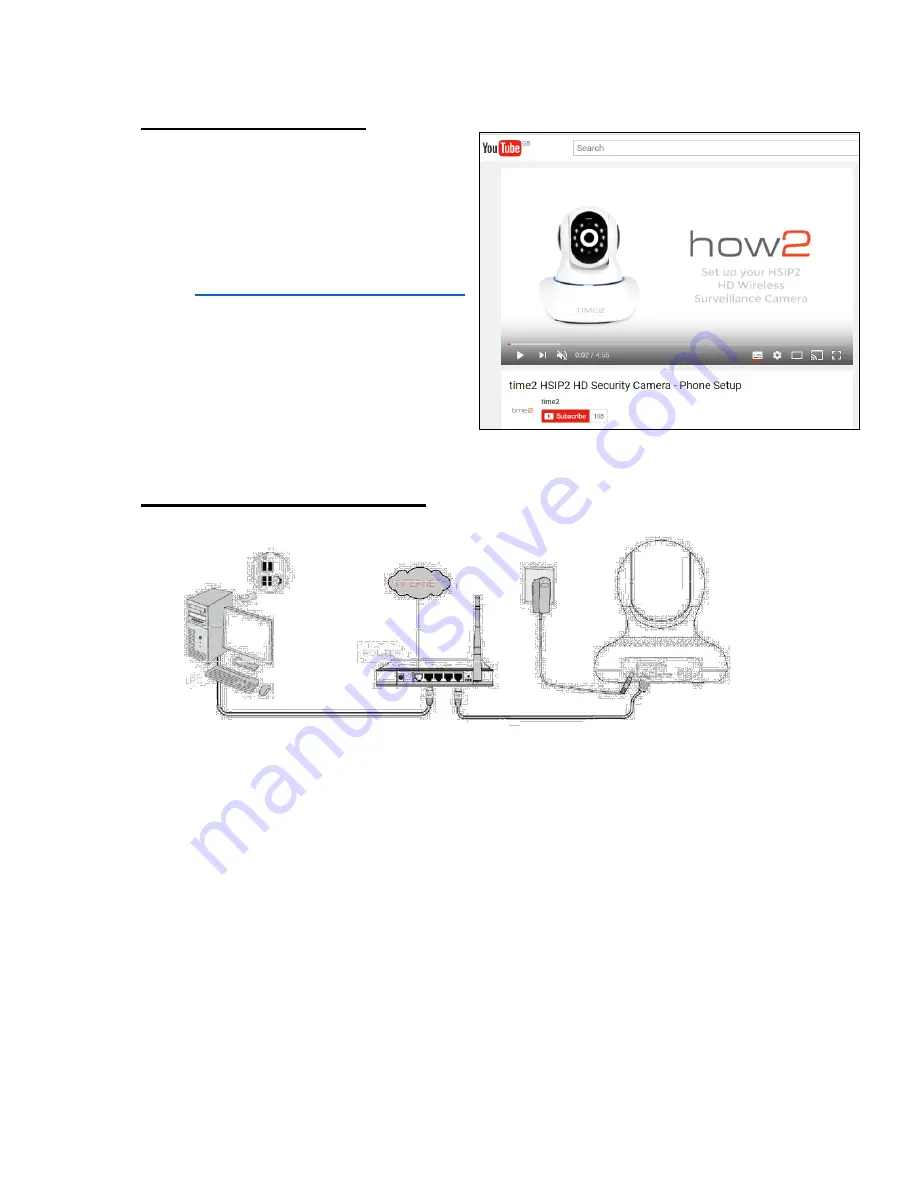
Connecting the Camera
1. Screw the WiFi Antenna into the gold screw at the back of the
camera.
2. Plug the power adapter into the port at the back of the camera.
3. Plug one end of the Network>Ethernet cable into camera and the
other end into your Wireless Internet Router. It will take
approximately 30 seconds for the camera to power up.
4. Once the power cable and Ethernet cable have been connected, the
green LED light will come on.
Summary of Contents for HSIP2
Page 5: ...1 Headphone Slot 2 Ethernet RJ45 Port 3 WiFi Antenna 4 Micro SD Card Slot 5 Power Port...
Page 40: ...Follow the onscreen instructions to finish the installation of the software See below...
Page 45: ...Main Features Click on the live feed to bring up the control bar for the camera...
Page 46: ......
Page 47: ...To view the Settings simply click on the settings icon next to the camera name...


