•
Do not leave the appliance unattended whilst it is on.
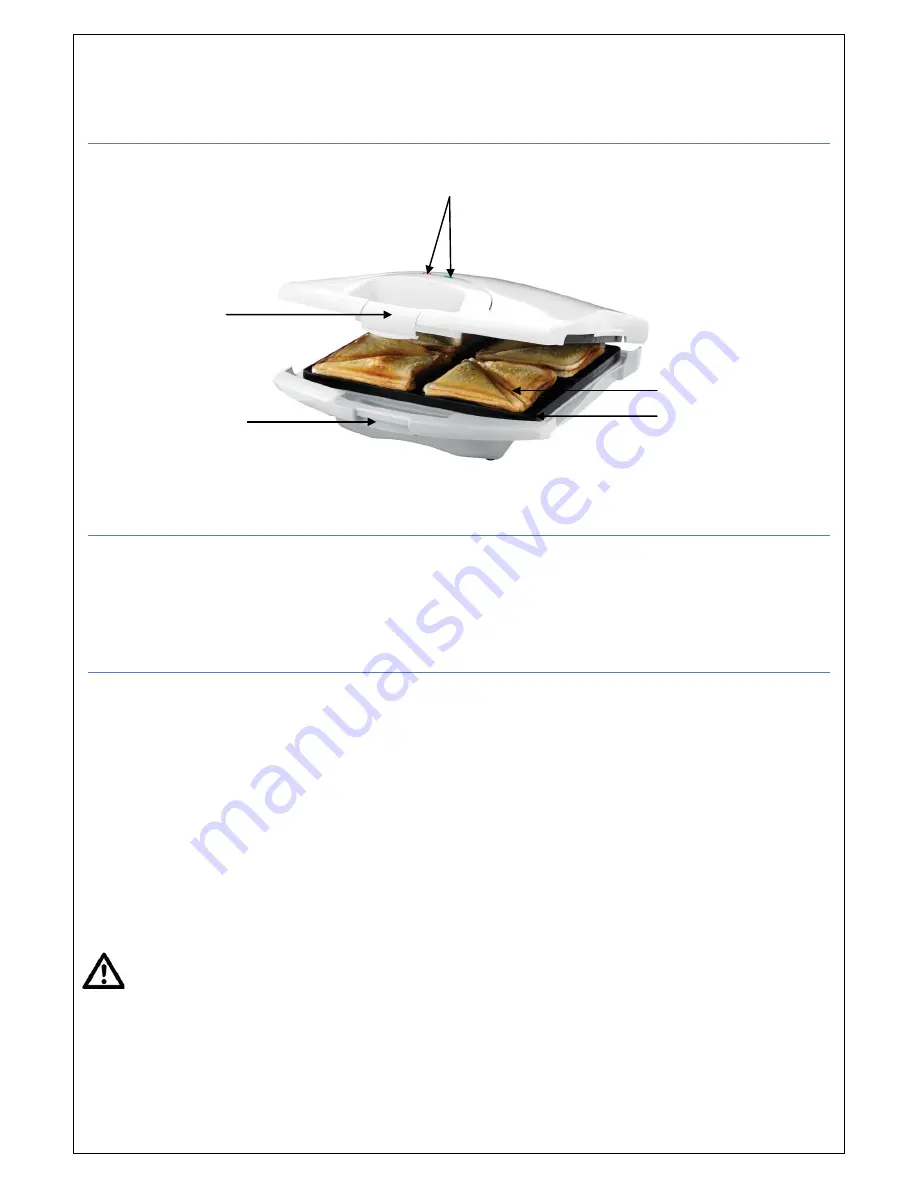
FEATURES
BEFORE FIRST USE
•
Carefully remove your Sandwich Maker from the box and remove any packaging materials.
•
Wipe over the cooking plates with a damp cloth or sponge.
•
Fully unwind the power cord.
INSTRUCTIONS
1. Place the Sandwich Maker on a flat, level surface, with the lid closed.
2. Insert the plug into a power outlet, and turn the power on. The red ‘Warm up’ indicator light will
illuminate.
3. Allow the Sandwich Maker to preheat (keep the lid closed) until the green ‘Ready’ indicator light
illuminates.
4. While the Sandwich Maker is preheating, prepare your sandwiches by buttering up to 8 slices of
bread and prepare your desired fillings.
5. Place four slices of the bread, buttered side down, on the plates. Place your prepared fillings on top
of the bread.
6. Place the remaining slices of bread on top of the fillings, buttered side up.
7. Close the lid carefully, taking care to keep all contents inside the Sandwich Maker. Do not force the
lid down!
WARNING:
When the lid is closed, steam will escape from inside the Sandwich Maker. Be careful
not to come in contact with the steam, as it can cause burns.
8. Toasting should take a few minutes, depending on personal taste and the type of bread and fillings
used.
NOTE:
the green ‘Ready’ indicator light will cycle on and off during toasting. This indicates
that the correct temperature is being maintained.
9. When your toasted sandwich is cooked, remove it with the help of a plastic or wooden spatula.
Never use metal utensils to remove the sandwich, as it can damage the non-stick coating.
Warm up & ready indicator
lights
Cool touch handle
Scissor action
Non-stick cooking
plates
Lock down lid


