WING
PREASSEMBLY
PRE-ASSEMBLY NOTES
1. If you are not an experienced R/C pilot, plan to have a
fully competent pilot check your completed model and
help you with your first flights. Even though we have tried
to provide you with a very thorough instruction manual,
R/C models are rather complicated and an experienced
modeler can quickly check over your model to make sure
your first flights are successful.
2. Please assemble your model exactly according to these
instructions. Do not attempt to modify or change the
Tiger
Trainer
in any way as doing so may adversely change
its flying characteristics.
3. Before you begin, please check the entire contents of
this kit against the parts drawing make sure that no parts
are missing or damaged. This will also help you to
become familiar with each component of your plane. If
you find that any of the parts are either missing or
damaged, please contact your dealer immediately for
replacement.
Note: Your dealer cannot accept kits for return if
construction has begun.
4. Trial fit each part before gluing it in place. Make sure
you are using the correct part and that it fits well before
assembling. No amount of glue can make up for a poor
fitting part.
WING ASSEMBLY
7
6
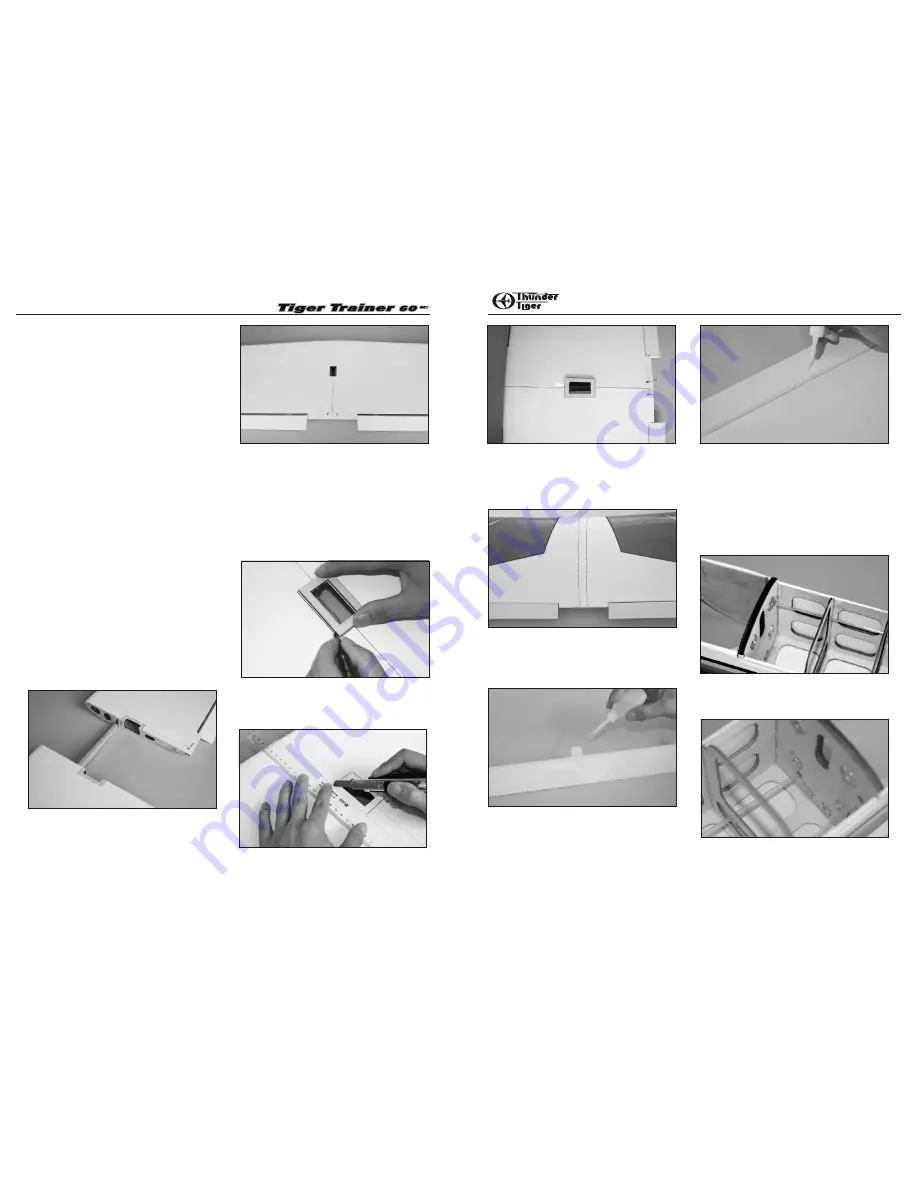
1.Before gluing the two wing halves, trail-fit the wing
joiner into the wing panels. If it is not easy to slide into
the wing, sand it until it will.
2. With 30-minute epoxy, liberally coat all sides and
edge of the wing joiner and slip it into one wing half.
Now coat the inside edge of the center wing rib where it
will join to the other wing half. This is called the “root” of
the wing.
Join the two wing halves and firmly press wing panels
together. Wipe off any excess epoxy with a paper towel
and rubbing alcohol. Make sure the two panels are
accurately aligned with each other. You may hold
together with several strips of masking tape.
3. Place the servo tray centered over the cutout in the
bottom of the wing. Mark around the servo tray with a
marker.
4. Remove the tray, and use a sharp knife to score the
covering material where marked. Remove the covering
material to expose the wood underneath. Use thick CA
or epoxy to glue the servo tray securely in place.
5. You may apply tape(not furnished) to center wing joint.
Start at the servo tray and work around the wing. Gently
pull on the tape while pressing it down onto the wing to
slightly stretch the tape into place and provide a smooth
seam.
6. To hinge the ailerons, remove the clear tape that
holds one of the ailerons in place. Pull the aileron off the
wing, revealing five hinges. Center these hinges in their
slots in the AILERON and secure them with THIN CA,
letting it wick into the joint. Glue both sides of the hinge.
7. When the glue has set, re-install the aileron onto the
wing. Hint: While flexing the aileron one way or the other
and while holding the wing up on its front edge, carefully
wick CA into the slot where the hinge goes into the wing.
Do so on both sides of the hinge. After the glue has set,
tug on the aileron at each hinge location to make sure
the hinges are securely glued in place. Also, make sure
the aileron is free to move up and down.
Note: you can remove any residue from the tape with
alcohol. Set your wing aside, for now.
FUSELAGE ASSEMBLY
8. Insert the throttle tubing first. It runs along the right
side of the fuselage and goes from the up corner of the
firewall back through the right hole in the first former and
then through second and third formers. Glue it securely
in place with thick CA.
9. Same way to the nose gear tubing. Insert the tube
through the first former and second former. Glue the tube
in place with thick CA.


