background image

When you have finished typing the above values click the           
button. You should now be able to access the network encoders management portal. 

Quick-Start Guide:

The following steps should get you up and running with minimal configuration. For more complicated 
applications please consult the device manual or contact us for support. Thank you for choosing Thor 
Broadcast for your broadcasting needs.

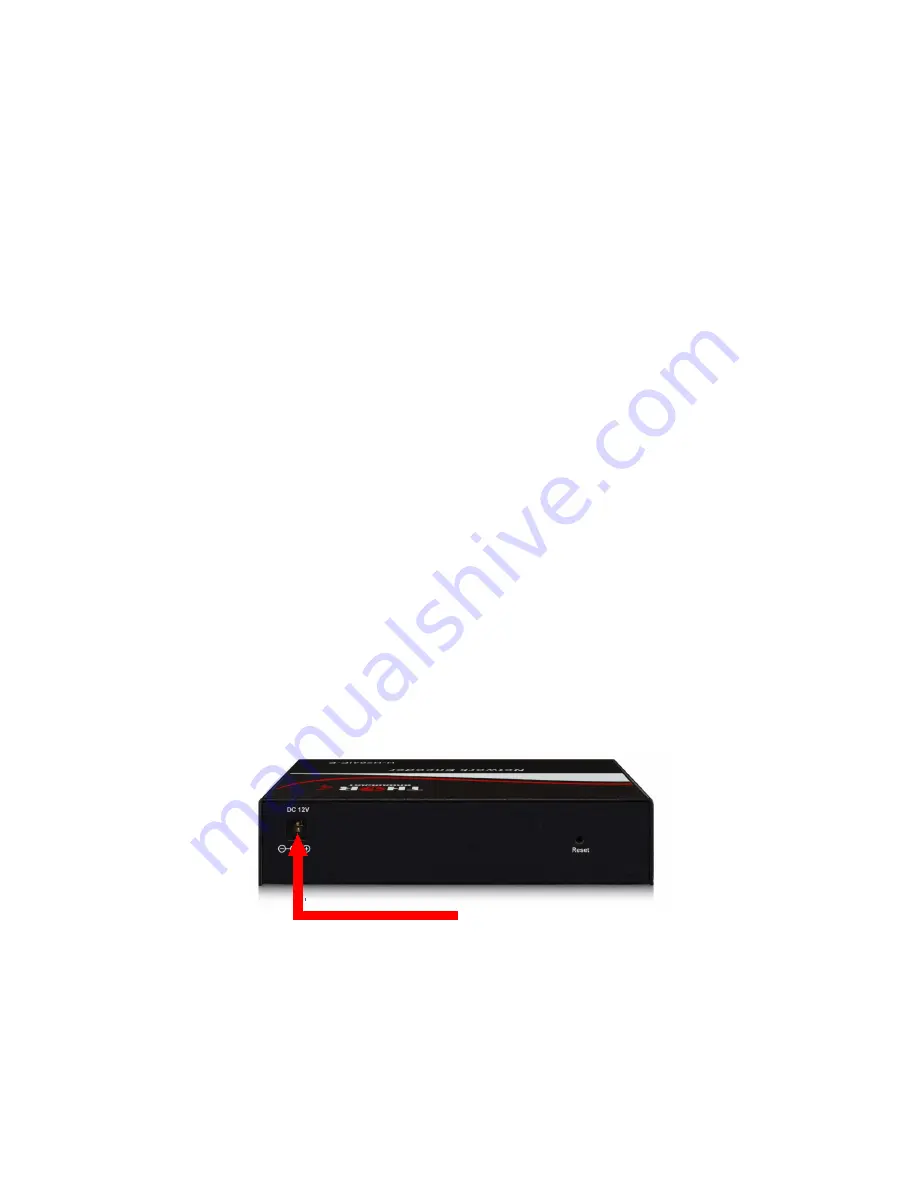
1. Connect the 12 Volt DC power adapter to the back of the Encoder.

2. Connect the HDMI cable from your video device output to the HDMI input on the front of 
the unit.

12v DC power  in

Summary of Contents for H-H.264IP-E

Page 1: ...Before We Begin The Quick Start Guide should get you up and running with your new Network Encoder in a matter of minutes To get started please make sure you have 1 a computer with an Ethernet port 2...

Page 2: ...you click on either of these icons you will presented with a network connections menu similar to this Please click on the Item labeled Unidentified network You should now see a screen similar to this...

Page 3: ...Click on the Network labeled Unidentified network and then click on the button...

Page 4: ...you up and running with minimal configuration For more complicated applications please consult the device manual or contact us for support Thank you for choosing Thor Broadcast for your broadcasting n...

Page 5: ...see a communication light start blinking orange on the left This indicates that your computer and device are communicating 3 To access the Device Configuration Page please open a browser on your compu...

Page 6: ...vices status information page Here you will find information on your devices status software and hardware version numbers and current configuration 6 On this page you are going to click on the paramet...

Page 7: ...dcast H H264IP E supports up to 3 streams out with different protocol resolution bit rate etc 7 Click on the CH1 CH2 or CH3 tabs at the top of the page to adjust the settings for the respective channe...

Page 8: ...cking on the drop down menu shown below 9 Select the bit rate that is going to fit your specification and click on the apply button to apply the new bit rate setting 10 When you have applied the setti...

Page 9: ...the following example syntax for each of the supported outputs HLS Protocol Http IP address IP port program name m3u8 e g http 192 168 200 66 8080 output0 m3u8 RTMP Protocol Rtmp IP address IP port p...

Reviews: