THOMSON GRAPH TH-013DB User Manual Download Page 14


14 

Call log 


You should first subscribe to the caller identification service from your telephone service provider 

before accessing this feature from your telephone.  


After you have subscribed to this service, when someone calls, the caller’s phone number is


displayed on the handset screen. If this number is saved in your phonebook, the contact name is 

also shown. The 40 most recent calls received, along with the date and time called, are saved on 

the call log. 


If the caller has requested that his/her phone number not to be shown, “MASKED” appears on the 

handset screen when the phone rings. 


Displaying the call log 

Answered calls and missed calls are recorded in the call log, from the most recent to the oldest. 

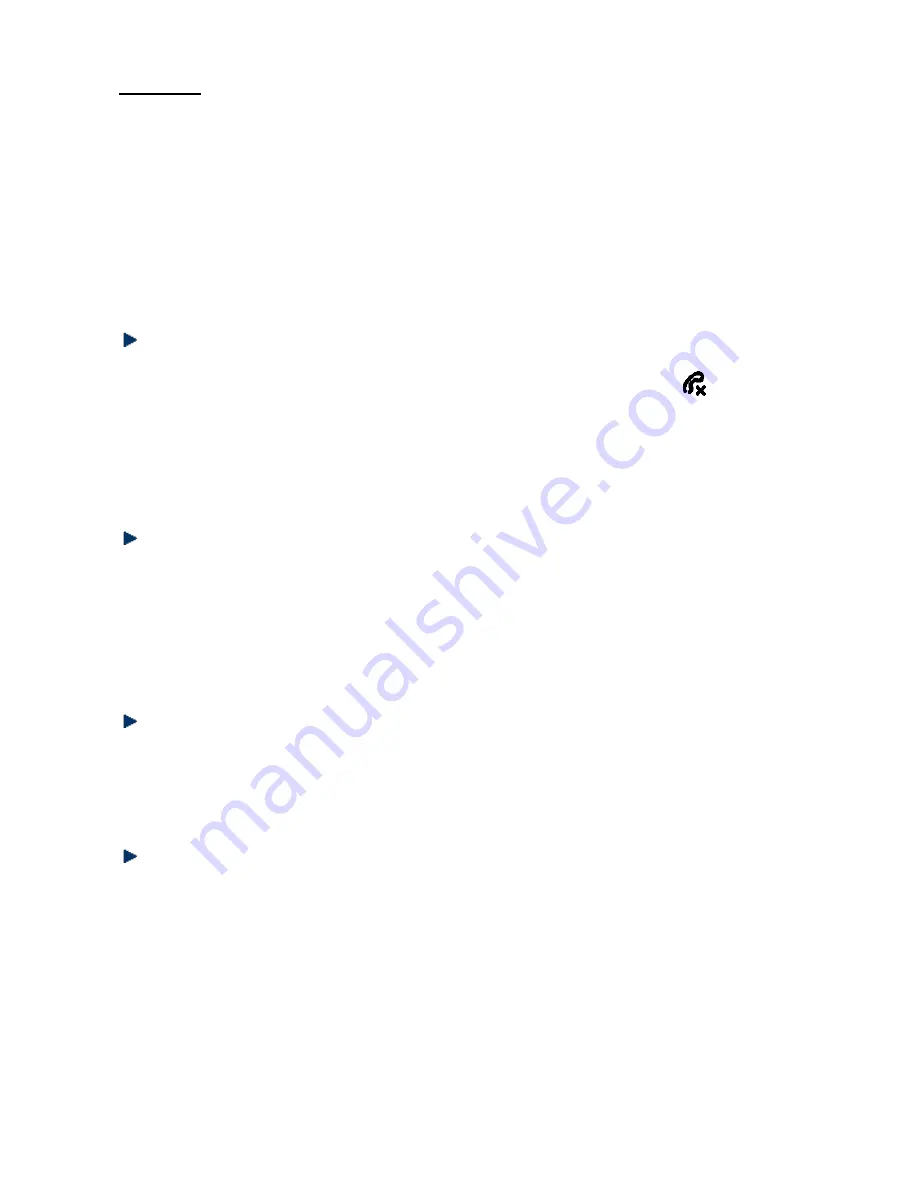
When this list is full, the oldest call is deleted in order to save new calls. The icon 

 appears 

when there is a missed call that you have not consulted on the call log. 

1.  Press <DOWN> (“Appels”) to access the call log. 

2.  Press <UP/DOWN> to select the desired entry. 

If the name is displayed, press <#> to view the number. Then press <#> again to view the date and 

time of the call. 


Saving a call log entry onto the phonebook 

1.  Press <DOWN> (“Appels”) to access the call log. 

2.  Press <UP/DOWN> to select the desired entry. 

3.  Press <Menu> and select SAVE. 

4.  Press <Menu> to enter the contact’s name. 

5.  Press <Menu> and the phone number is displayed. Edit if necessary. 

6.  Press <Menu> and <UP/DOWN> to select the ringtone. 

7.  Press <Menu> to confirm.  


Deleting an entry from the call log 

1.  Press <DOWN> (“Appels”) to access the call log. 

2.  Press <UP/DOWN> to select the desired entry. 

3.  Press <Menu> and use <UP/DOWN> to select DELETE ENTRY. 

4.  Press <Menu> to confirm. Then press <Menu> again to reconfirm. 


Deleting all entries from the call log 

1.  Press <DOWN> (“Appels”) to access the call log. 

2.  Press <Menu> and use <UP/DOWN> to select DELETE ALL. 

3.  Press <Menu> to confirm. Then press <Menu> again to reconfirm. 


Summary of Contents for GRAPH TH-013DB

Page 1: ...Digital Cordless Telephone User Manual GRAPH TH 013DB TH 013DE TH 013DP TH 013DG TH 014DB TH 014DE TH 014DP TH 014DG Please retain this user manual for future reference...

Page 2: ...the receiver 11 Putting a call on hold 11 Deactivating the handset ringer 11 Redialing a number 11 Saving a redial number to the phonebook 11 Deleting a number from the redial list 12 Deleting all num...

Page 3: ...volume 16 Setting the key tone 16 Selecting the language 16 Changing the handset name 16 Enabling disabling auto answer 16 Setting the telephone base 17 Selecting the ringtone 17 Adjusting the ringer...

Page 4: ...case of power failure and by consequence cannot be used for emergency calls To avoid such inconvenience always keep a traditional corded telephone in your home To prevent electric shock do not use yo...

Page 5: ...n OUT OF RANGE appear on the screen In this case get closer to the telephone base Installing and charging the batteries 1 Insert the connector of the supplied adapter into the adapter jack on the back...

Page 6: ...ries by heating The battery electrolyte may leak and irritate your eyes or skin Observe the polarity indicated Reversing the polarity of the batteries may result in electrolyte leakage or even explosi...

Page 7: ...tandby mode or previous menu During a call press to activate or deactivate the microphone To access to the option displayed on the screen 6 REDIAL LIST UP Press to access the redial list On the menu p...

Page 8: ...tercom function 12 MICROPHONE 13 FLASH KEY Press the R key to use special functions provided by your telephone service provider such as call waiting and call forwarding Telephone base 1 HANDSET LOCATO...

Page 9: ...It flashes when it is not yet registered to the base or while it is out of the operating range Flashes to indicate an incoming internal or external call The icon lights up to indicate that a call is...

Page 10: ...he Appels Call Log button to access the call log then use UP DOWN to select the number you want to call if the call log is not empty Press to dial the number Dialing a call from the redial list Press...

Page 11: ...MUTE again to reactivate the microphone Deactivating the handset ringer In standby mode press and hold to turn off the ringer The indicator appears on the handset screen Redialing a number The last 1...

Page 12: ...are registered to the base you are immediately connected to the second handset when you press Int Dialing an internal call 1 Press Int The list of registered handsets appears on the screen 2 Press th...

Page 13: ...tact 3 Press Menu then use UP DOWN to select EDIT ENTRY 4 Press Menu modify the name and then press Menu 5 Edit the number and then press Menu 6 Change the ringtone and press Menu to save Viewing a co...

Page 14: ...missed call that you have not consulted on the call log 1 Press DOWN Appels to access the call log 2 Press UP DOWN to select the desired entry If the name is displayed press to view the number Then p...

Page 15: ...2H and 24H 4 Press Menu to confirm Alarm clock function You can use your handset as an alarm clock once or daily This function is indicated by the icon on the handset screen When the alarm clock goes...

Page 16: ...elect SETTINGS 2 Press MENU and select HANDSET TONE 3 Press MENU and select KEY TONES 4 Press MENU then use UP DOWN to select OFF to deactivate or ON to activate the key tone 5 Press MENU to confirm S...

Page 17: ...d new PIN code 6 Press MENU and reenter the same PIN code for confirmation 7 Press MENU to confirm the new PIN code Registering a handset The supplied handset is by default registered to the telephone...

Page 18: ...to deregister it Restoring factory settings You can restore the factory settings at any time Caution This will erase all your settings the call log and redial list only your phonebook will be retaine...

Page 19: ...connected Poor audio quality crackles echo etc 1 Interference with nearby electrical equipment 2 The walls of the room in which the telephone base is located are thick 3 The handset is too far from t...

Page 20: ...stances in electrical and electronic equipment may have potential effects on the environment and human health in the reprocessing cycle of this product Therefore at the end of service life of this app...

Reviews: