


20
6.
OTHER INFORMATION
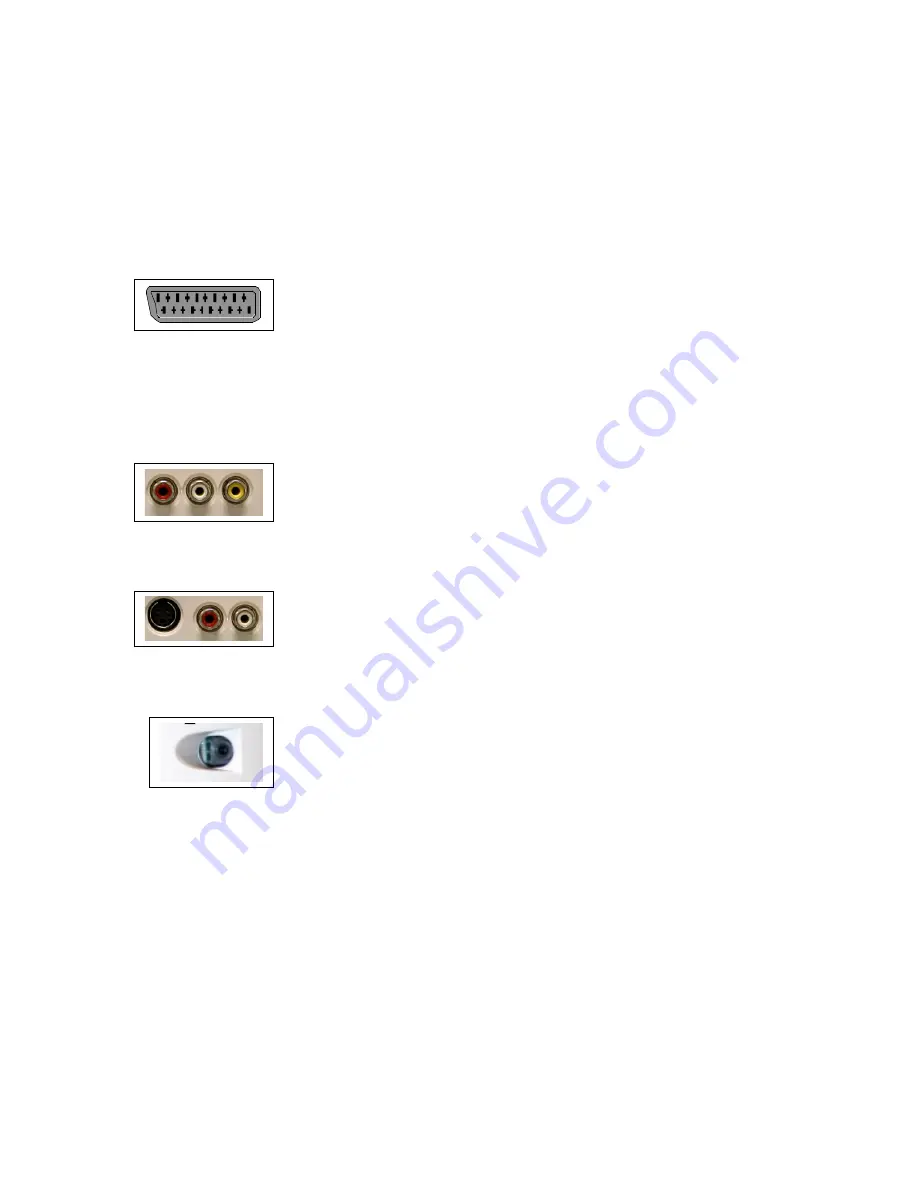
Sockets
SCART
socket AV1
(input-output) on the back side of the TV set.
This socket can be used to connect a range of equipment, including video
recorders, camcorders (VHS or 8-mm), decoders, satellite receivers, DVD players,
games consoles or appliances producing an RGB signal.
To display images from the connected appliance, select
AV1
using
AV
button on the
remote control.
For some appliances (connected to the SCART socket), this selection is made
automatically.
For appliances producing an RGB signal, select
AV1 RGB
.
Audio (L/R) and video (CVBS) CINCH sockets
AV2
(input) on the back
side of the LCD TV set.
These can mainly be used to connect camcorders (VHS or 8-mm format).
To display images from the connected appliance, select
AV2
using
AV
button on the
remote control.
Audio (L/R) and S-video socket AV2
(input) on the back side of the TV
set.
These can mainly be used to connect camcorders (S-VHS or Hi 8 format).
To display images from the connected appliance, select
AV2S
using
AV
button on the
remote control
Audio stereo jack
socket
(output) on the back side of the TV set.
These can be used to connect a stereo amplifier, a hi-fi system or amplified
speakers (see below).
Connecting active speakers or an amplifier
(using a jack / CINCH cable not provided).
The audio stereo jack socket (
audio output
) located on the back side of the LCD TV set can be used to
connect active speakers (with a built-in amplifier) or an amplifier.
Connect the left and the right speaker to the stereo jack socket (
audio output
) using a jack / CINCH cable
(not provided).
To connect an amplifier, you should connect the LCD TV set’s stereo jack socket (
audio output
) to the
amplifier’s L and R inputs using a jack / CINCH cable (not provided).


