Think365 – IP Phone
configuration
THINKTEL COMMUNICATIONS
Reference
Think365_PolycomCX-5500
5/12
All rights reserved. Passing on and copying of this document, use and communication of its contents not permitted without written authorization
2
GETTING STARTED WITH POLYCOM CX-5500 UC EDITION
2.1
C
ONNECTING THE
P
OLYCOM
CX-5500
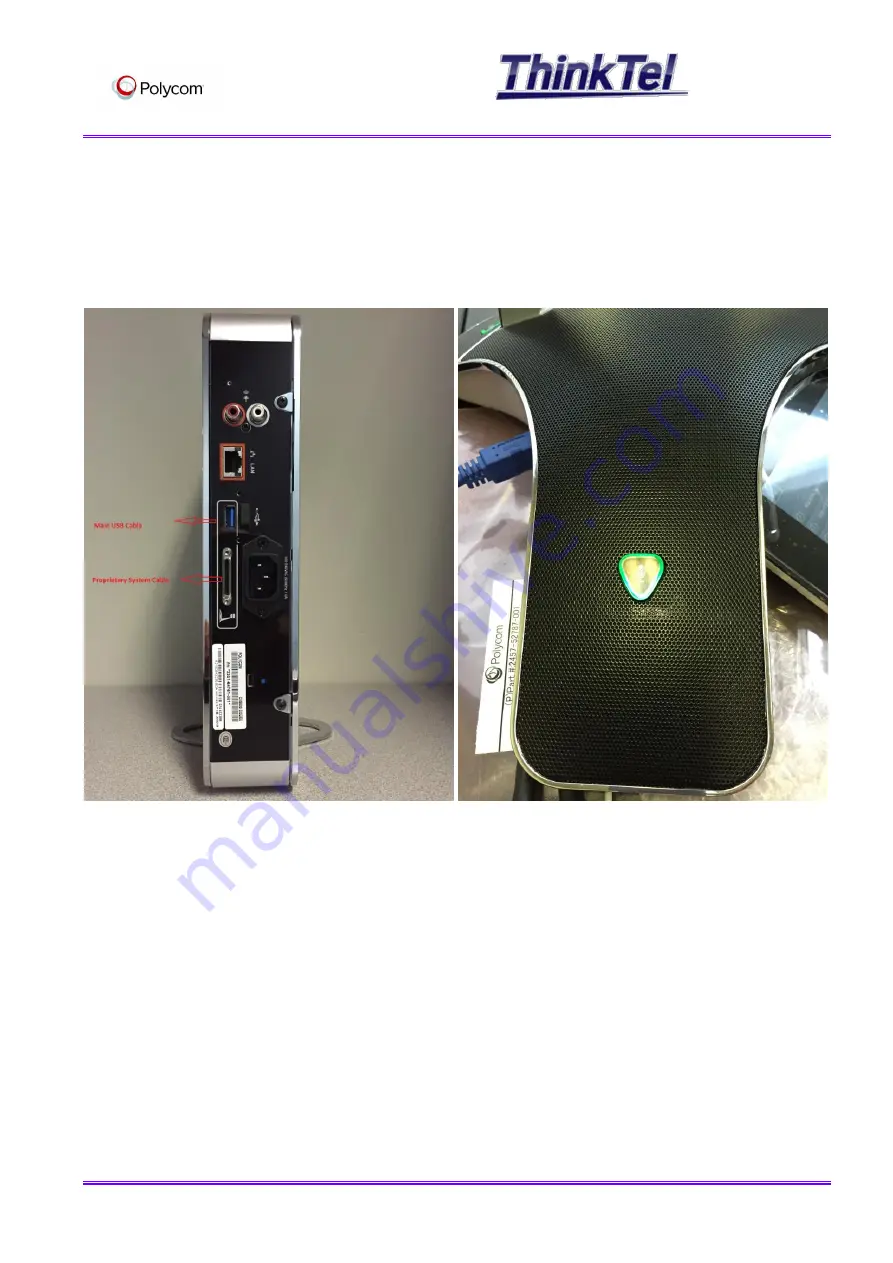
Ensure that the Polycom Tabletop console is connected correctly to the Processor box via the
Proprietary System cable and the main USB cable (USB 3.0 Type A–Type A cable).
Ensure the camera cap is in the DOWN (closed) position.
Connect the power cable to the processor box and turn on the mains power on the socket at the wall.
Wait for the green microphone lights on the leg/speaker area shown in the Figure above to stop
flashing , on the CX5500 there is an LCD display that will show a spinning ball when it is still powering
up – wait for this screen to show the main menu
Power up the laptop and login to Lync 2013 with the Think365 Account
Plug the blue USB cable into the side of the Camera and audio stand as shown in the Figure below and
into the laptop, preferably into a USB 3.0 socket. If device is recognised, the computer should give
audio feedback to confirm then begin to install necessary drivers (if this is the first time the device
has been connected)
Allow drivers to install on the laptop or PC, this should be automated and should not take more than a
couple of minutes.
Raise the camera cap until it clicks


