60 THERMEX
PRO LINK I
M 536991500911122018
EN
gLI
sH
»
P
R
O
L
INK
P
REMIUM
SETTING THE SET POINTS
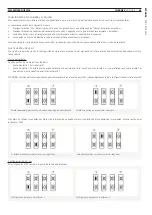
It is possible to set the two set points so that the settings match the selected hood and ventilation system that Pro Link will be used for. The set
points are set one at a time and may be set independently.
The minimum desired load for the two set points is set as follows:
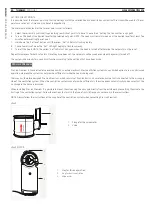
5. Select the correct dip switch setting according to which set point is to be set. See section “Setting the transmitter:” on page 59
6. Turn on the hood at the desired level for the selected set point. NOTE: The hood must remain turned on at the desired level for at least five
minutes before setting the set point.
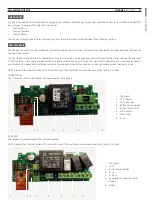
7. Hold down the “Set level” button until the yellow “Set” LED starts flashing rapidly.
8. The set point is set when the “Set” LED light begins to flash less slowly.
9. Turn off the hood. NOTE: The yellow “Set” LED must disappear when the hood is turned off, otherwise the set point must be reset.
Repeat this process for both set points. Once they have been set, the set points will be saved even when the power is turned off.
The system is now ready for use and will function according to the settings that have been made.
PRO LINK PREMIUM
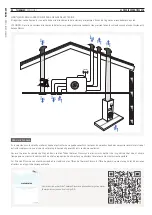
Pro Link Premium is the solution for cooker hoods with an external exhaust. Most ventilation systems have a limited option to run in unbalanced
operation, whereby the system cannot provide sufficient air while the hood is being used.
Thermex has therefore designed Pro Link Premium, which consists of Pro Link Basic and a motorised valve that is connected to the air supply
side of the ventilation system. When the ventilation system cannot provide sufficient air, the valve opens automatically and ensures that the
air change in the house is balanced.
When installing Pro Link Premium it is possible to mount the valve using the air supply directly from the outside or by connecting the valve to the
ducting of the ventilation system. Follow the sections that match the type of installation you have chosen in these instructions.
NOTE: Always follow the instructions of the supplier of the ventilation system when connecting Pro Link Premium.
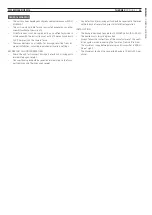
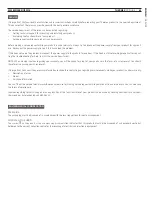
VALVE
1.
Flange for the valve motor
2. Valve
VALVE MOTOR
1.
Stop for forced operation
2. Stop for basic ventilation
3. Valve motor
1
2
1
2
3


