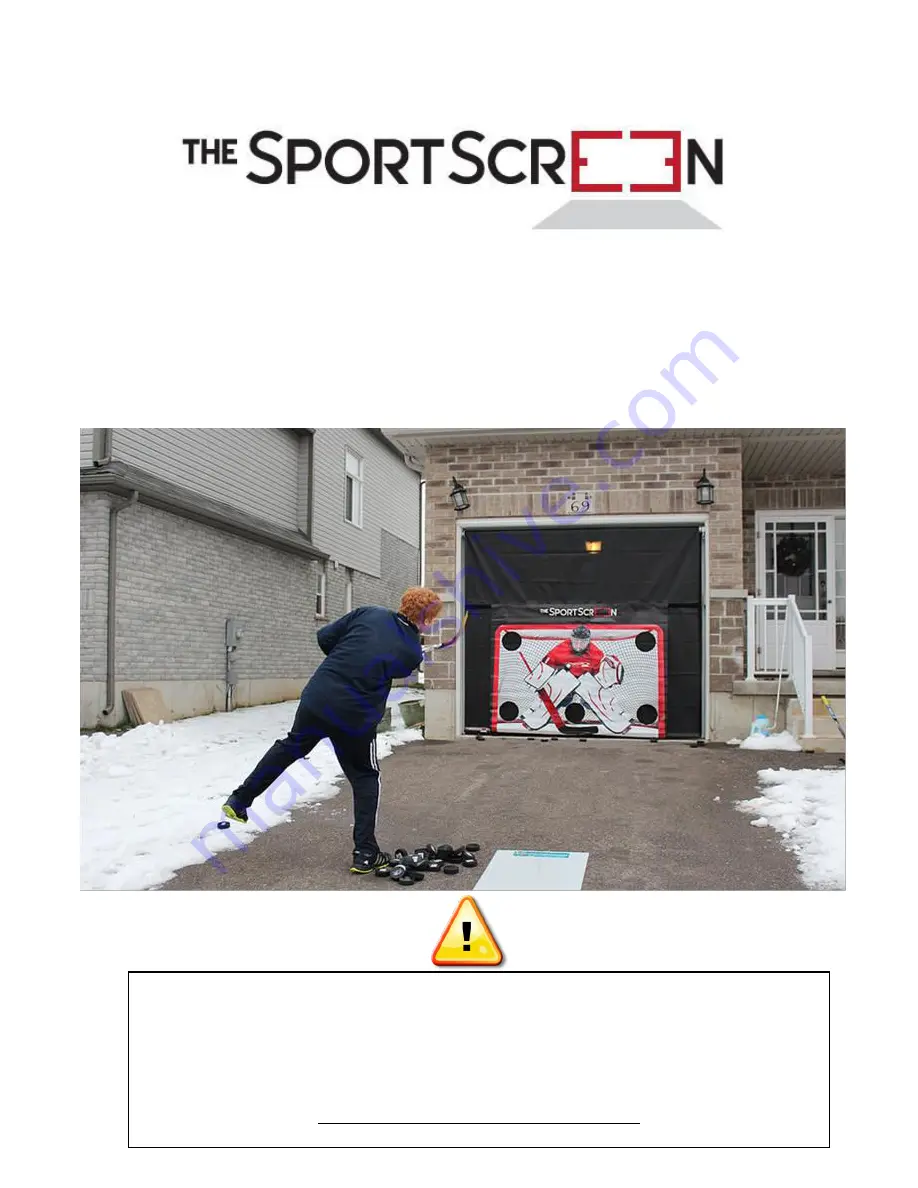
the sportScreen P316 Installation And User Manual Download Page 1


Installation and User Manual  

(Power Version 2.3) 

For P316 and P31X (Custom) 


ATTENTION: 

Read these instructions prior to assembling and using The SportScreen. 

STOP! 

Make Sure You Have Received All the Parts Listed on the Bill of Materials. 

Our Instructional Videos are strongly recommended to help with the installation. 

www.thesportscreen.com/instructional-vedios 

Summary of Contents for P316

Page 1: ...NTION Read these instructions prior to assembling and using The SportScreen STOP Make Sure You Have Received All the Parts Listed on the Bill of Materials Our Instructional Videos are strongly recommended to help with the installation www thesportscreen com instructional vedios ...

Page 2: ...u tio s Section 2 Installation Instructions Dis lai er Preparatio Tools Needed Parts Needed Asse ly 8 Section 3 Troubleshooting 8 Section 4 Frequently Asked Questions 9 Section 5 User Warning Information User War i g I for atio 9 Section 6 Care and Maintenance Cold Weather Prote tio Cleaning Instructions Repla e e t Parts Section 7 Warranty Information Warra ty I for atio ...

Page 3: ...UBE 3 2 HEADROLL JOINER 2 3 IDLER END 1 4 ANGLE BRACKET 1 5 DROP IN BRACKET 1 6 COTTER PIN 1 7 SCREW PAN HD 6 32 X 1 2 LG SST 2 8 NYLOCK NUT 2 9 MOTOR 1 10 DRIVE MOTOR 1 11 CROWN MOTOR 1 12 COTTER PIN 1 13 ANGLE BRACKET 1 14 STAR BRACKET 1 15 SCREW PAN HD 6 32 X 1 2 LG SST 2 16 NYLOCK NUT 2 17 BOTTOM BAR 3 18 JOINER BOTTOM BAR 2 19 BOTTOM BAR END CAP 2 20 MIDDLE BAR FIBERGLASS 3 21 MIDDLE BAR JOIN...

Page 4: ... DETAIL NO TITLE P316_SPORTSCREEN DR TGSP DATE SHEET 2 OF 7 DR NO P316 SPORTSCREEN SIZE C CH SCALE SEE DETAIL D SEE DETAIL B 1 3 4 5 7 8 9 10 11 12 13 14 15 16 17 18 20 21 22 23 23 SEE DETAIL A 19 SEE DETAIL C SEE DETAIL E SEE DETAIL F SEE DETAIL G 2 23 6 SEE DETAIL D SEE DETAIL B SEE DETAIL A SEE DETAIL C SEE DETAIL E SEE DETAIL F SEE DETAIL G ...

Page 5: ...SS OTHERWISE SPECIFIED XX 01 XXX 005 XXXX 0001 ANGLES 5 DO NOT SCALE MARK ALL PARTS WITH DRAW G OR DETAIL NO TITLE P316_SPORTSCREEN DR TGSP DATE SHEET 3 OF 7 DR NO SPORTSCREEN SIZE C CH SCALE SCALE 0 750 DETAIL A 4 REF 7 REF 6 REF 5 REF 8 REF 3 REF ...

Page 6: ...ERWISE SPECIFIED XX 01 XXX 005 XXXX 0001 ANGLES 5 DO NOT SCALE MARK ALL PARTS WITH DRAW G OR DETAIL NO TITLE P316_SPORTSCREEN DR DATE SHEET 4 OF 7 DR NO SIZE CH SCALE SCALE 0 750 DETAIL B 13 REF 15 REF 14 REF 16 REF 12 REF 23 REF 9 REF 9 REF 11 REF 10 REF ...

Page 7: ...ERANCES UNLESS OTHERWISE SPECIFIED XX 01 XXX 005 XXXX 0001 ANGLES 5 DO NOT SCALE MARK ALL PARTS WITH DRAW G OR DETAIL NO TITLE P316_SPORTSCREEN DR TGSP DATE SHEET 5 OF 7 DR NO SPORTSCREEN SIZE C CH SCALE SCALE 0 750 DETAIL D 2 REF 23 REF ...

Page 8: ...LESS OTHERWISE SPECIFIED XX 01 XXX 005 XXXX 0001 ANGLES 5 DO NOT SCALE MARK ALL PARTS WITH DRAW G OR DETAIL NO TITLE P316_SPORTSCREEN DR 4 DATE SHEET 6 OF 7 DR NO SIZE CH SCALE SCALE 0 750 DETAIL F SCALE 0 750 DETAIL G 22 REF 21 REF 23 REF 20 REF ...

Page 9: ...ES UNLESS OTHERWISE SPECIFIED XX 01 XXX 005 XXXX 0001 ANGLES 5 DO NOT SCALE MARK ALL PARTS WITH DRAW G OR DETAIL NO TITLE P316_SPORTSCREEN DR DATE SHEET 7 OF 7 DR NO SIZE CH SCALE SCALE 0 750 DETAIL C SCALE 0 750 DETAIL E 19 REF 18 REF 17 REF ...

Page 10: ... ACCESSORIES The SportScreen offers a series of sports accessories They can be conveniently purchased online at anytime for use with The SportScreen Sports accessories currently available include Targets are available for hockey baseball and lacrosse to perfect precision with aim Shooting Pad with Puck Rebounder for improving stick handling and shooting skills and offering a realistic feeling of p...

Page 11: ...by step installation can be viewed at www thesportscreen com instructional videos PREPARATION Sweep and clean your driveway before you begin assembly of The SportScreen The following tools are needed in order to install TOOLS NEEDED Ladders Tape Measure Level Marker Pencil Phillips Screwdriver bit Power Drill Safety Glasses Hammer A partner 1 re h PARTS NEEDED Appropriate fastening screws are requ...

Page 12: ...hey are marked at center When the Joiner 2 is completely inserted into the tubes 1 the assembled tube should be checked to ensure it is straight This can be done by rolling the tube on a flat surface like the garage floor or the driveway a Inside Mount b Surface Mount For the inside mount the wall mount bracket is mounted directly to the wood door jamb using 4 woodscrews The brackets are mounted t...

Page 13: ...67 P3 9 3 Note This area should be free of all obstructions since the head roll tube 1 will be mounted here Attach both angle brackets 4 13 to the wall with one installer at each end and ladders in place lift the entire assembly up into the desired location The motor end must be inserted first Place the wire on the motor end downwards so that water and ice will not funnel into the motor Take the i...

Page 14: ...ing is visible see drawing below NOTE you will see a cut off black wire Do not expose or use this wire It is obsolete and not needed Place the power cord on the motor end downwards so that water and ice will not funnel into the motor Step 6 Programming your Remote Control The SportScreen remote control is already pre programmed with The SportScreen motor Install the battery into the back of your r...

Page 15: ...m bar joiner 18 into the other bottom bar s using a hammer SEE DETAIL E Note This is a jam fit and may require hitting the bar against a solid surface or wall We suggest putting a piece of wood between the surface and the tube to avoid damaging the surface Insert the assembled bottom bar through the pocket at the bottom of the screen Using a hammer tap the bottom bar end caps 19 onto both sides of...

Page 16: ...ck from sliding under When it is fully raised up the bottom bar should be tucked right below the tube Right Side Motor Mount Upper Limit slot closest to the wall garage Press the up utto on your remote Your unit will begin to wrap around the head roll tube To increase your upper limit turn the limit adjusting tool CLOCKWISE The screen will begin to travel in the upward direction as you turn the li...

Page 17: ...at up and the thermal safety will automatically shut it off until it cools down In this situation you are required to wait 20 30 minutes until the unit automatically starts up Make sure there is nothing obstructing the screens range of motion I a t set y li its Refer back to page 6 7 etti g Your Upper a d Lo er Li its My Screen is not rolling up evenly Ensure that the screen is straight across the...

Page 18: ...in to your driveway Additional remotes are offered as a sports accessory on the website at www theSportScreen ca Section 5 User Warning Infomation It is the responsibility of the owner to become familiar with the safety rules and to convey these rules to all users Children should be supervised at all times when The SportScreen is in use especially when lowering and raising The SportScreen Check to...

Page 19: ...g The SportScreen When The SportScreen is not in use it should be rolled up Do not use a sharp object such as a shovel hoe garden rake etc to remove ice or snow as this may damage The SportScreen or interfere with proper operation Cleaning Instructions The SportScreen and valance can be cleaned using a mild dish detergent and water Replacement Parts The SportScreen is made of heavy duty and durabl...

Page 20: ... will not apply where damage is caused by repairs made or attempted by others ie persons not authorized by the manufacturer f This warranty will not apply to any product that was sold to the original purchaser as a reconditioned or refurbished product unless otherwise specified in writing g This warranty will not apply to any product or part thereof if any part from another manufacturer is install...

Reviews: