


— 16 —
Operation
Auto Tune® Advanced Settings (Continued)
4 4
4
5
6 6
6
Note:
The previous steps showed how to adjust
the settings using the
Navigation
and
ENTER
buttons on the main unit. You
can also use the following controls:
•
Navigation
and
ENTER
buttons on
the mic’s remote.
•
KEY EFFECT/FX LEVEL
control can be
rotated and pressed.
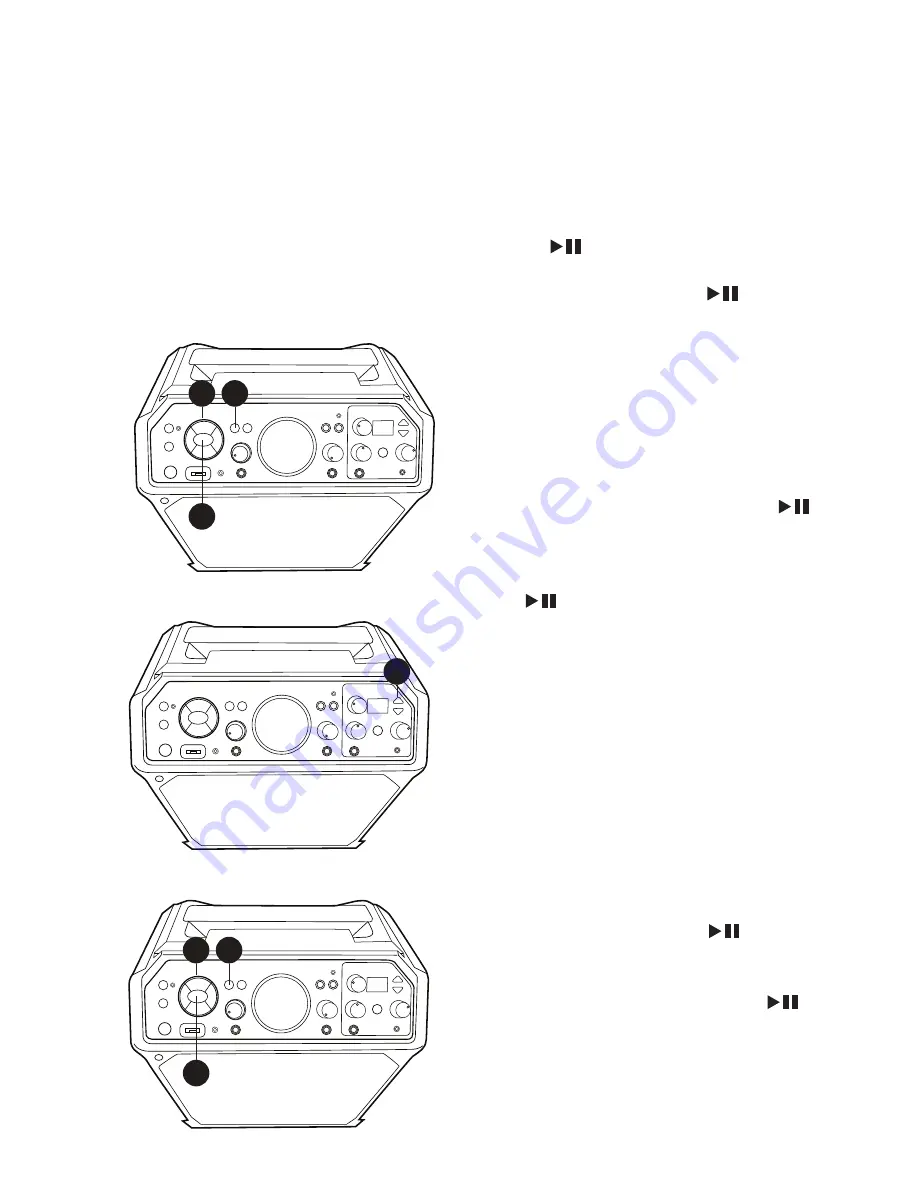
4
To save a preset (you can save two
presets, names A and B), use the
Navigation
buttons to select SAVE AS
PRESET, then press the
ENTER
button. Use the
Navigation
Right
or
Left button to select a desired
preset (A or B), then press the
ENTER
button to save.
5
The saved preset (A or B) will be
shown on the unit’s display. To
manually select it, press the
EFFECTS
Up or Down
button to cycle through
the options. The presets will now be
one of the available vocal effects and
machine display with show custom
preset as A or B.
6
To delete a preset, use the
Navigation
buttons to select DELETE PRESET,
then press the
ENTER
button.
Use the
Navigation
Right or
Left button to select the preset to
delete, then press the
ENTER
button to delete.


