background image

11 


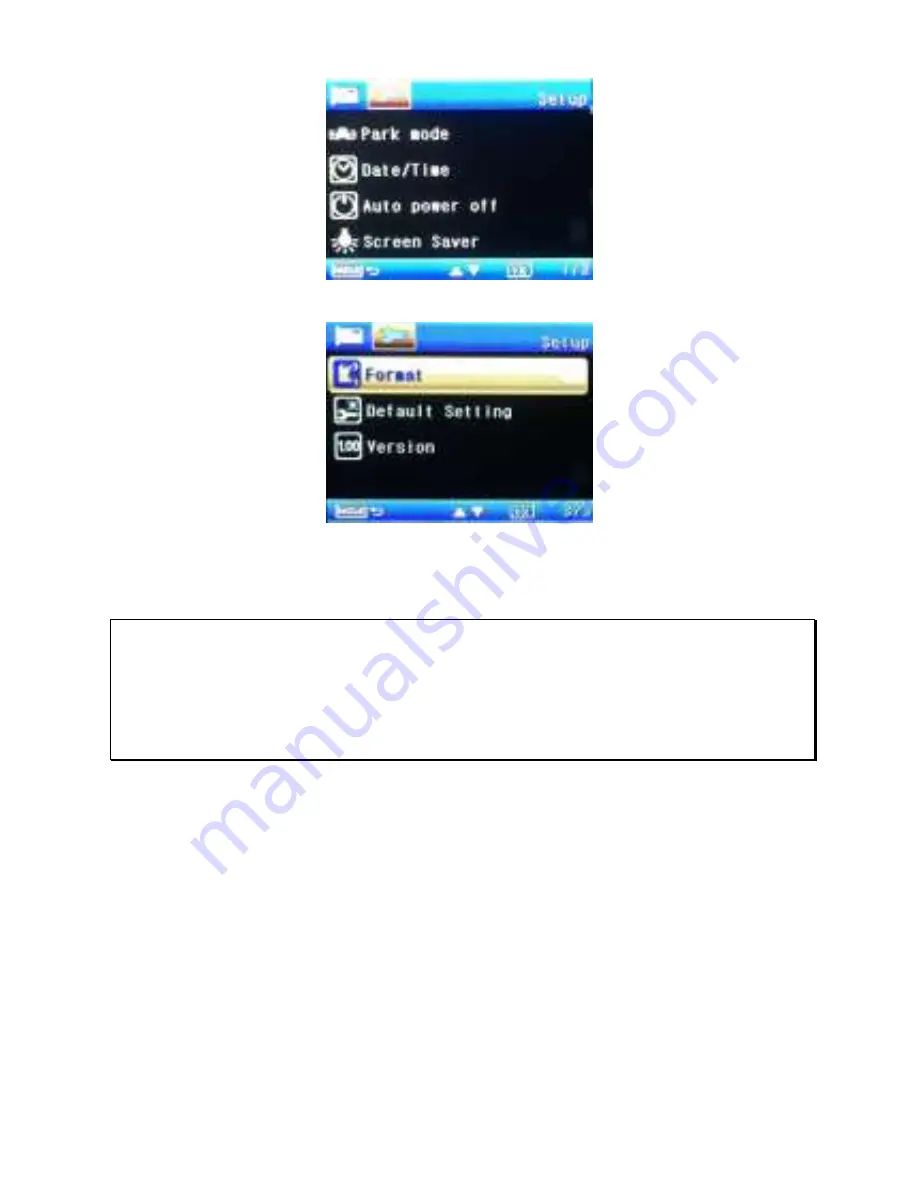
2. Use the 

Up or Down Buttons 

until Format is highlighted. 


3. Press the 

OK Button

. You will be asked to confirm the format 

– if 

you are sure you wish to perform the format, use the 

OK Button

 to 

select 

OK

Note:   

1. It is recommended you perform a format before using TODC WITNESS for the 

first time. 

2. Caution: Formatting the microSD card will delete all files on the card, including 

locked video files.   

2.6  Basic Setup 

Before  using  TODC  WITNESS,  we  recommend  setting  up  the 
correct 

Date and Time

Note:  To  access  setup  menus,  TODC  WITNESS  must  NOT  be 
recording.  Menus  cannot  be  accessed  while  TODC  WITNESS  is 
recording. 


Summary of Contents for 4SF288

Page 1: ...w GetDashCam com FCC declaration of conformity Responsible party 4Sight Inc 3325 E Shelby St Ontario CA 91764 909 944 5511 Fax 866 285 5828 This device complies with Part 15 of the FCC Rules Operation...

Page 2: ...ving antenna Increase the separation between the equipment and receiver Connect the equipment into an outlet on a circuit different from that to which the receiver is connected Consult the dealer or a...

Page 3: ...oelectrique edicte par Industrie Canada Notes on Installation 1 This product is best used when installed near the rear view mirror at the center and top of windshield must follow all local laws relate...

Page 4: ...erted here BACK EMERGENCY RECORD MENU MODE While recording this button will activate the Dash Cam s Emergency Record feature see G Sensor When NOT recording press and hold this button to access the Da...

Page 5: ...to start or stop recording In still photo mode use this button to take a still snapshot When navigating menus use this button as the ok button to select the highlighted option HDMI out Connect a mini...

Page 6: ...roSD card slightly until you hear a click and release the card will eject slightly Once ejected take hold of and remove the memory card Note 1 Do not remove or insert the memory card when the device i...

Page 7: ...in place 4 Once TODC WITNESS is affixed to the windshield you can choose whether to record the interior of the vehicle or any other angle simply by rotating the Dash Cam Note 1 The Seller or Manufact...

Page 8: ...e you ve chosen to mount TODC WITNESS run the power cord around the trim of your vehicle so that it will not obstruct your view while driving 3 Plug the other end of the car charger into the 12v port...

Page 9: ...nction is designed so that should an incident occur the driver can remove TODC WITNESS from the mount and capture evidence from outside the vehicle Alternatively the battery can be used to playback vi...

Page 10: ...r on and begin recording when TODC WITNESS is connected to a power source Once the vehicle s 12v outlet is powered on and TODC WITNESS is connected TODC WITNESS will automatically turn on and begin re...

Page 11: ...ard Caution removing the microSD card before powering off TODC WITNESS will corrupt your files and you will lose your footage 2 5 3 Formatting the microSD Card To format the microSD card follow these...

Page 12: ...ote 1 It is recommended you perform a format before using TODC WITNESS for the first time 2 Caution Formatting the microSD card will delete all files on the card including locked video files 2 6 Basic...

Page 13: ...ording Press and hold the Menu Button to enter the Video Settings Menu 2 Press the Menu Button a second time to enter TODC WITNESS s main Setup Menu 3 Use the Down Button until Date Time is highlighte...

Page 14: ...ou are finished setting the current date and time press the Menu Button to return to the main recording screen Note 1 The Original Dash Cam WITNESS runs on a 24 hour military clock 1 00pm shows as 13...

Page 15: ...an press the OK Button at any time to manually start or stop recording Note 1 Whether or not your vehicle s 12v outlet stays active when the vehicle is powered off depends on the make and model each v...

Page 16: ...not be overwritten by TODC WITNESS s loop recording feature 2 When the Emergency recording function is activated one looping cycle will be locked recording will return to normal when the next loop beg...

Page 17: ...n No Icon Item Description 1 Video Mode Icon When on screen indicates you are in video mode 2 Loop Recording Icon Indicates the currently selected video loop length 3 Exposure Indicates your currently...

Page 18: ...in recording time on the microSD card When red indicates the recording time of the current video file 10 Audio Record Indicator Indicates whether TODC WITNESS is recording sound When TODC WITNESS is...

Page 19: ...record as long as there is motion detected Once motion stops TODC WITNESS will stop recording after ten seconds Enabling motion detection overrides TODC WITNESS s loop recording and G Sensor features...

Page 20: ...e G Sensor will detect if and when a collision happens and will activate emergency recording locking your video file so it will not be deleted by the Loop Recording feature You can adjust the sensitiv...

Page 21: ...Caution formatting the microSD card will delete all videos including emergency locked videos 3 1 6 Parking Mode Parking Mode when enabled allows you to power off the Dash Cam when you park the car lik...

Page 22: ...Parking Mode settings 1 Be sure TODC WITNESS is NOT recording 2 Press and hold the Menu Button twice to enter the Setup Menu 3 Use the Down Button to highlight Park Mode and press the OK Button 4 Use...

Page 23: ...a still picture follow these instructions 1 Be sure TODC WITNESS is NOT recording 2 Short press the Menu Mode Button TODC WITNESS will enter Still Photo Mode 3 Once in Still Photo Mode use the OK but...

Page 24: ...are in Sill Photo Mode 2 Exposure Indicates your currently selected Exposure Value EV 3 White Balance Indicator Indicates the chosen white balance level 4 ISO Indicator Indicates the current ISO chose...

Page 25: ...ictures available to store on the microSD card 3 3 Playback Videos 3 3 1 Playing Videos To playback video files on TODC WITNESS s LCD screen follow these instructions 1 Be sure TODC WITNESS is NOT rec...

Page 26: ...Description 1 Playback Mode Indicator This icon indicates you are in video playback mode ready to play a video 2 Time Date Stamp Embedded Time Date Stamp This is the time date stamp that is embedded...

Page 27: ...shot 7 Resolution Indicator Indicates the resolution of the recorded video 8 Video Time Video Time Indicator Indicates the current video time 3 3 3 Deleting Files To delete file s do the following 1...

Page 28: ...hlight Delete All to delete all footage from TODC WITNESS 6 You will be asked to confirm your Deletion if you are sure use the Down Button to highlight OK and press the OK button 7 Your file s has bee...

Page 29: ...deo Settings Menu 1 Be sure TODC WITNESS is NOT recording 2 Press and hold the Menu Button to enter the Video Settings Menu 3 Use the Up Down Buttons to highlight different menu options in the Video S...

Page 30: ...menu options in the Still Photo Menu Press the OK Button to enter the highlighted settings sub menu Accessing the Setup Settings Menu 1 Be sure TODC WITNESS is NOT recording 2 Press and hold the Menu...

Page 31: ...till Photo Mode 4 2 Menu Items Menu Setting Description Available Options Video Menu Settings Resolution Set your desired resolution Higher resolution has better image quality but takes up more storag...

Page 32: ...ITNESS s Lens 2 0 5 3 4 3 1 2 3 1 3 0 1 3 2 3 1 0 4 3 5 3 2 0 Motion Detection Turn on off On Off Record Audio When on TODC WITNESS will record sound When off TODC WITNESS will not record sound On Off...

Page 33: ...3M VGA Sequence When on TODC WITNESS will take a sequence of three pictures with one press of the OK button On Off Quality Adjust the image quality Fine Normal Economy Sharpness Adjust the image sharp...

Page 34: ...3 0 0 1 3 2 3 1 0 4 3 5 3 2 0 Anti Shakin g Image Stabilization On Off Quick Review When on allows you to briefly view the photo after taking Off Date Date Time Date Stamp Watermark video files with t...

Page 35: ...inute 3 Minutes Screensav er When on TODC WITNESS s screen will shut off after the chosen amount of time TODC will continue to record To reactivate the screen simply touch any button Off 3 Minute 5 Mi...

Page 36: ...for Europe 50Hz 60Hz Format Perform a format when powering on TODC WITNESS for the first time If experiencing memory issues try formatting the card to troubleshoot Caution performing a format will er...

Page 37: ...UTION IF YOU PLUG TODC WITNESS DIRECTLY INTO YOUR VEHICLE S USB PORT YOUR VEHICLE WILL REGISTER AS A COMPUTER AND YOU WILL BE UNABLE TO RECORD THE ABOVE SCREEN WILL APPEAR In this case it is recommend...

Reviews: