Page 6
ASSEMBLY
Before using for the first time, the battery must be fully charged.
•
Insert the charger cable into the charging inlet on the sprayer.
•
Plug the battery charger plug into the ains power supply.
•
The ref LED indicator lights up to tell you that the battery pack is on charge.
•
The battery is fully charged when the red LED light indicator is no longer lit.
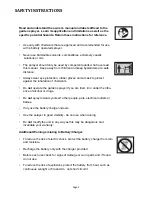
During the charging process, the body of the sprayer will warm up - this is normal.
When not charging the sprayer, disconnect the charger plug from the mains.
Only charge the battery between temperatures of 10
o
- 45
o
C.
To Assemble:
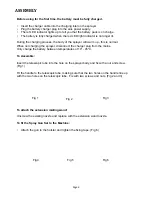
Insert the telescopic tube into the hole on the sprayer body and fix with
a
nut and screw
.
(Fig 1)
Fit
the
handle to the telescopic tube, making sure that the two holes on the handle line up
with
the two holes on the tele
s
copic tube. Fix with two screws and nuts. (Fig 2 and 3)
To attach the extension misting wand:
Unscrew the existing nozzle and replace with
the
extension wand nozzle.
To fit the Spray Gun Set to the Machine:
• Attach the gun to the holster and tighten the fixing tape.
(Fig 6)
Fig 1
Fig 2
Fig 3
Fig 4
Fig 5
Fig 6
Summary of Contents for THCGS
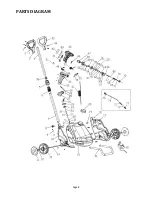
Page 8: ...PARTS DIAGRAM Page 8 ...
Page 11: ......

