5-2
Installation Guide 84464 Rev. 2
STEP 2: Know your VesseLINK.
It may be necessary to know details about your VesseLINK system when calling for help or
service.
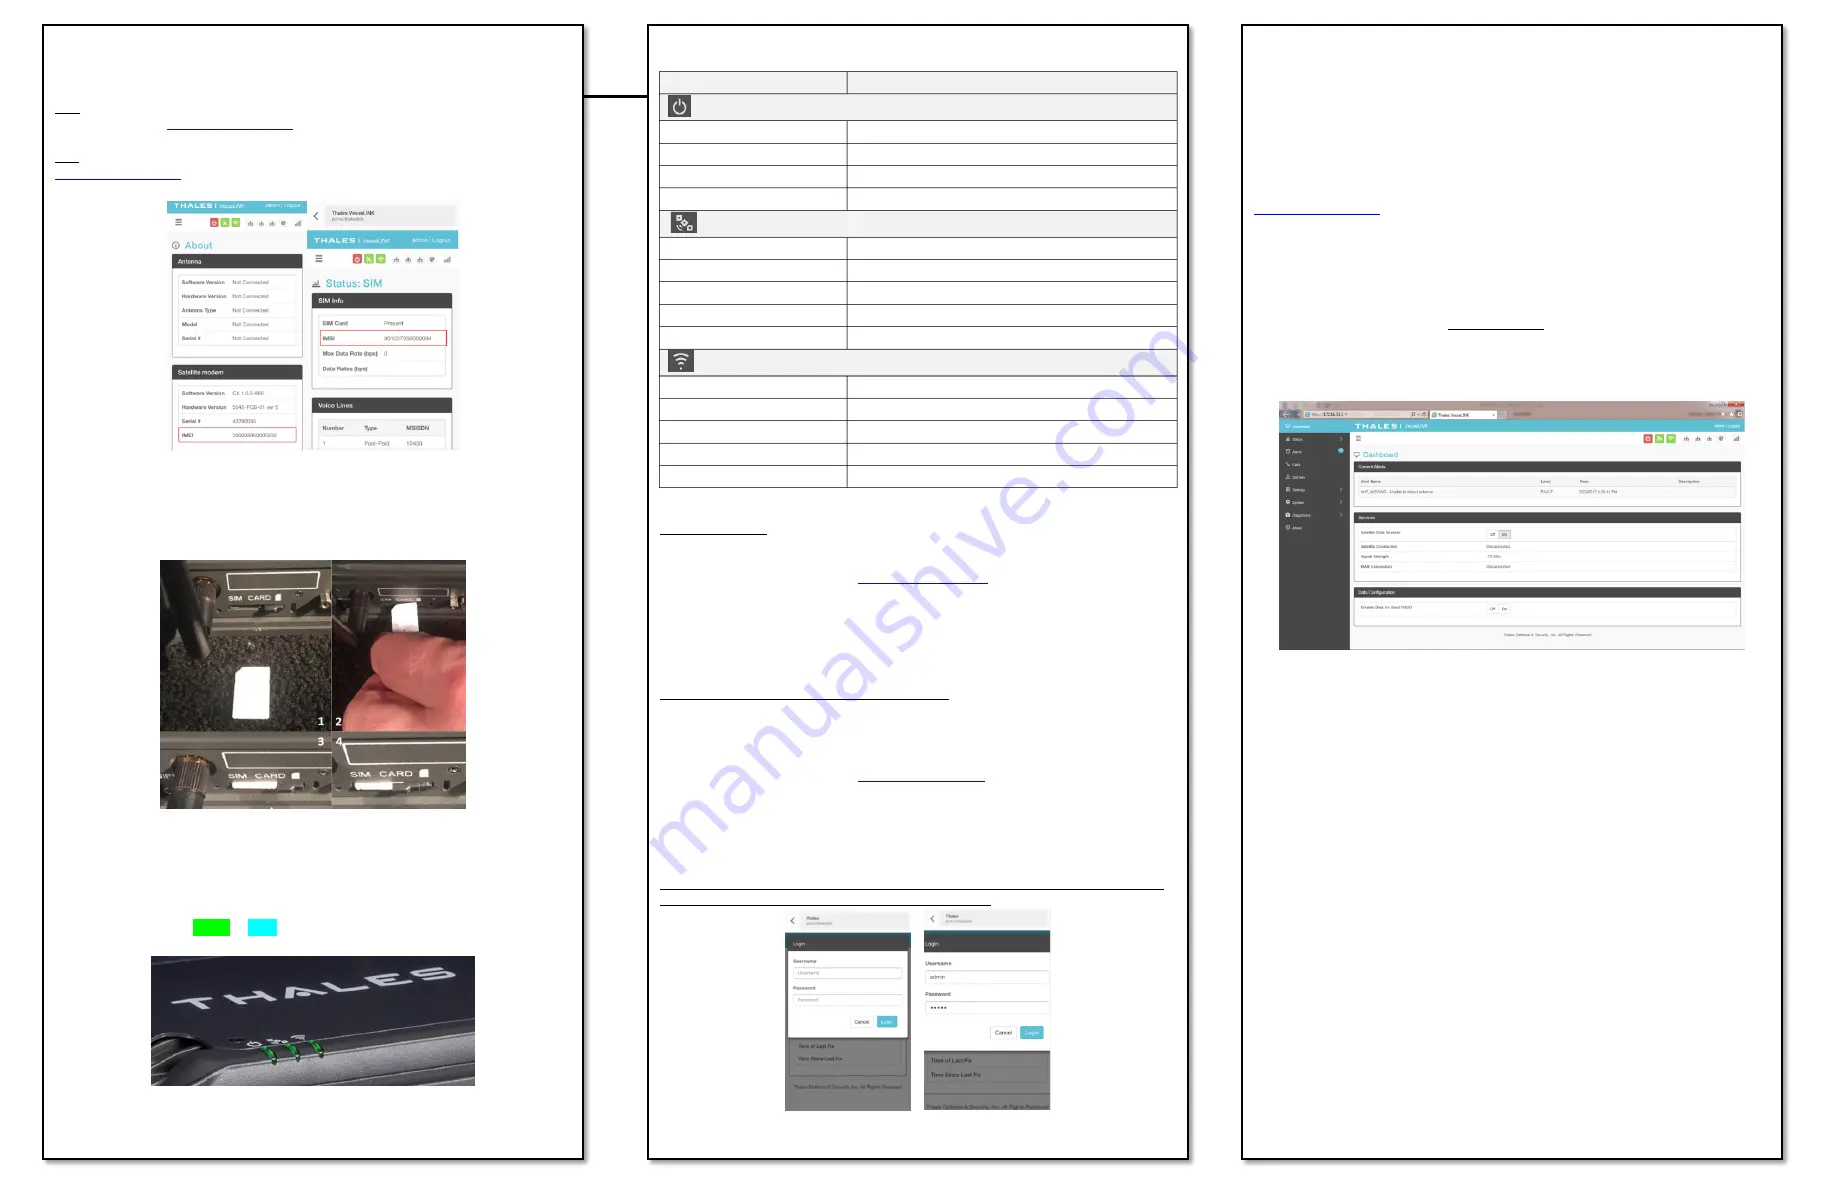
IMEI is unique to each unit and can be found on the bottom plate of the BDU. This IMEI can
also be found in the
http://portal.thaleslink
under the ABOUT tab.
IMSI is a unique identifier to each SIM card. This IMSI can also be found in the
http://portal.thaleslink
under the STATUS
SIM tabs. (SIM must be inserted)
VesseLINK IMEI and IMSI from mobile device
STEP 3: Install SIM
Install SIM card from Air-time provider as below. Insert card with contacts down as shown
until it clicks into place. Be sure to engage the lock for the SIM Card
Installing SIM card and engaging the lock
STEP 4: Power the VesseLINK unit.
This is simply done by pressing and releasing the power button on the BDU (see Figure on
page 2). NOTE: After the button is pressed and released, a few seconds will pass before the
power LED (left) starts flashing. It may take a few minutes on initial startup for all 3 LED’s on
the unit top to turn solid GREEN or BLUE.
System, Satellite and Wi-Fi status LED’s
4
Step 4 (Cont.)
BDU Status LED’s
Indicator
Description
System
Solid GREEN
System functioning properly
Flashing GREEN
System busy (Booting up)
Solid RED
Fault (minor issue)
Flashing RED
Critical fault (major issue)
Satellite
Solid BLUE
Connected and passing data (over satellite)
Solid GREEN
System functioning properly
Flashing GREEN
Acquiring satellite
Solid RED
Fault (minor issue)
Flashing RED
Critical fault (major issue)
Wi-Fi
OFF
Wi-Fi OFF
Flashing GREEN
Wi-Fi busy
Solid Green
System functioning properly
Solid RED
Fault (minor issue)
Flashing RED
Critical fault (major issue)
STEP 5: Connect to VesseLINK Management portal to configure system.
Option A: Via Wi-Fi.
1.
With your mobile device connect to “Thaleslink” on Wi-Fi via the settings on your mobile
operating system.
2.
Open a web browser and type:
(do not type .com or any other
extension)
Click LOGIN button. Enter “admin” for Username and “admin” for Password.
3.
As a default, no changes to setup are necessary, but advanced users may want to
configure to their preferred system settings.
4.
At this time it is advised that all users change your username and password. To Change
Password: Go to Settings-->General and change the password for the Admin User
Option B: Via (PC, Mac or Linux) Ethernet connection
1.
With your computer connect the Ethernet RJ-45 Cable (included) to any of the 3 Ethernet
ports on the BDU. (Shown on page 2) (Do not connect to the WAN port on the BDU)
2.
Via the network settings on your computer’s operating system, select and connect to
VesseLINK connection.
3.
Open a web browser and type:
http://portal.thaleslink
4.
Click LOGIN button. Enter “admin” for Username and “admin” for Password.
5.
As a default, no changes to setup are necessary, but advanced users may want to
configure to their preferred system settings.
6.
At this time it is advised that all users change your username and password. To Change
Password: Go to Settings-->General and change the password for the Admin User
NOTE: If you forget the password, press and hold the reset pin on the back of the box (while
powered on) in order to reset the system to factory settings.
VesseLINK User Interface Login
5
STEP 6: Place a phone call.
1.
Choose either POTS or VoIP handset.
2.
Remove the handset from the base and ensure a dial tone is present.
3.
Call a known number to test call and voice clarity
Dial 9, Country code, area code and phone number
FOR EXAMPLE (do not dial this number): 9-1-555-555-5555
STEP 7: Access the internet.
Once your device has successfully connected to the BDU, open the management portal
http://portal.thaleslink
to verify the satellite connection.
Verify:
•
No active alerts (DASHBOARD or ALERTS page on the Management Portal)
•
Satellites detected (go to STATUS
SERVICE), signal strength bars (top right of screen)
should show more than 1 bar as available.
Try loading a small website such as www.google.com to verify your internet connection.
If the page loads successfully you are ready to browse the internet.
THALES MANAGEMENT PORTAL
When you first log into the Thales Management Portal, you will notice on the left hand side of
the screen. Each of these menu options will be discussed in detail.
Status – Provides status of each of the Devices, GPS, LAN, Phones, Services, and the
SIM card.
Alerts – Provides a listing of system alerts
Calls – Provides information relating to Calls, including current calls, call history, and
call management.
Distress – Allows the operator to send a distress signal.
Settings – This section is where the operator can set operating parameters/ settings
for sending messages, using Wi-Fi, WAN, LAN, Satellite, data, and phone.
System – This section allows the operator to perform system backups, view data
usage, rest the system, and view/updat
e system firmware.
Diagnostics – The section enables the operator to run self-test, check system status,
and view diagnostics logs entries.
About – Provides system level information for the antenna, modem, power supply,
system, VOIP Module, and Wi-Fi
Thales Defense & Security, Inc.
22605 Gateway Center Drive | Clarksburg MD 20871
Toll-Free 1.800.324.6089 | Phone: 240.864.7000 | Fax: 240.864.7920
Email: [email protected] | Website: www.thalesdsi.com
PN 3402131-1 Rev 2


