31
30
LARGO –
Wireless weather station
• The weather forecast covers a range of 12 hours and indicates only a general weather trend. For
example, if the current weather is cloudy and the rain symbol is displayed, it does not mean the
product is faulty because it is not raining. It simply means that the air pressure has dropped
and the weather is expected to get worse but not necessarily rain. The accuracy is about 70 %.
• The sun symbol also appears on a starry night.
Note:
• Please note that the forecast symbol will become more defined in the course of operation. The
forecast symbol is active right from the start, however, the reliability of the forecasts increases
with the amount of data collected.
13. Atmospheric pressure setting
• Press the
HISTORY ABS/REL
button for 3 seconds while in normal mode to enter the atmospher-
ic pressure setting mode.
• Press the
+
or
–
button to select the absolute (“Abs”) or relative (“Rel”) pressure display.
• Confirm with the
HISTORY ABS/REL
button.
• If you have chosen the relative atmospheric pressure (recommended), the pressure value flashes.
Now enter the value by pressing the
+
or
–
button.
• The relative atmospheric pressure is referred to the sea level’s pressure and has to be adjusted
first to your local altitude. Ask for the present atmospheric pressure of your home area (Local
weather service, Internet, optician, calibrated instruments in public buildings and airport).
• Confirm with the
HISTORY ABS/REL
button.
• Press the
HISTORY ABS/REL
button to view the past 12 hours barometric pressure history (0, -
1, -2…-12).
13.1 Weather trend arrows
• The trend arrows on the display will show whether the atmospheric pressure is increasing,
steady or decreasing.
13.2 Developing of atmospheric pressure
• The bar graph indication of atmospheric pressure shows the last 12 hours.
LARGO –
Wireless weather station
14. Sun and moon
14.1 Sunrise/sunset time
14.1.1 City selection
•
Press
CITY
button in normal mode to enter the setting mode.
• The city code will start flashing. Use the
+
or
–
button to select the city.
• It can be chosen from among 160 cities. See the city list at the end of this manual.
• Confirm the setting with the
CITY
button.
14.1.2 Manual location setting
• Press and hold the
CITY
button to insert an individual location.
• “-- -- --” appear and “--” flashes.
• Set the first letter of your location with the
+
or
–
button.
• Confirm with the
CITY
button. Set the second and third letter in the same way.
• Press the
CITY
button to set the time zone (default: 1:00), the longitude (E = East) and the lati-
tude (N = North). Press the
+
or
–
button to adjust the settings.
• Confirm the setting with the
CITY
button.
14.1.3 Time zone setting for the sunrise/sunset time
• In setting mode, press the + or - button to make the time zone correction to the GMT (Green-
wich Mean Time).
• In case of radio-controlled time reception DCF: 1:00 (default)
• In case of manual time setting: CET 1:00 (default), DST 2:00.
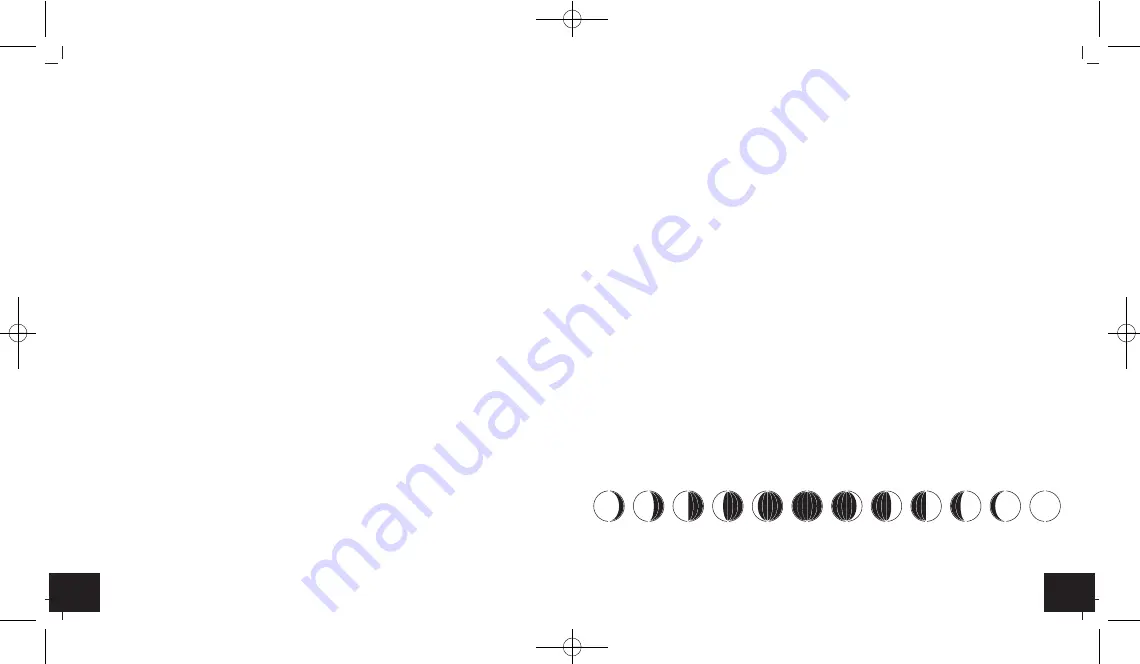
14.2 Moon phase
• The moon phase of each day is shown on the display:
A
B
C
D
E
F
G
H
I
J
K
L
A:
Waning gibbous
B:
Waning gibbous
C:
Half moon (last quarter)
TFA_No. 35.1145_Anleitung_05_18 23.05.2018 10:30 Uhr Seite 16


