


RK6040 60-ton Crimping Tool
Greenlee / A Textron Company
4455 Boeing Dr. • Rockford, IL 61109-2988 USA • 815-397-7070
7
Operation
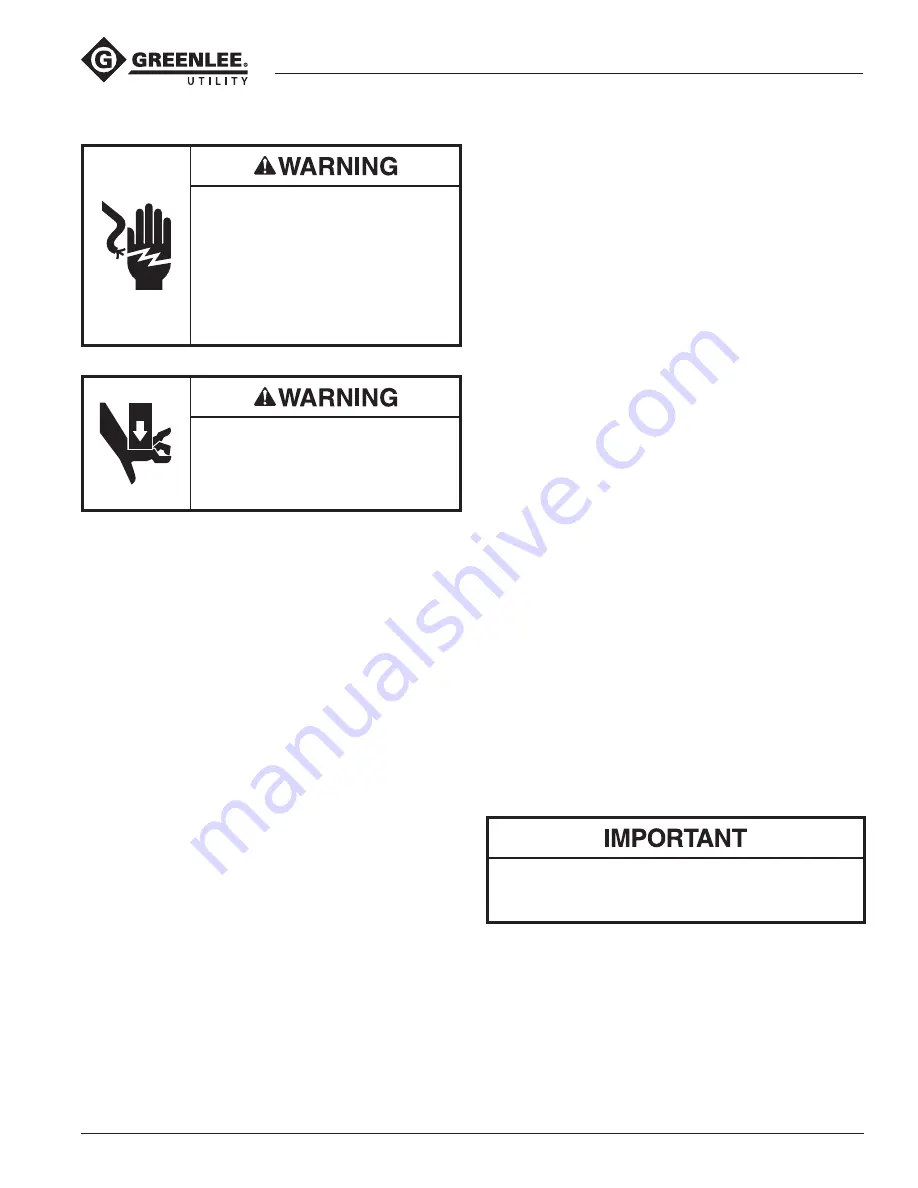
Electrical shock hazard:
This tool is not insulated. When
using this unit near energized
electrical lines, use only certified
non- conductive hoses and proper
personal protective equipment.
Failure to observe this warning could
result in severe injury or death.
Pinch points:
Keep hands away from closing dies.
Failure to observe this warning could
result in severe injury or death.
Note: Consult the connector manufacturer’s instructions
for the proper crimping procedure and proper die(s), etc.
1. Prepare the cable by stripping off the appropriate
amount of insulation.
2. Select a connector that corresponds to the conduc-
tor and the application.
3. Insert the conductor into the connector. Position the
connector between the crimping dies.
4. Activate the hydraulic power source until the ram
has advanced and the crimp is completed.
Note: To assure a complete crimp, verify that the
power source has reached 700 bar (10,000 psi).
Refer to “Periodic Relief Valve Check” in this
manual.
5. Stop the power source and allow the ram to retract.
Maintenance
Keep the tool clean. Use the tool with care to keep dirt
•
and grit out of the hydraulic system. Contamination is
the most common cause of failure for hydraulic tools.
Store the tool in its original case with the ram fully
•
retracted.
Occasionally lubricate the die release button
•
assemblies. A molybdenum disulfide grease is
recommended.
Inspect the hydraulic hoses periodically.
•
Periodically verify that the power source reaches
•
700 bar (10,000 psi). Refer to “Periodic Relief Valve
Check” in this manual.
Periodic Relief Valve Check
Periodically verify that your hydraulic power source
is supplying between 9600 psi and 10,400 psi
(662 bar and 717 bar).
Use a test-quality pressure gauge on the supply line
from the hydraulic power source.
1. Refer to the instructions supplied with the pressure
gauge.
2. Stop the flow of hydraulic oil from the power source.
3. Connect the pressure gauge to the supply line of the
power source.
4. Install the set of test dies into the crimping tool.
5. Activate the power source until the ram has
advanced and the power source reaches relief
pressure. The pressure gauge should read between
9600 psi and 10,400 psi (662 bar and 717 bar) .
6. Release the pressure by stopping flow from your
power source. The ram will retract.
If crimp pressures are low, the hydraulic power source
relief valve may need adjustment.
Relief valve adjustments must be performed accord-
ing to the instructions provided with the hydraulic
power source.