2S
3
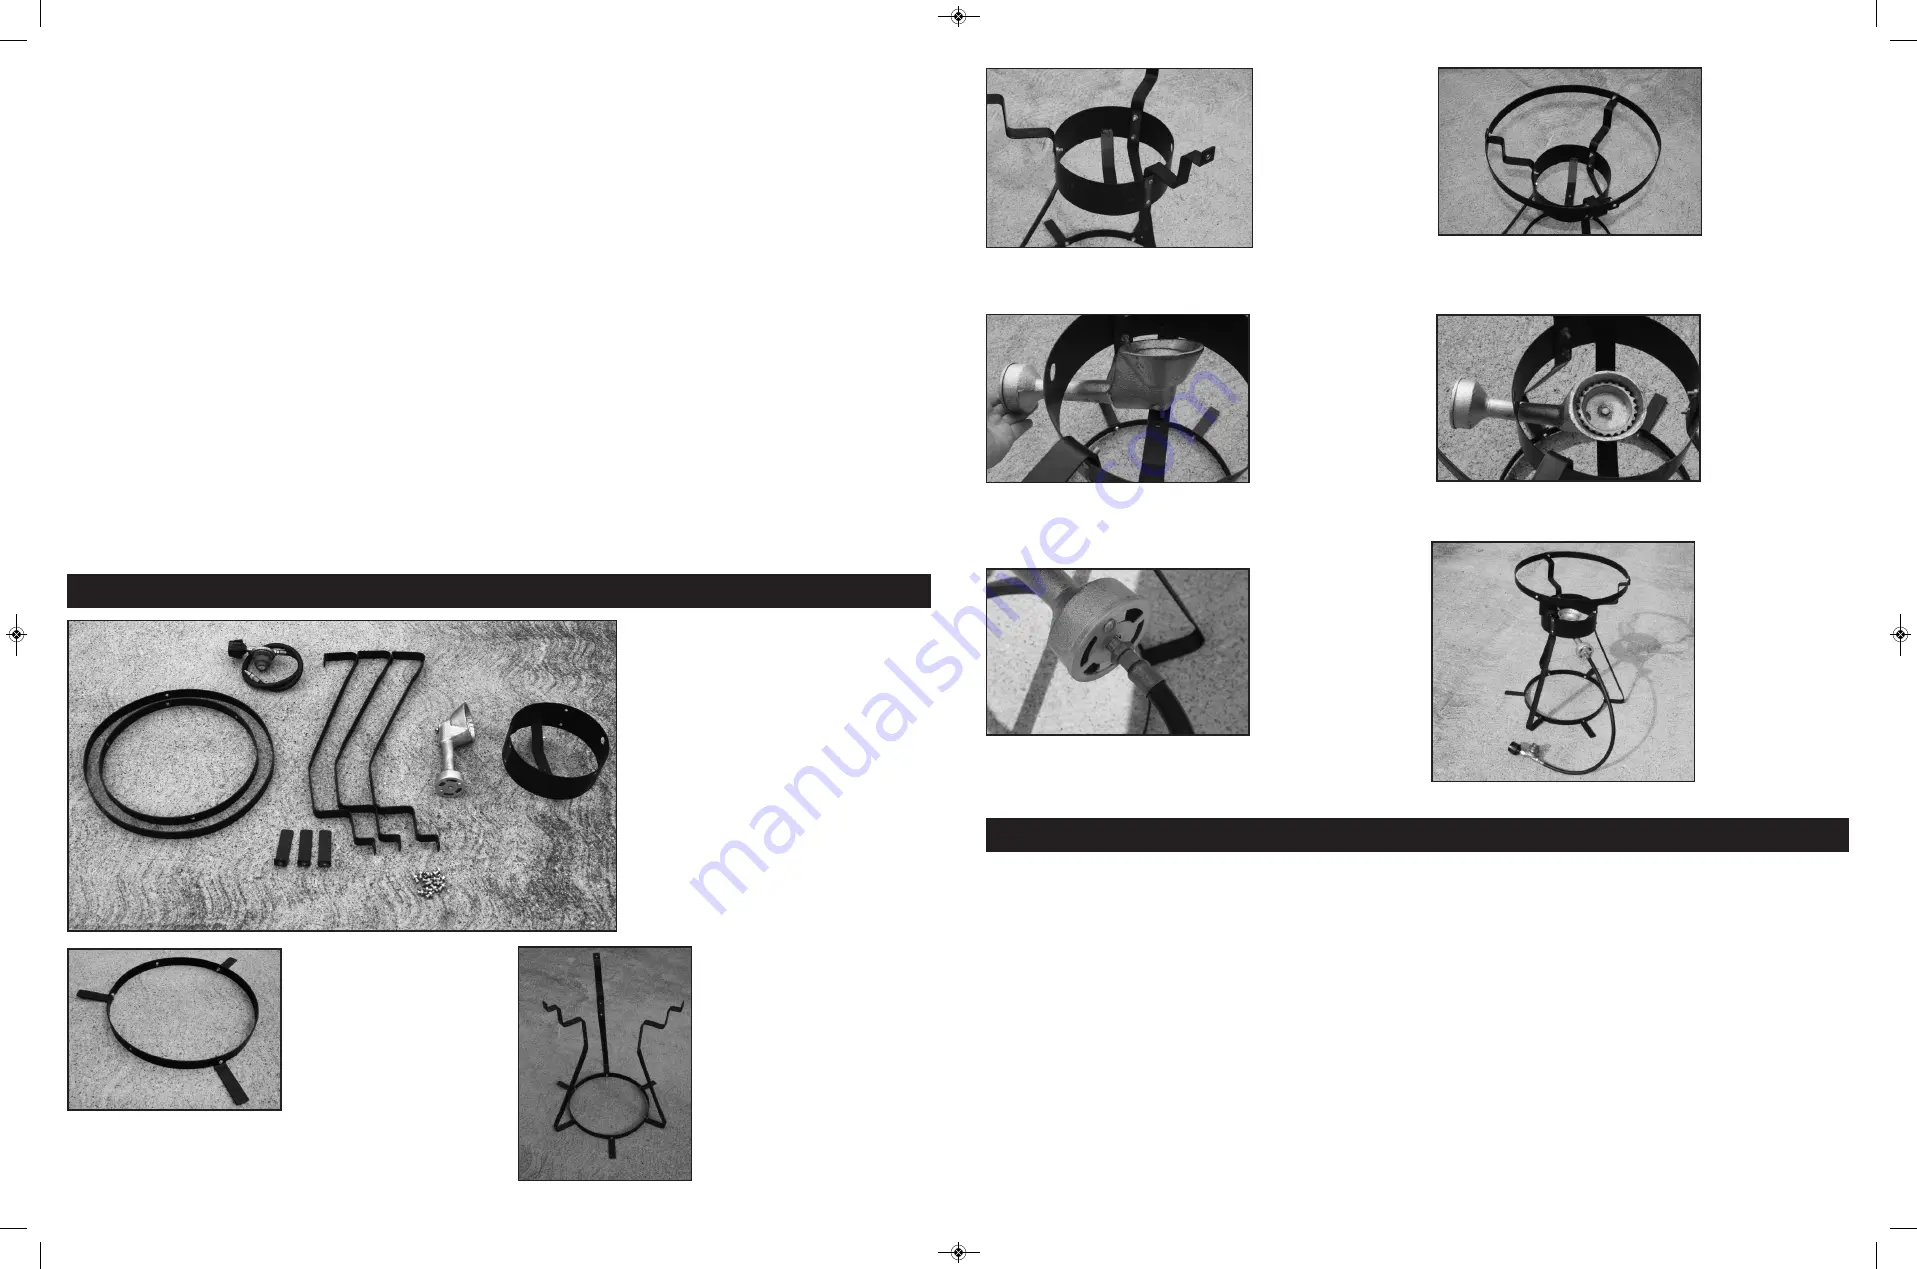
illustration 5
illustration 4
illustration 7
illustration 6
illustration 9
illustration 8
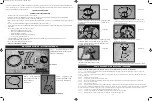
Step 4......Place burner support ring over legs and
screw onto the legs as shown in illustration 4.
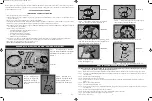
Step 6 ......From under the burner support ring, insert
screw from burner into the hole on the ring and secure
from underneath shown in illustration 6.
Step 7 ......This is how your burner should look
once attached.
Step 8 ......Screw regulator hose into the
burner. Hand tighten only.
Step 9 ......This is how your Wok Stand should look.
Step 5 ......Screw large ring to the top of the legs on
support ring as shown in illustration 5.
HOW TO SEASON A CARBON STEEL WOK
It is important to throughly clean the wok to remove the manufacturer’s protective coating. To prevent injury,
please use oven mitts or hot pads during this process.
Step 1 ....Wash the wok in hot water with a small amount of liquid detergent and a scrubber, such as a stainless steel sponge or pad.
Step 2 ....If needed, scrub the
exterior
of the wok with a scrubber and an abrasive cleaner. Do not use the abrasive cleanser on the in-
side of the wok.
Step 3 ....Rinse the wok and dry throughly.
Step 4 ....Place the wok on the burner on high heat.
Step 5 ....Using hot pads or overn mits, move the wok, turning and tilting it up to the rim and back until the metal turns a yellowish,
bluish color.
Step 6 ....Remove the wok from the burner.
Step 7 ....Turn the heat down to medium low.
Step 8 ....Using tongs and a paper towel or a BBQ/basting brush, apply a thin coat of 2 teaspoons cooking oil to the entire cooking sur-
face of the wok.
Step 9 ....Heat the wok on medium/low heat for about 10 minutes.
Step 10 ..Wipe off the oil with another paper towel. There will be black residue on the towel.
Step 11 ..Repeat until no black residue appears on the paper towel.
The wok is now ready to use.
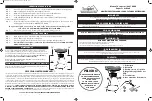
Paso 2 ....Atornille 3 pies
de apoyo en el pequeño
anillo de la estructura
como se muestra en la ilus-
tración 2.
Paso 3 ....Atornille las 3
patas en el pequeño anillo
de la estructura como se
muestra en la ilustración 3.
Paso 1 ....Desembale el wok. Deseche
todo el material de embalaje. Compare
atentamente el contenido con la ilus-
tración 1.
ARMADO DE LA ESTRUCTURA DEL WOK – ARMADO AL AIRE LIBRE
Muchas gracias por comprar un producto de Texsport Authentic Adventure Gear. Esperamos que disfrute su nuevo wok y que pueda uti-
lizarlo durante muchos años. Le sugerimos que lea y comprenda cada paso de las instrucciones de armado y de funcionamiento seguro
antes de trabajar con este wok.
SÓLO PARA USO EN EL EXTERIOR
INFORMACIÓN GENERAL DE SEGURIDAD
• NO exponga el tanque a un calor excesivo.
• Siempre inspeccione el wok, el tanque y las conexiones para observar si están dañados o si tienen residuos o suciedad antes de suje-
tar el wok al tanque.
• No lo use ni lo opera si la hornalla del wok o el tanque están dañados.
• Cuando guarda o transporta el wok, siempre desconecte el tanque guárdelo en un lugar fresco y bien ventilado, en posición vertical.
• Asegúrese de que la conexión del tanque esté bien ajustada (solo ajustada a mano) antes de cada uso.
• Nunca maneje el wok cerca de líquidos o vapores inflamables. Mantenga todos los materiales inflamables o combustibles alejados de
la zona del tanque y de las llamas.
• Deje de usarlo y cierre la válvula si:
– la temperatura ambiente cae por debajo de los -23°C.
– no queda combustible en el tanque
– la combustión comienza a ser inestable
– no se puede encender rápida y fácilmente
– la llama se apaga reiteradamente
• En el caso de que se bloquee el alimentador de combustible, no intente despejarlo con un objeto de metal. Llame a Atención al
Cliente de Texsport al 1-800-231-1402 de lunes a viernes de 8:00 a 17:00 hs. (hora estándar del centro).
• Nunca deje el wok sin atención cuando esté caliente o en uso.
• ¡MANTENGA FUERA DEL ALCANCE DE LOS NIÑOS!
!
Ilustración 2
Ilustración 1
15 Sets of
Nuts & Bolts
Ilustración 3
14444 Instructions 10-13_Layout 1 10/23/13 12:03 PM Page 3


