


SET UP MENU
TUNER MENU
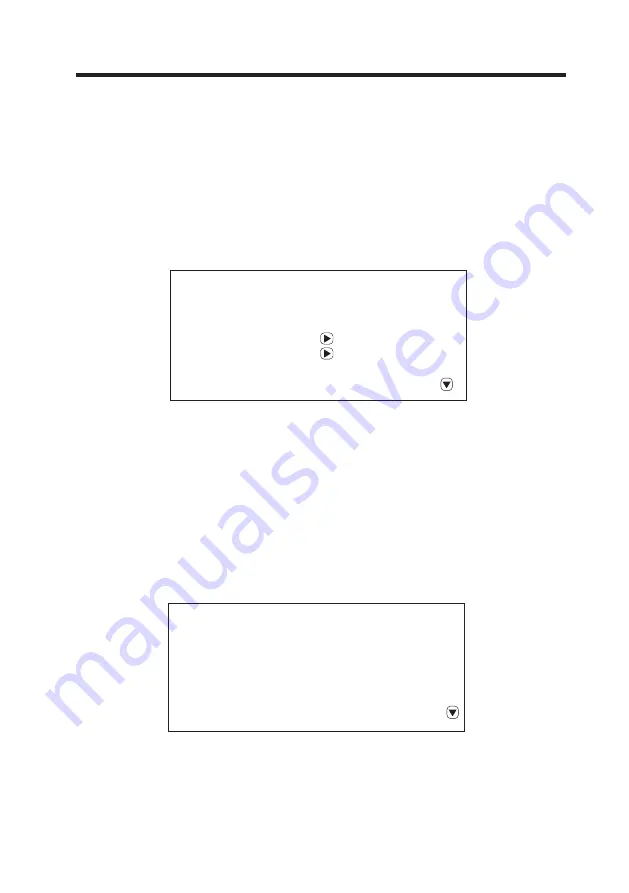
Program nr. 1
Program name
Colour system PAL
Sound system BG
Autostore
Frequency 773.50 Mhz
11
Show indicator On
Language English
Child lock
Timers
Teletext lang. Pan European
Teletext E/W West
If you will be using any of the Input Sources: HD (Y Pb Pr) / PC (VGA) /
S-VIDEO / AV, please also adjust the SOUND MENU, PICTURE MENU &
SET UP MENU for the Input Sources that you will be using.
OPERATION INSTRUCTIONS
1. Show indicator:
Set the Show Indicator function to On or OFF.
2. Language:
Select the On Screen Display (OSD) language.
3. Child lock:
Set the child lock control to ON or OFF.
4. Timers:
Select and set the timer modes.
5. Teletext lang.:
Select the Teletext language. The default language is Pan European.
6. Teletext E/W:
Select the Teletext locale (Not Applicable for Australasia).
7. RT Clock:
Adjust the clock or time.
1. Program nr.:
Use the
VOL+/-
buttons to select the channel number.
2. Program name:
Use the
CH+/-
buttons to select the character, Use the VOL+/-
buttons to change the position.
3. Colour system:
Select the correct Colour System (PAL for Australia).
4. Sound system:
Select the correct Sound System (BG for Australia).
5. Auto store:
Use the VOL+/- buttons to begin Auto Tuning.
6. Frequency:
Use the VOL+/- buttons to tune the frequency manually.
7. AFC:
Set the AFC function to ON or OFF.
8. Skip:
Set the Channel Skip function to ON or OFF.
9. Lock:
Set the Lock function to ON or OFF.
Note: The default Child Lock password is 0000, if you change the password you will be
required to enter a new 4-digit number (this will be your new password).
Summary of Contents for LCD1912
Page 18: ...75 L1002201 01...


